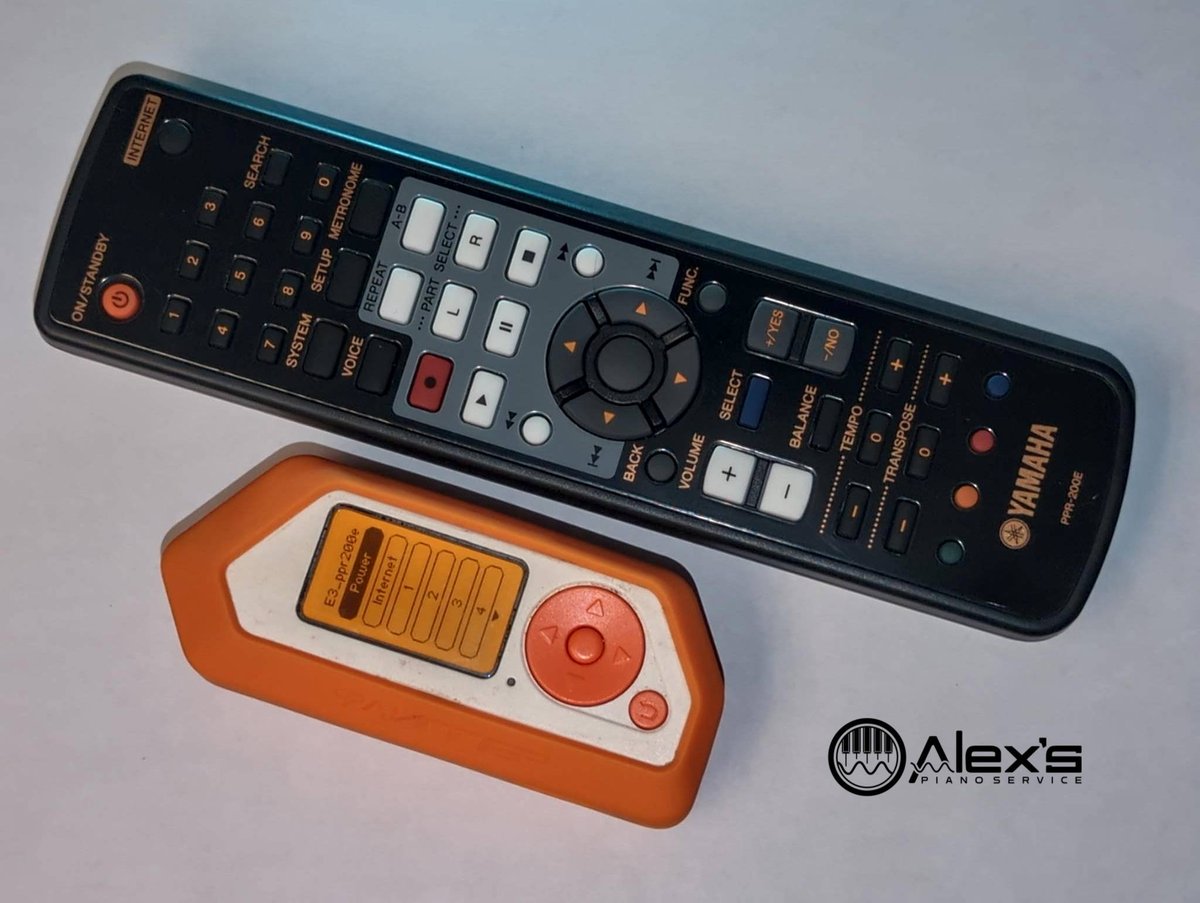
The Yamaha PPR-200E remote control plays a key role when converting the Yamaha DKC-800 to a DKC-850. In fact, it isn’t possible to change the PianoType parameter without a working remote control! I’ve also been collecting signals from other Disklavier remotes, such as the PPR-103E for the Mark III, and even the PPR-100 for the Mark II.
I used a Flipper Zero to record all the buttons on the PPR-200E. If you happen to have a Flipper Zero, an Arduino using the IRremote library, or other programmable remote, you can use these devices to control your Disklavier! Just download the appropriate IR codes below.
If you’re performing the DKC-800 to DKC-850 conversion, you can use the Flipper Zero to change the PianoType setting without requiring the original remote control at all!
Please note that you should use this strategy only with devices you own and where permitted by law.
IR Code Downloads
You can download my E3 PPR-200E IR codes file here. These are appropriate for the DKC-800 and DKC-850, and are the right choice for completing the DKC-800 to DKC-850 conversion.
I have a download available for the Mark III PPR-103E IR codes here.
I have a download available for the Mark II PPR-100 IR codes here.
Why do I need a remote control?
The PPR-200E remote provides direct access to system settings—including PianoType. It’s also necessary for common settings such as transposing, adjusting tempo and tuning. You can’t normally calibrate the system or change MIDI settings without the remote control. Really, you can’t do much aside from simple playback without it.
Using the Flipper Zero as a replacement
The Flipper Zero has a built-in IR receiver and transmitter. By learning and saving the codes from a working PPR-200E, or importing a shared .ir file, you can recreate the entire remote. I’ve already done this, and you can download my E3_ppr200e.ir here.
How do I use the IR file with my Flipper Zero?
- Connect your Flipper Zero to your computer.
- Open the storage device on your computer. I use the qFlipper app to access its storage.
- Navigate to
SD Card/infrared/. - Copy
E3_ppr200e.irinto that folder. Using qFlipper, right click and selectUpload here.
How do I use the Flipper Zero with the Disklavier?
- Open the Infrared app.
- Select Saved Remotes →
E3_ppr200e. - Choose the button you want to send (e.g.,
Setup,Tempo_up,Stop). - Point the Flipper at your Disklavier and press the button to transmit the code.


