Create Song List from Nalbantov HFE Files

Upload a Nalbantov HFE file to extract Yamaha Disklavier MIDI, E-SEQ, and FIL song titles into a clean, copy-ready song list.
Upload a Nalbantov HFE file to extract Yamaha Disklavier MIDI, E-SEQ, and FIL song titles into a clean, copy-ready song list.
Compare Greaseweazle and KryoFlux for Yamaha Disklavier floppy preservation, imaging, recovery, and practical backup workflows.

Troubleshoot PianoStream problems with Disklaviers and player pianos, including Analog vs Digital mode, Bluetooth MIDI, floppies, and volume settings.
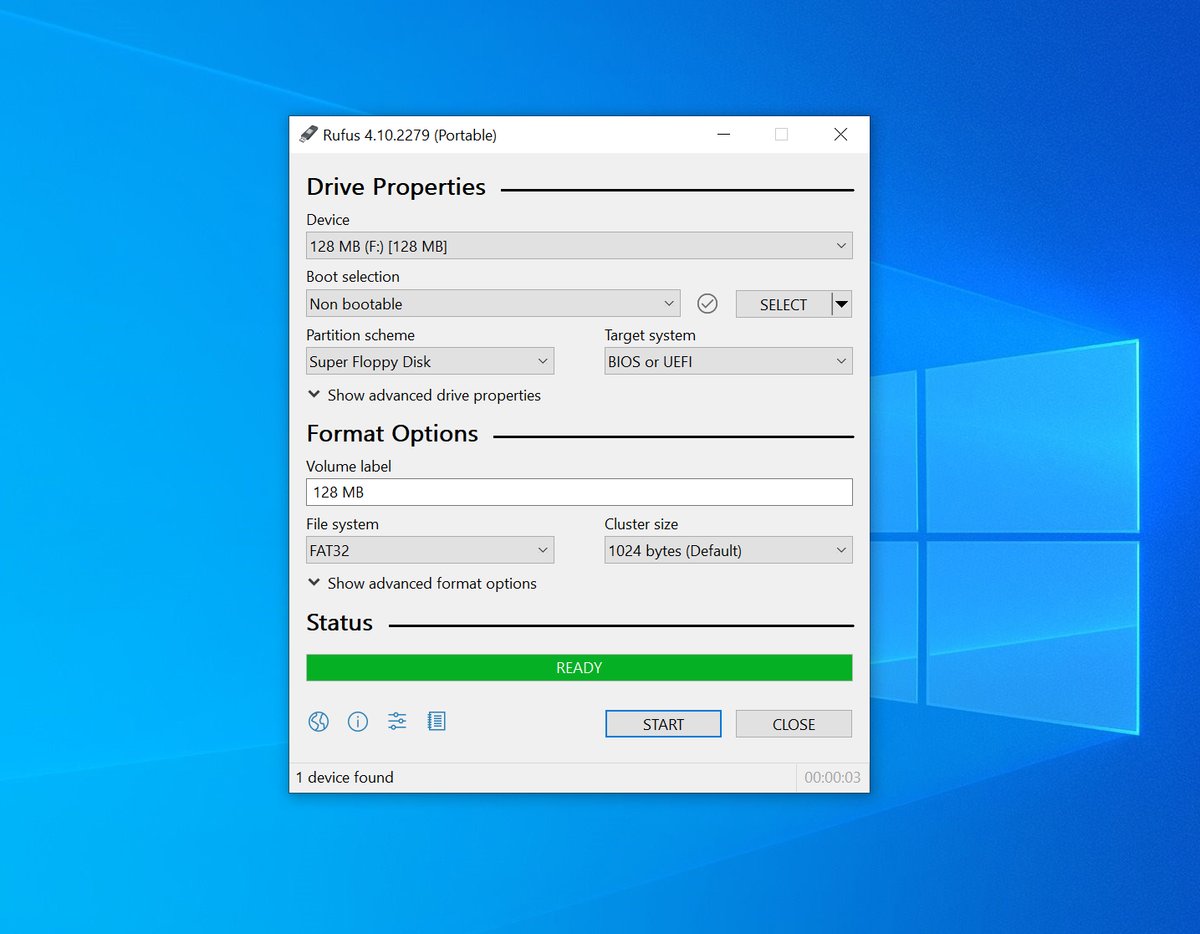
Fix USB sticks that do not appear on keyboards, Disklaviers, or Nalbantov emulators with FAT32, FAT16, and superfloppy formatting tips.
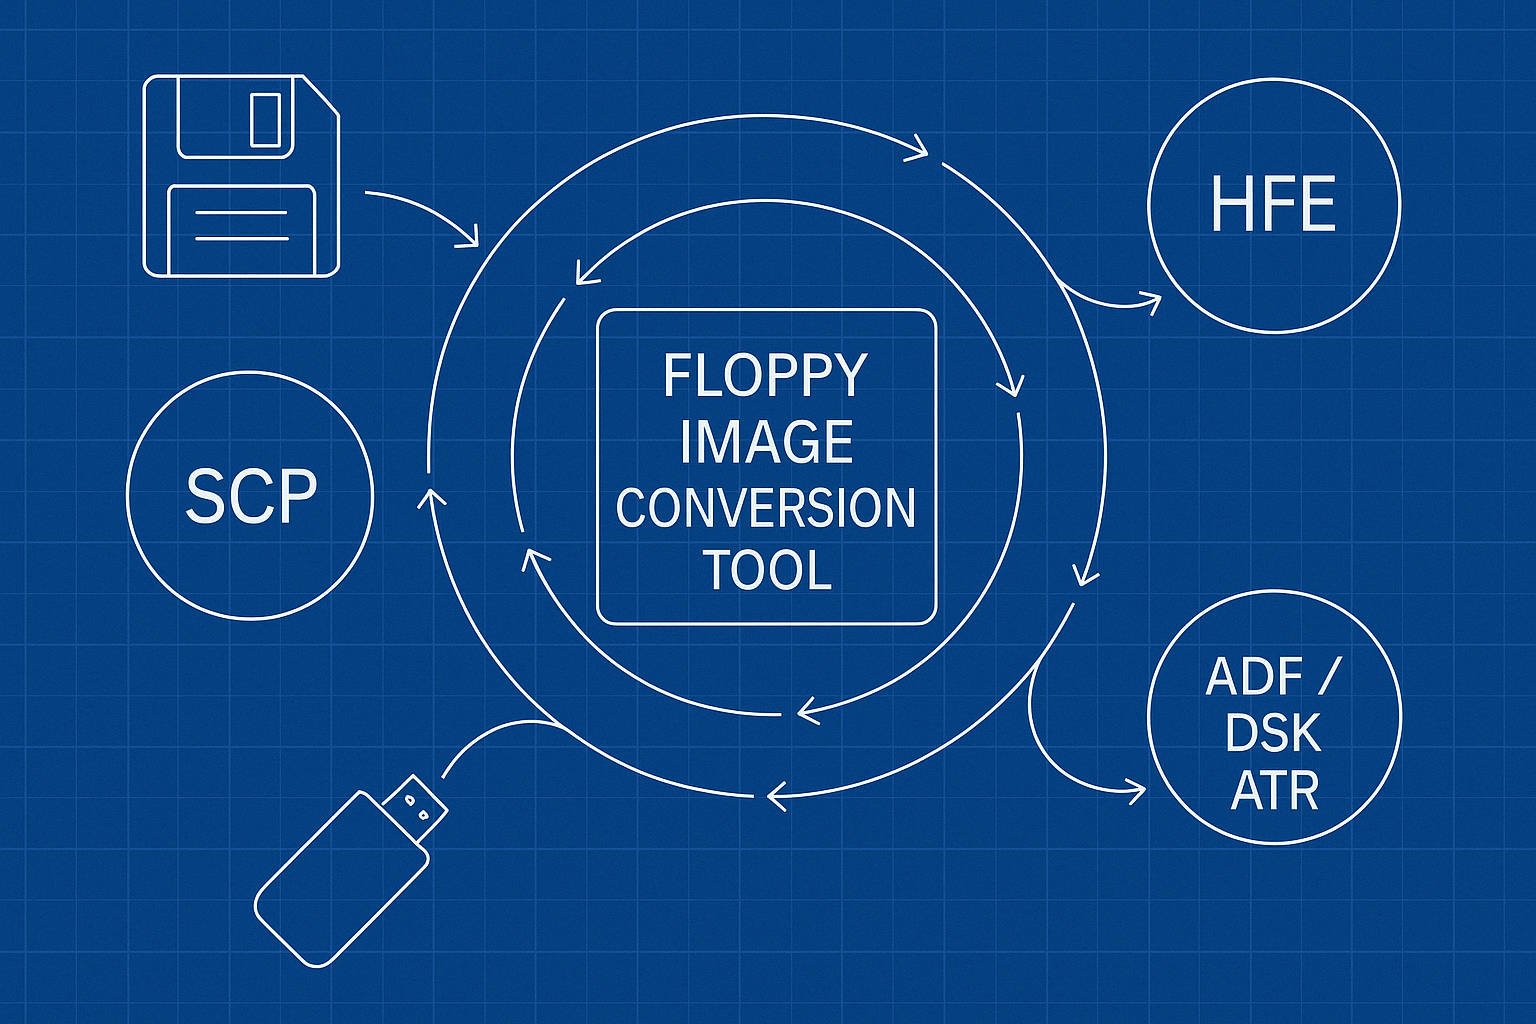
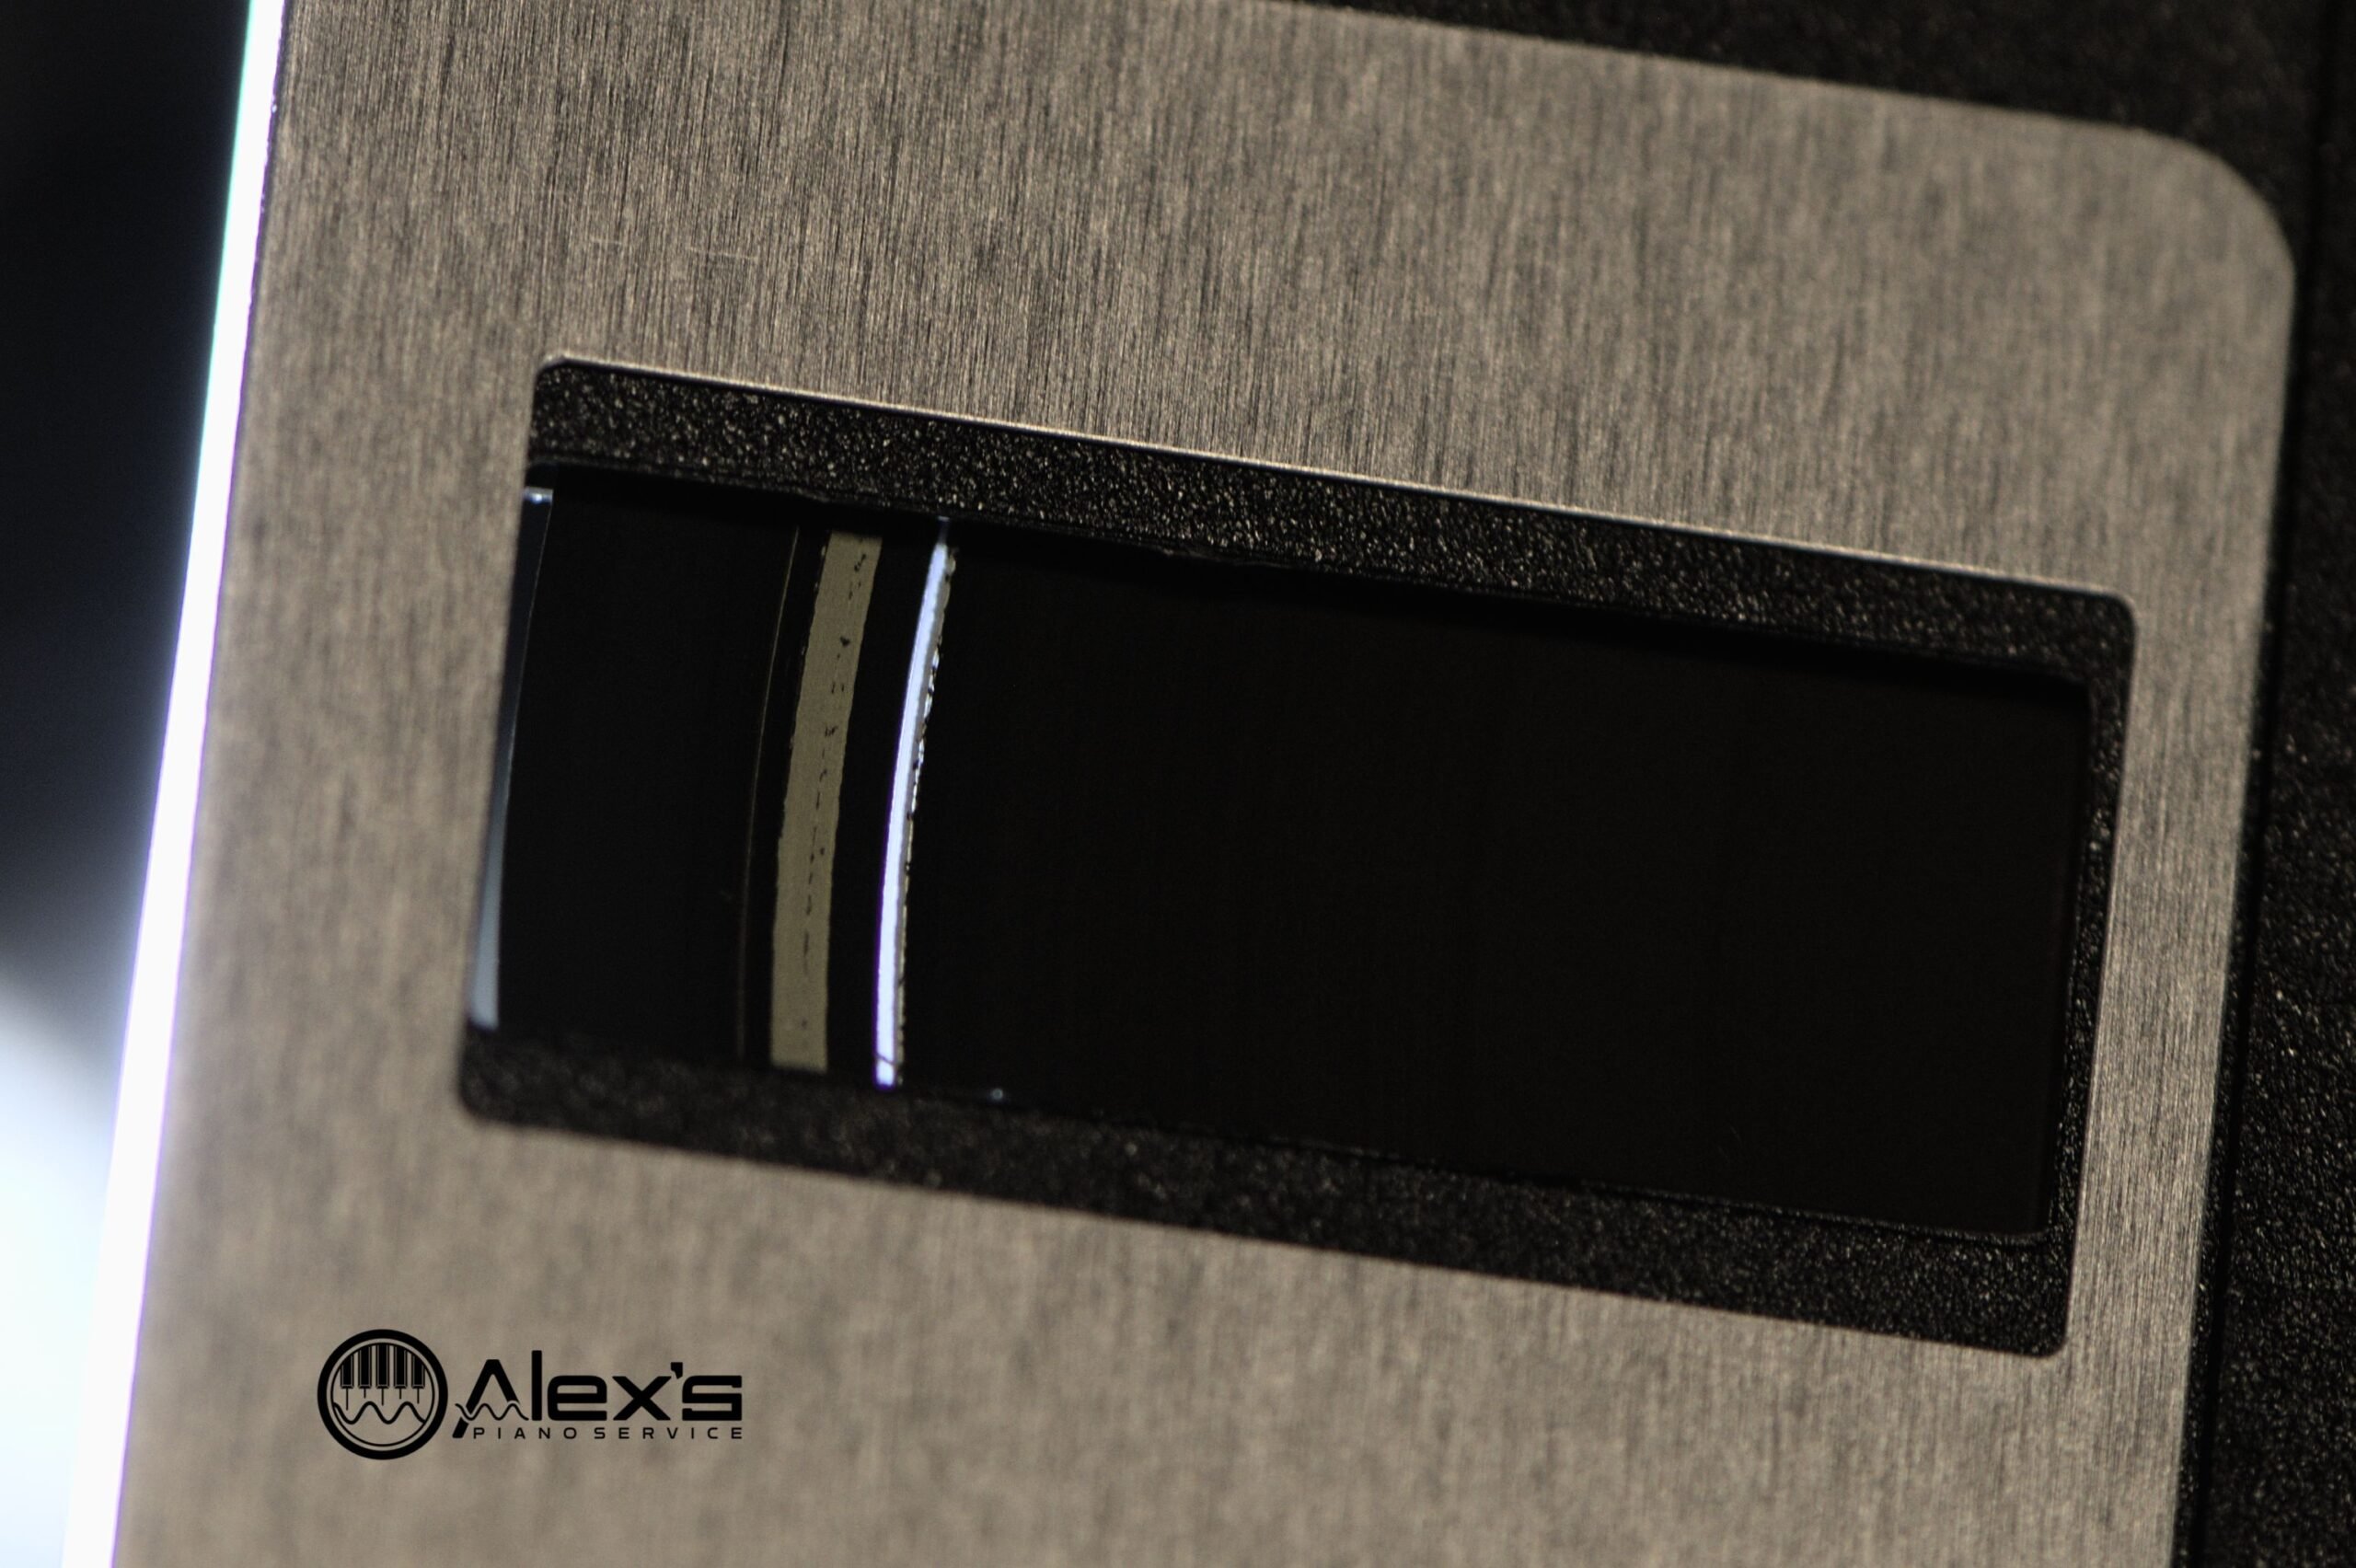
Practical guide to converting vintage floppy images such as HFE, IMG, and SCP for Nalbantov, Gotek, Disklavier, and retrocomputing use.
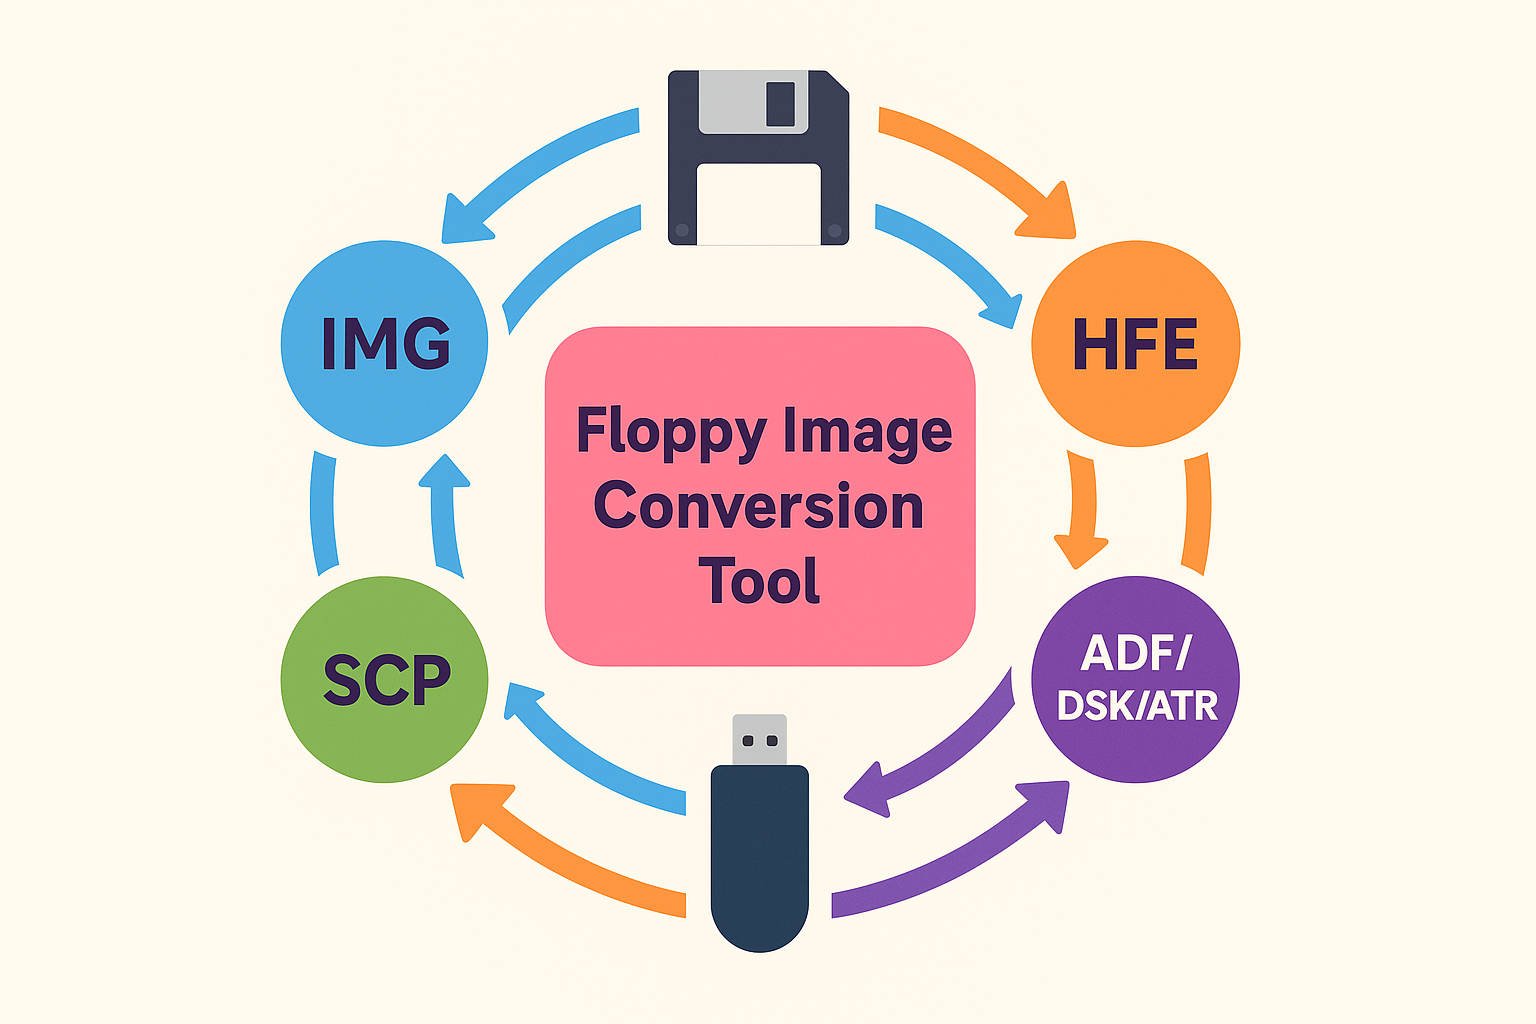
Convert floppy disk images between IMG, HFE, SCP, and other formats, or extract files for Disklaviers, Gotek, Nalbantov, and retro systems.
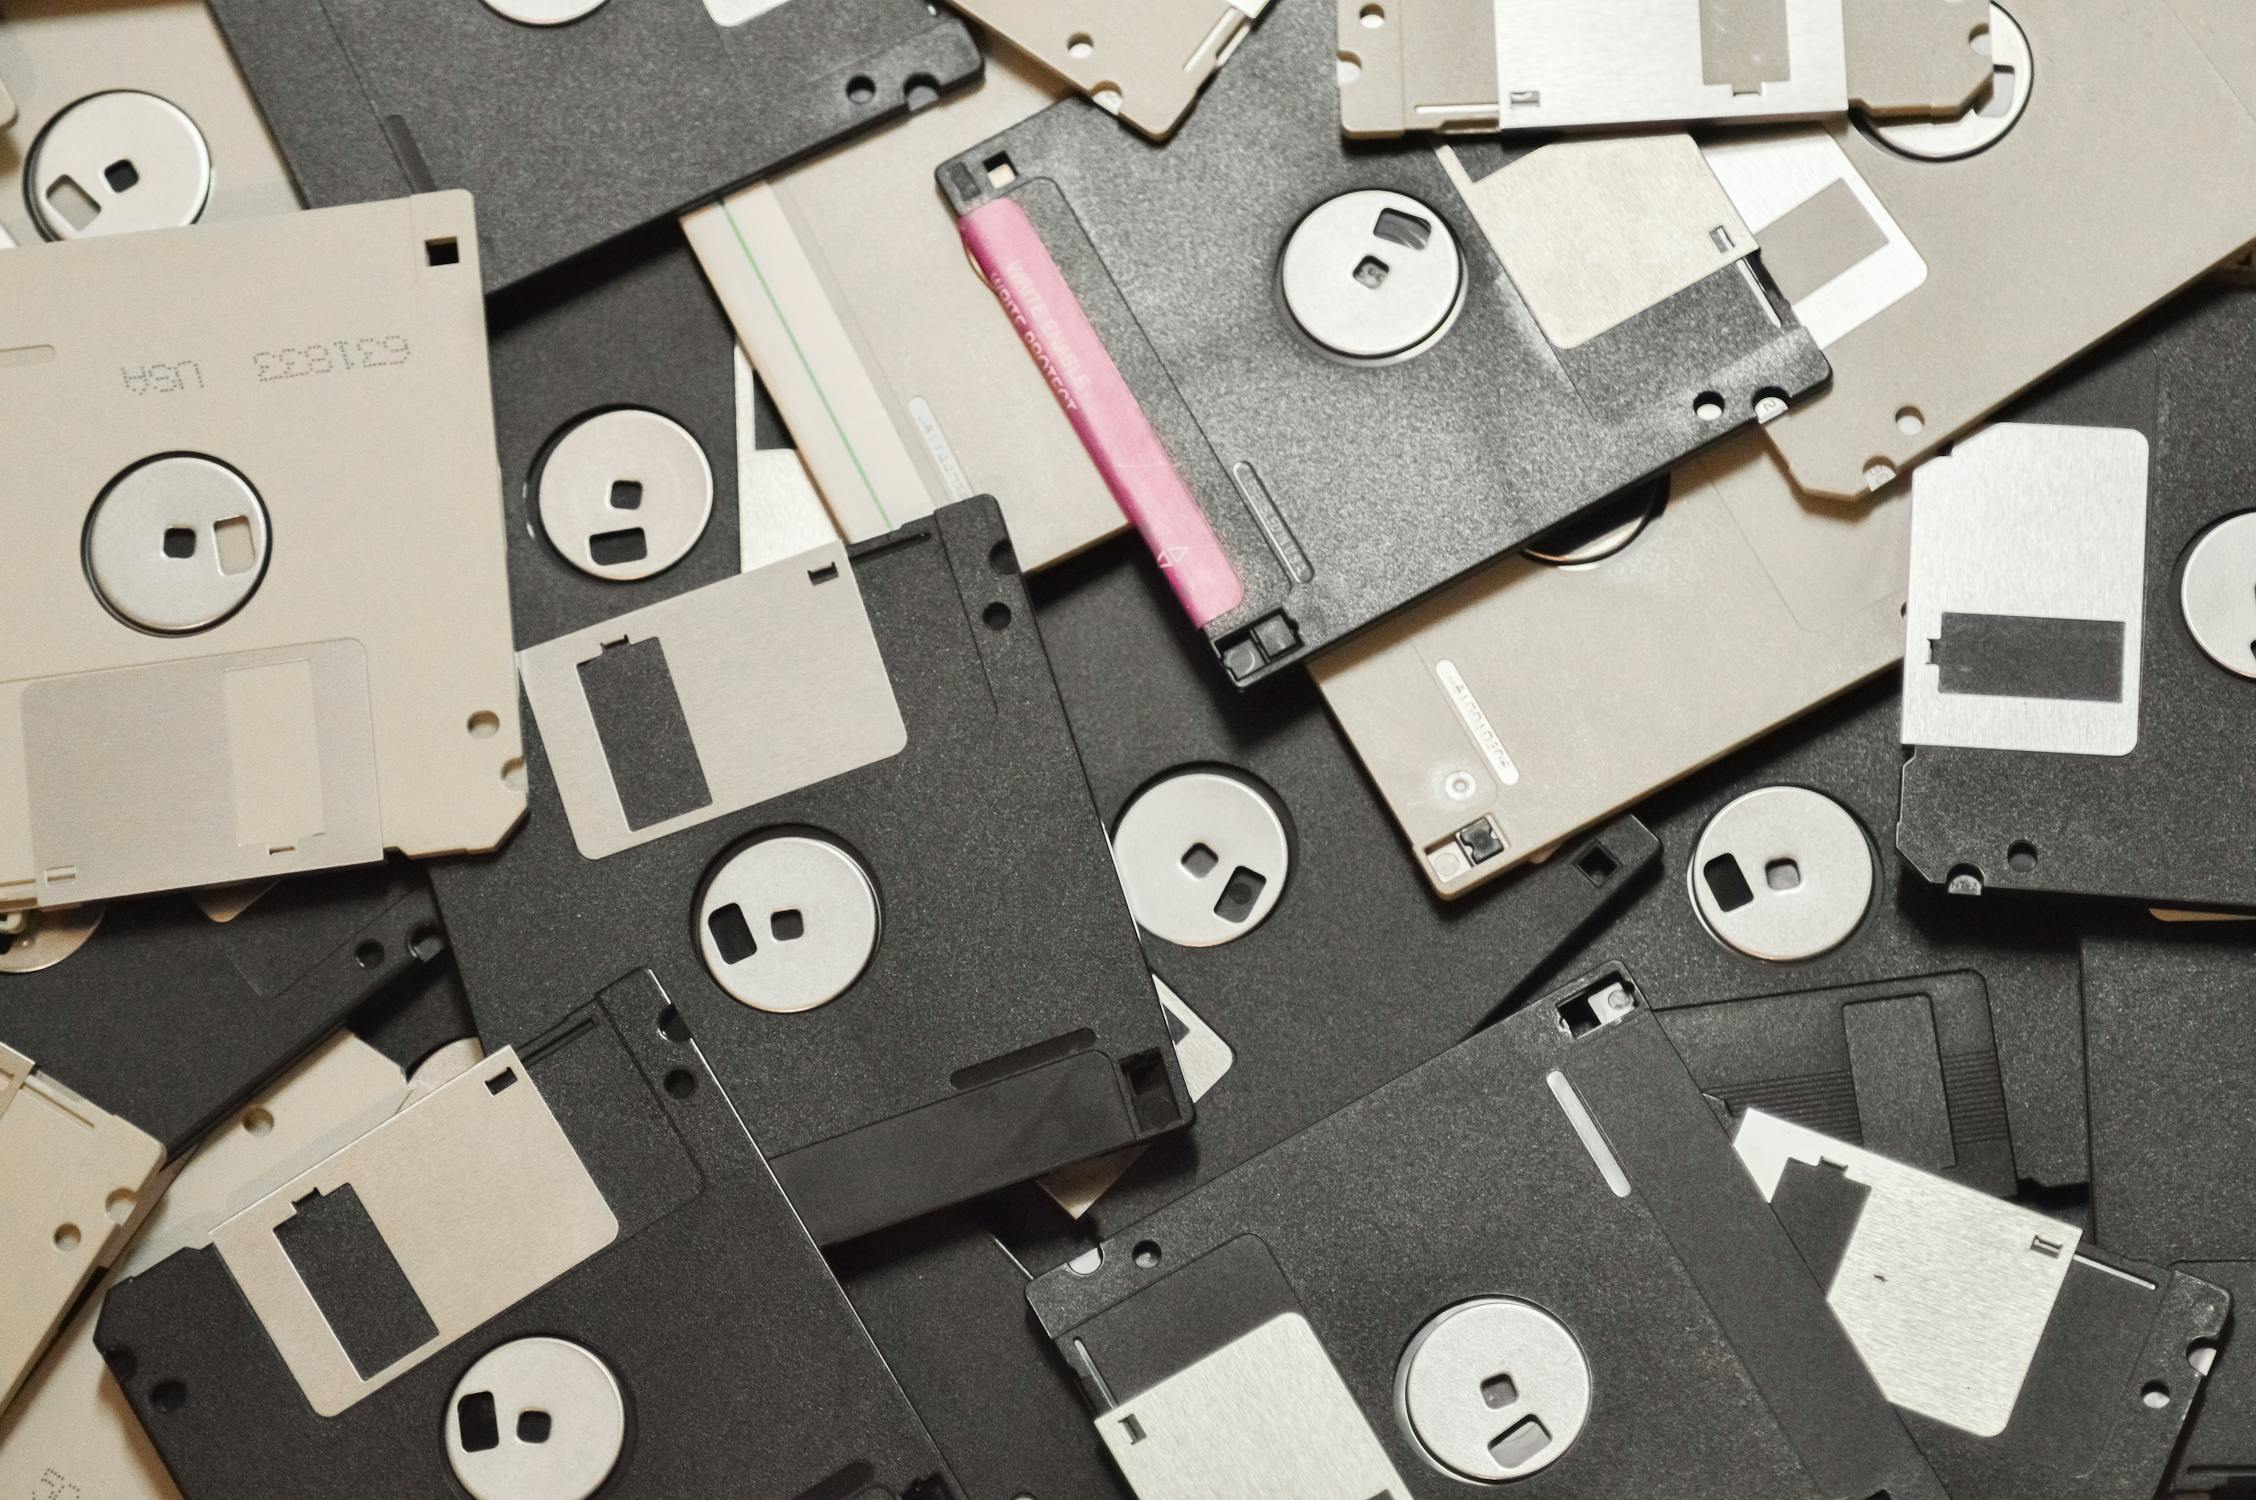
Learn why Yamaha Disklavier floppy drives fail and how to protect disks with backups, imaging, USB emulators, streaming, and recovery options.
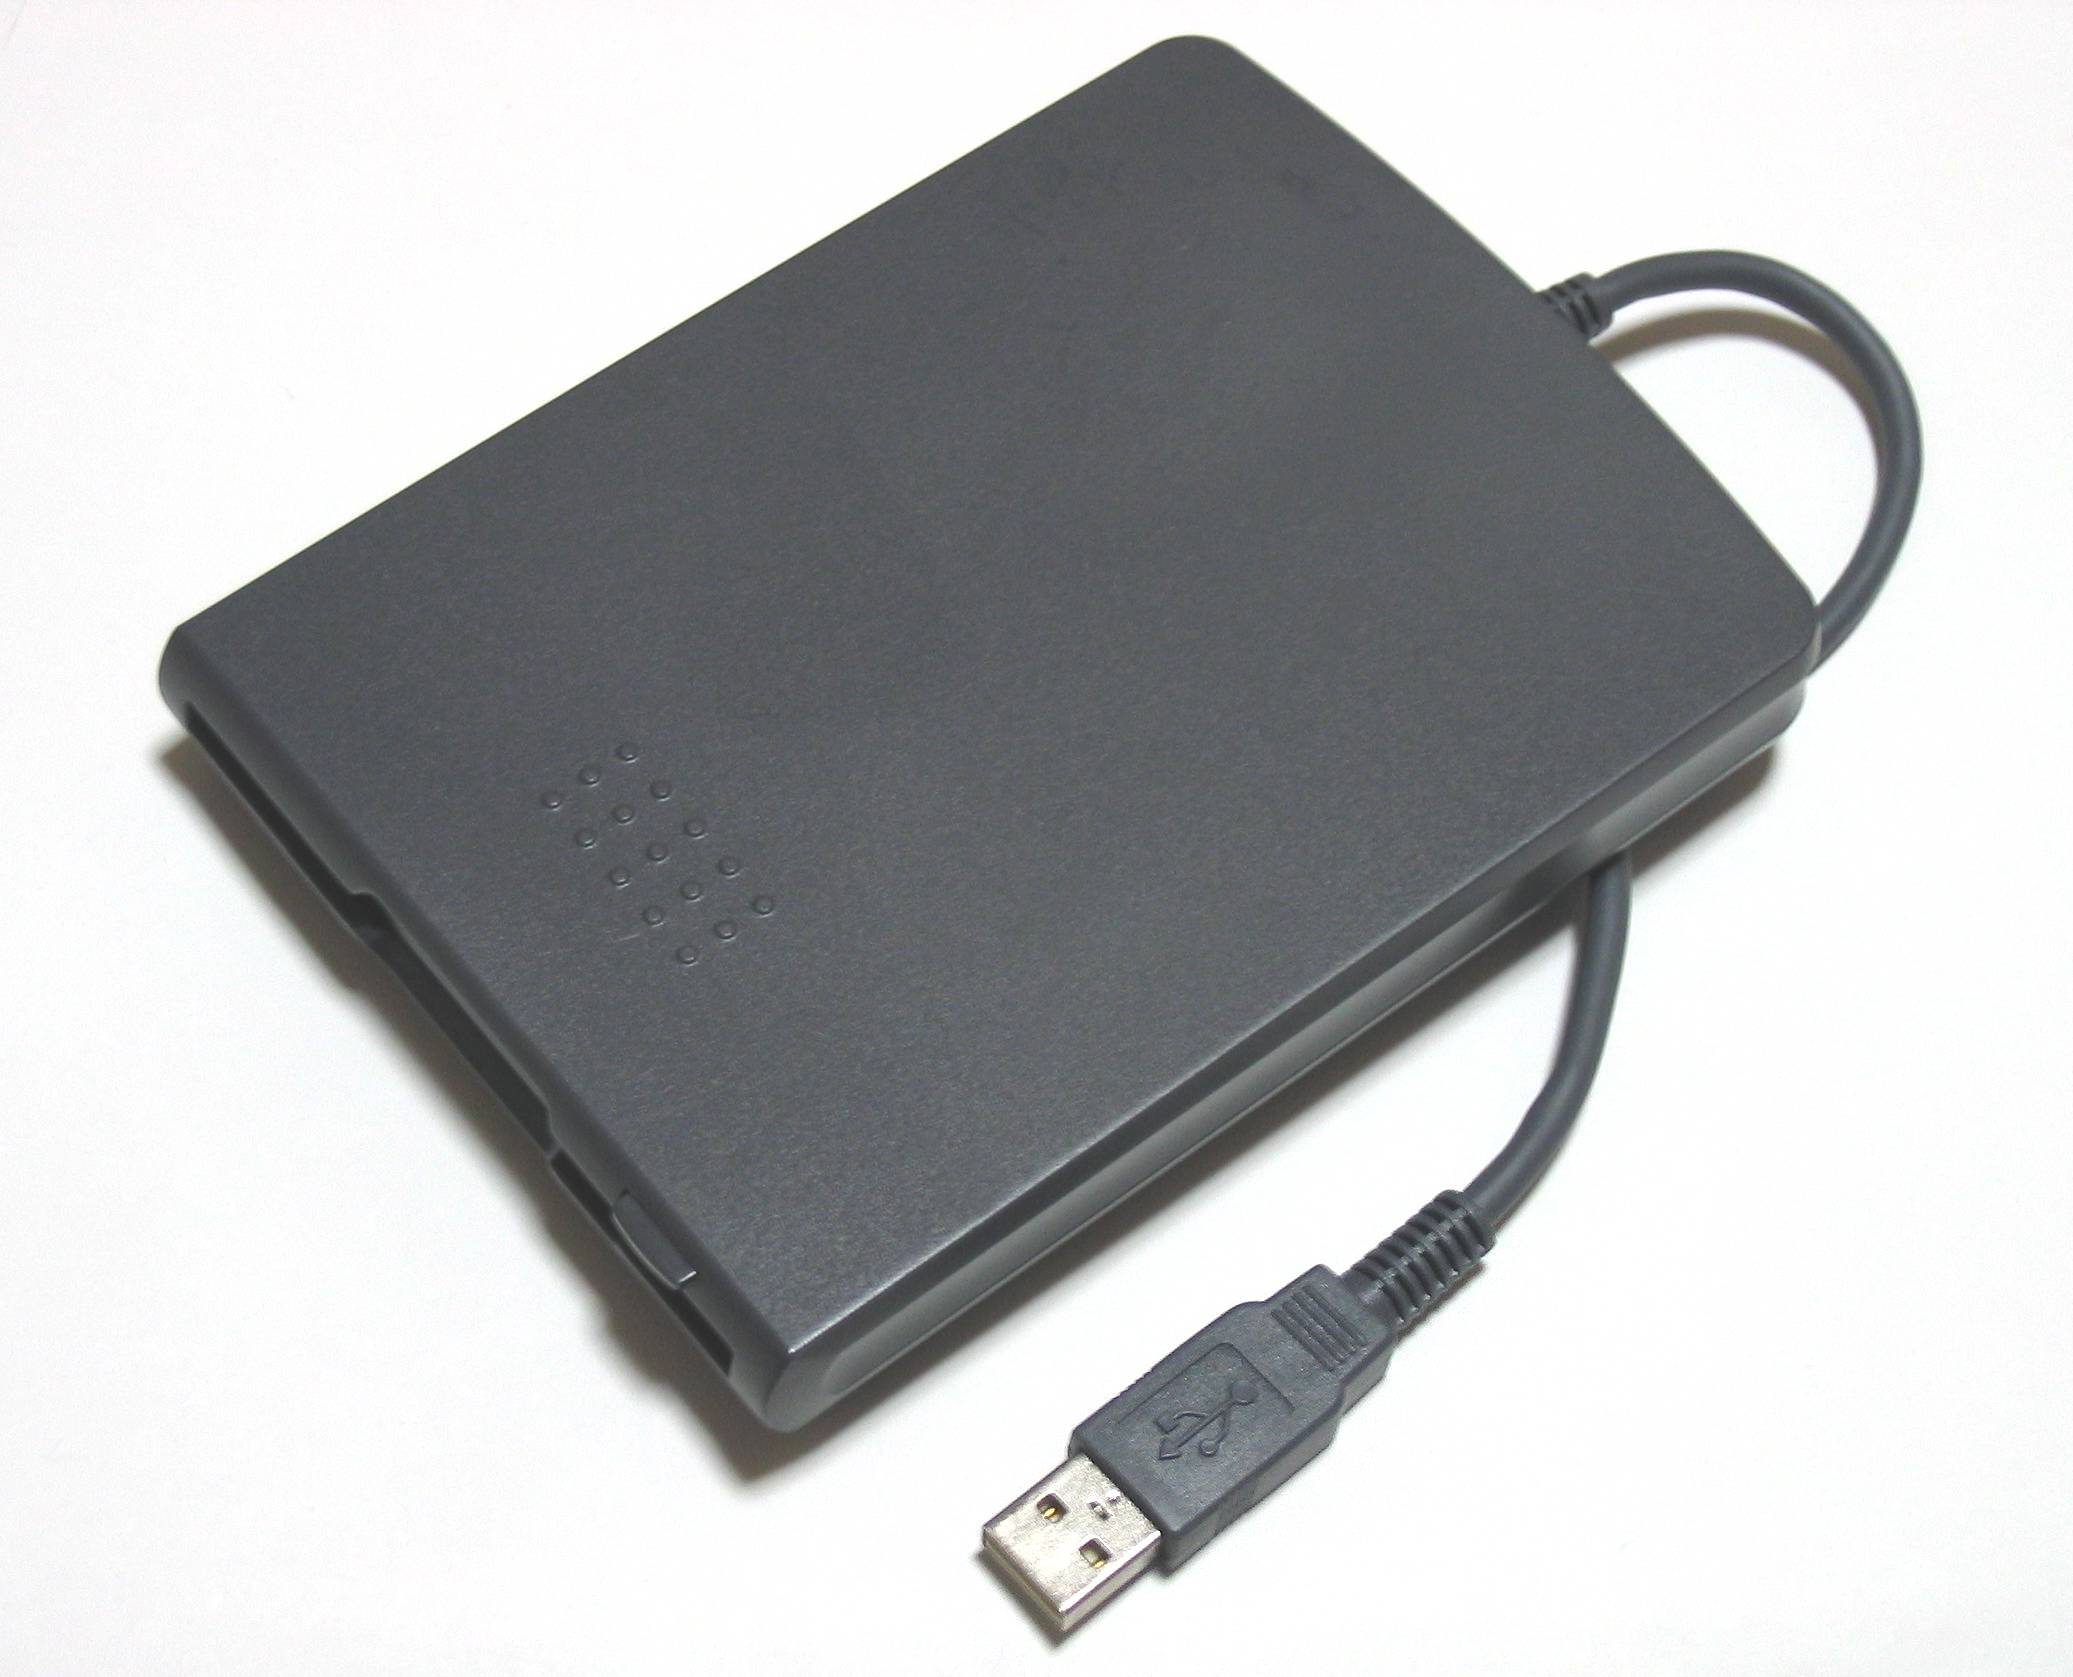
Find USB floppy drives and safer tools for reading Yamaha Disklavier disks, including 720 KB support, Nalbantov, and Greaseweazle options.
Use PSX E-SEQ archive files with Yamaha Disklaviers by downloading, extracting, organizing, and playing older floppy-based music files.

Download blank HFE virtual disks for Nalbantov emulators so older Yamaha Disklaviers can record without formatting loops or unreadable disks.