Yamaha Disklavier E3 Power Supply Testing & Rebuild Service
Mail-in Yamaha Disklavier E3 power supply testing and rebuild service for no-power, rebooting, and suspected internal supply failures.
Yamaha Disklavier repair, upgrade, and music-management guides from Alex’s Piano Service. Learn about Disklavier troubleshooting, floppy disk recovery, Nalbantov USB upgrades, PianoStream, firmware updates, power supply repairs, compatibility questions, and MIDI/E-SEQ tools for older and newer Disklavier systems.
Mail-in Yamaha Disklavier E3 power supply testing and rebuild service for no-power, rebooting, and suspected internal supply failures.
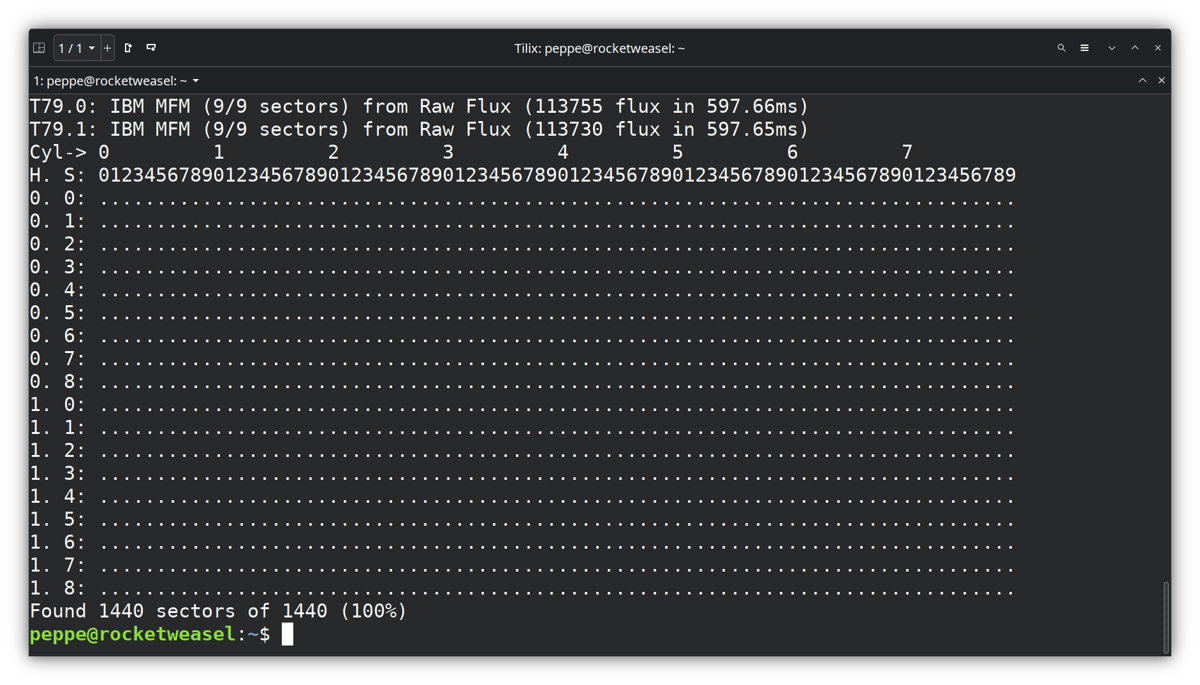
Case study on backing up fragile floppy disks with Greaseweazle, creating SCP masters, converting to HFE or IMG, and extracting Disklavier files.

Connect PianoStream to a Yamaha Disklavier with a CME U4MIDI, preserving MIDI routing for DCD1, MU50, MU80, computers, and Bluetooth.
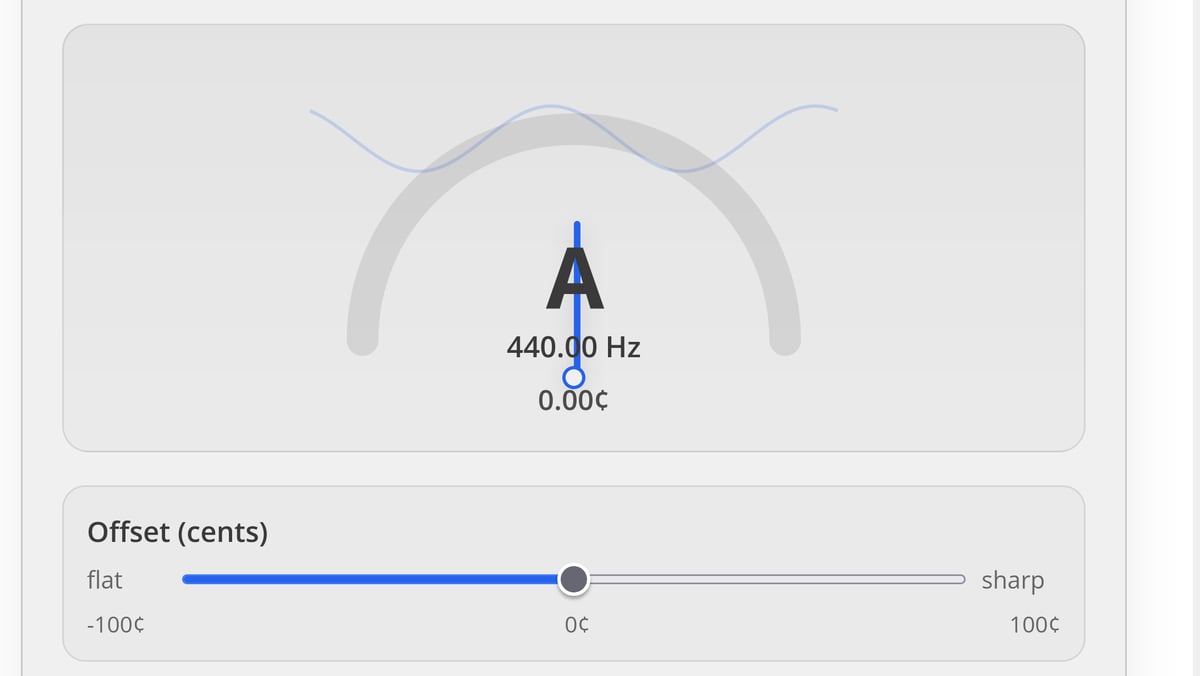
Convert cents to Hertz for A440, A432, A442, and custom pitch standards with an interactive tuning calculator for pianos and Disklaviers.
Troubleshoot PianoStream problems with Disklaviers and player pianos, including Analog vs Digital mode, Bluetooth MIDI, floppies, and volume settings.
Update Yamaha Disklavier ENSPIRE and DKC-900 firmware by app or USB, with steps for offline updates, Wi-Fi trouble, and failed installs.
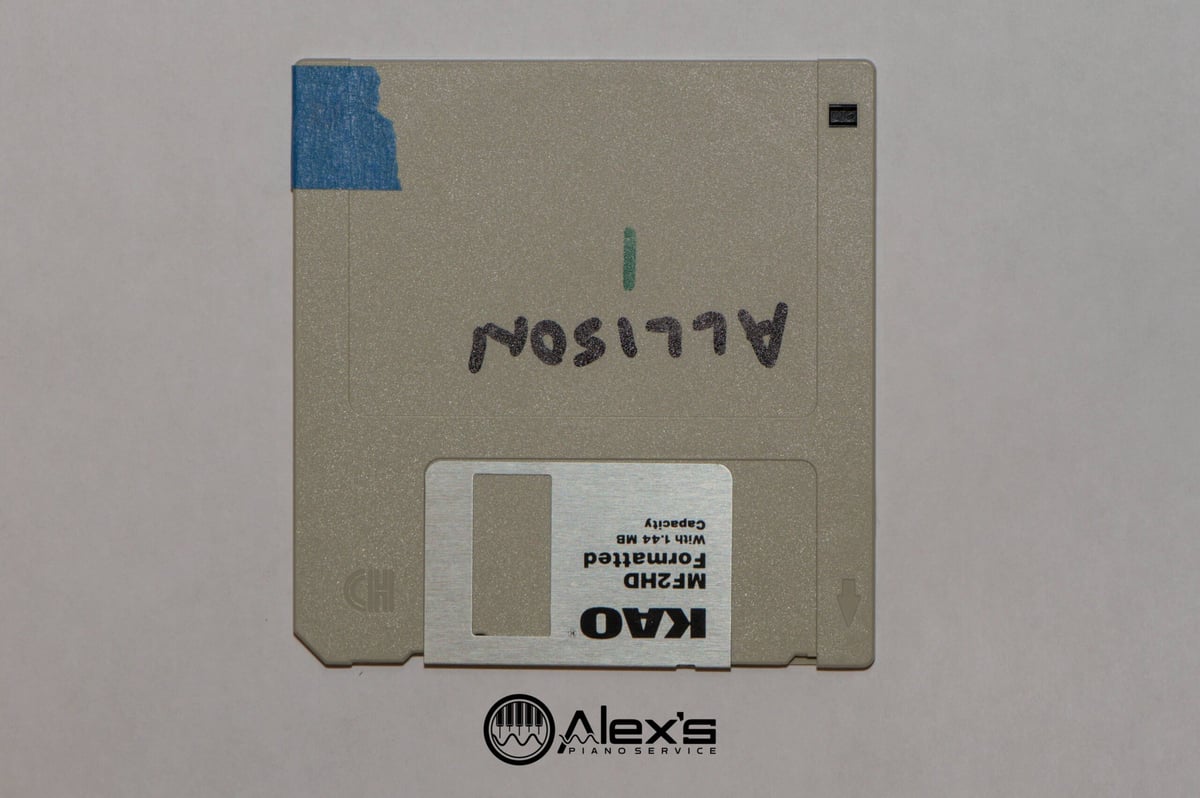
Troubleshoot unreadable Yamaha Disklavier and Clavinova floppies, including copy protection, DD vs HD disks, Mac limits, and recovery options.
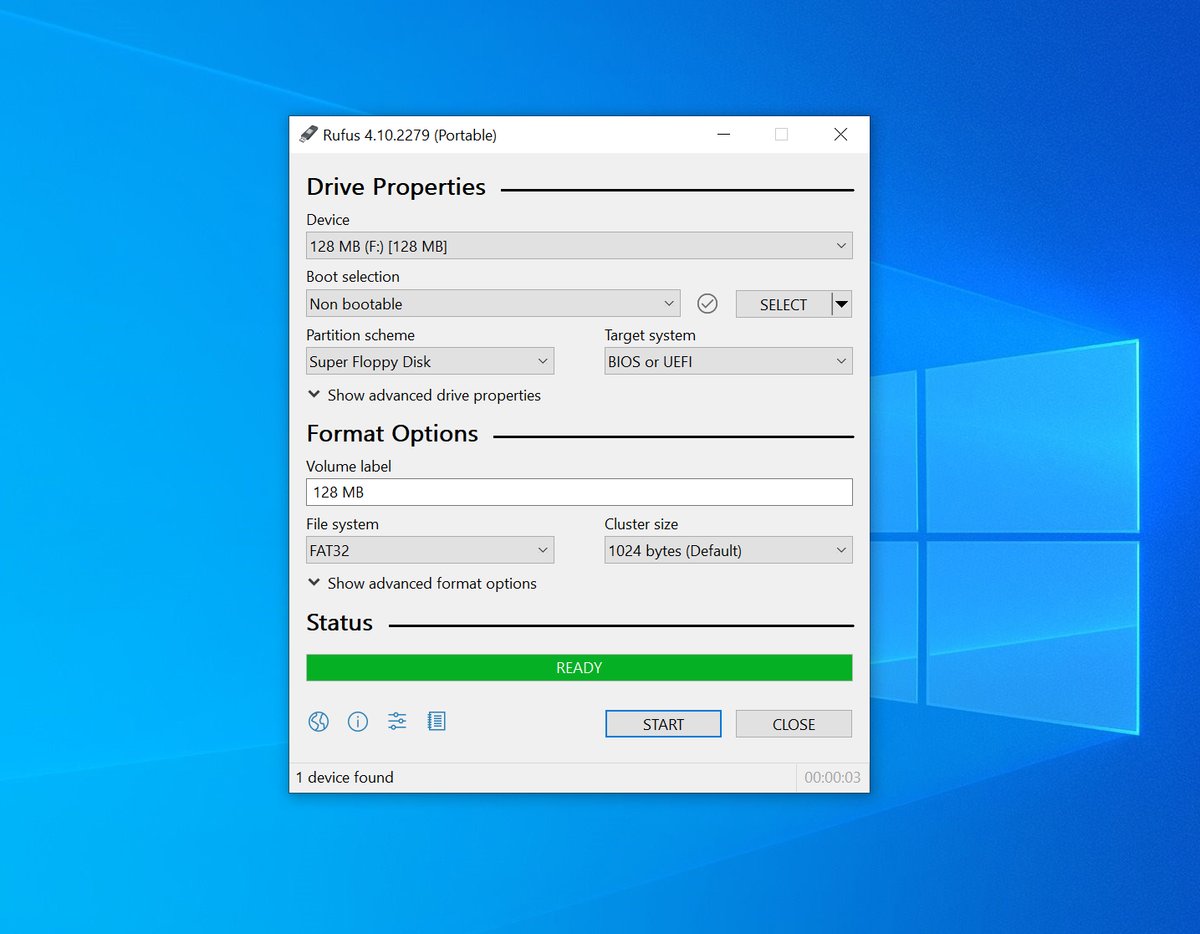
Fix USB sticks that do not appear on keyboards, Disklaviers, or Nalbantov emulators with FAT32, FAT16, and superfloppy formatting tips.
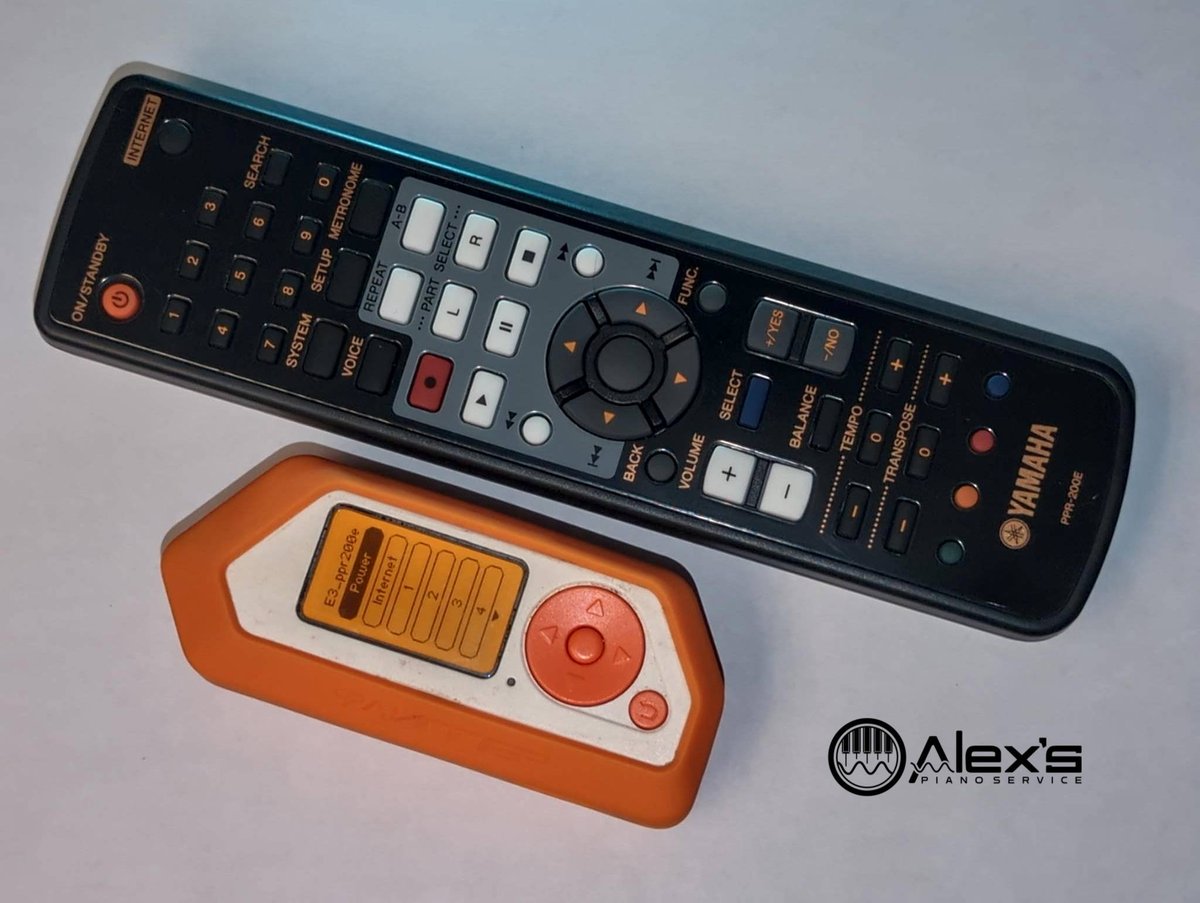
Use a Flipper Zero as a replacement Yamaha Disklavier remote for PPR-200E, PPR-103E, and PPR-100 functions, including IR codes.
Learn which Yamaha Disklavier DKC-850 conversion cables fit Mark I, II, and III systems, what they do, and how to order adapters.