Roland FP-10 vs. FP-30X vs. FP-60X vs. FP-90X: What Actually Changes
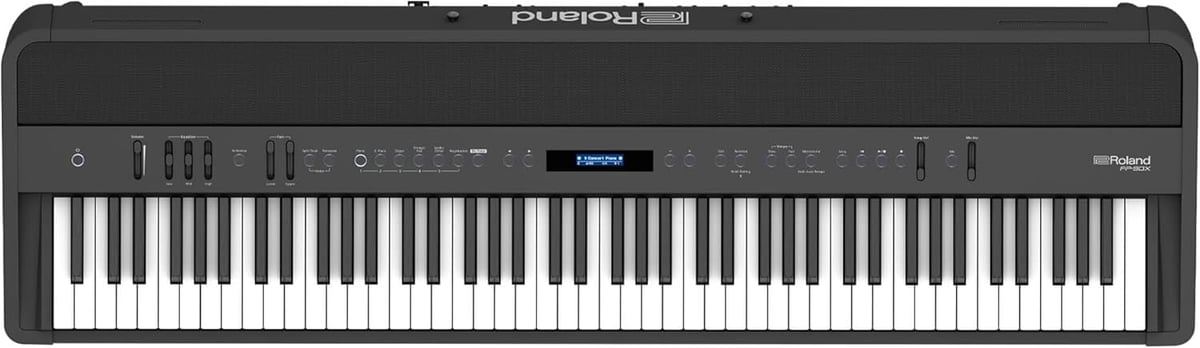
Compare Roland FP-10, FP-30X, FP-60X, and FP-90X by action, sound engine, speakers, outputs, pedals, features, and value.
Compare Roland FP-10, FP-30X, FP-60X, and FP-90X by action, sound engine, speakers, outputs, pedals, features, and value.
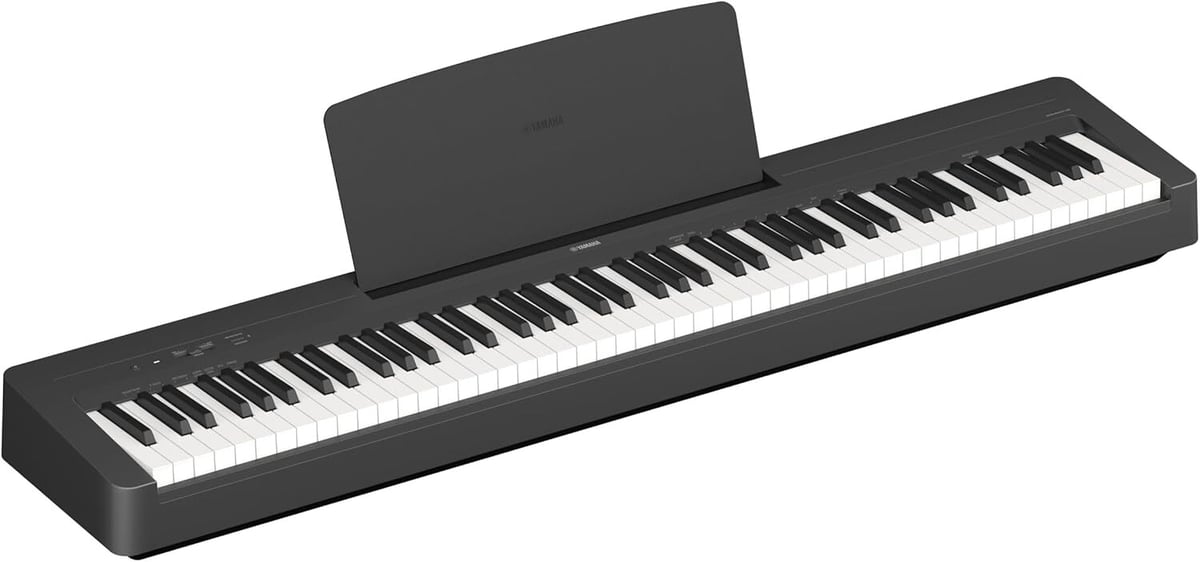
Compare Yamaha P-45 and P-145 digital pianos by action, sound, pedals, portability, beginner value, and what changed between models.
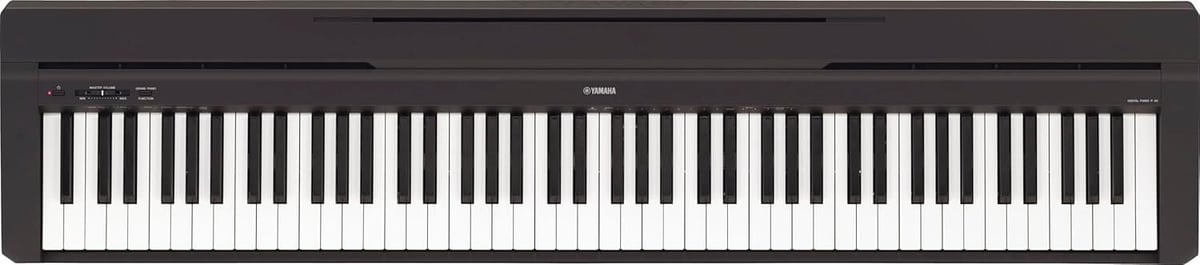
Compare Roland FP-10 and Yamaha P-45B for action feel, sound, Bluetooth, reliability, common repairs, and beginner digital piano value.
Technician guide to buying a budget beginner digital piano, including models to consider, models to avoid, and accessories that matter.
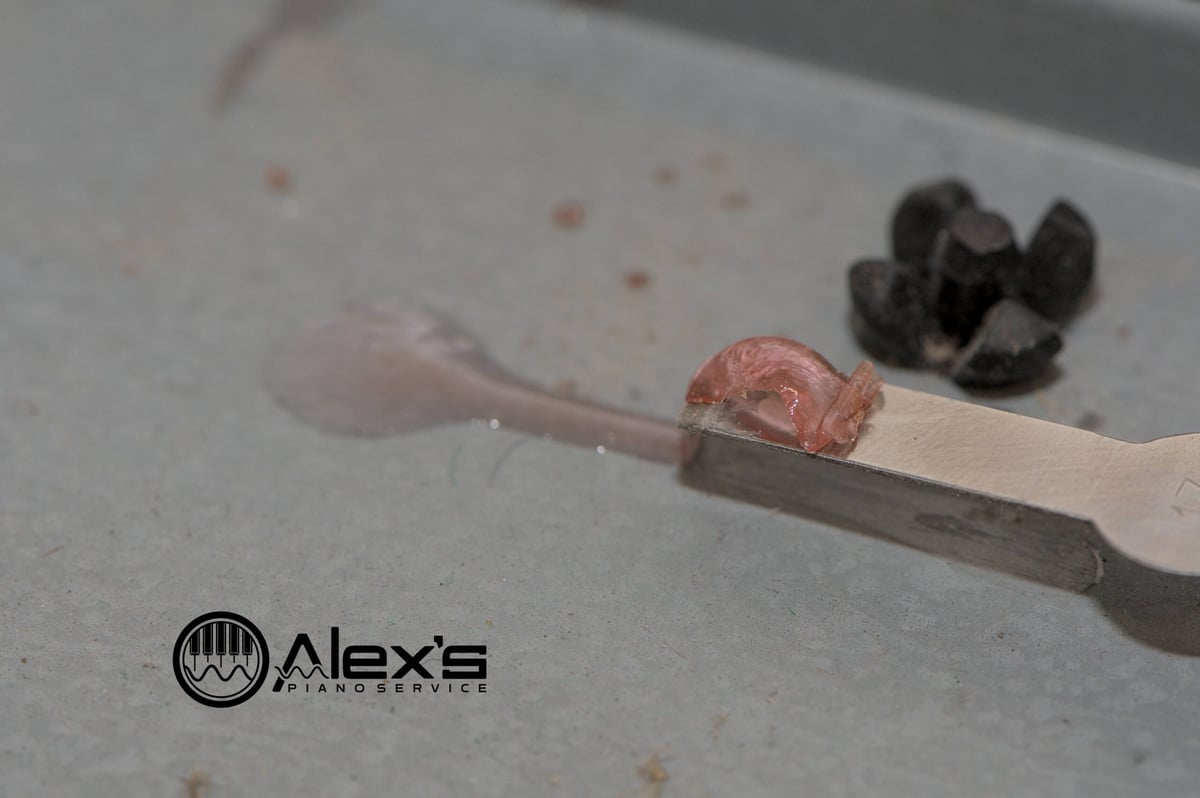
Repair Roland red goo key-weight failures by safely removing failed adhesive, cleaning keys, and reattaching weights with proper epoxy.
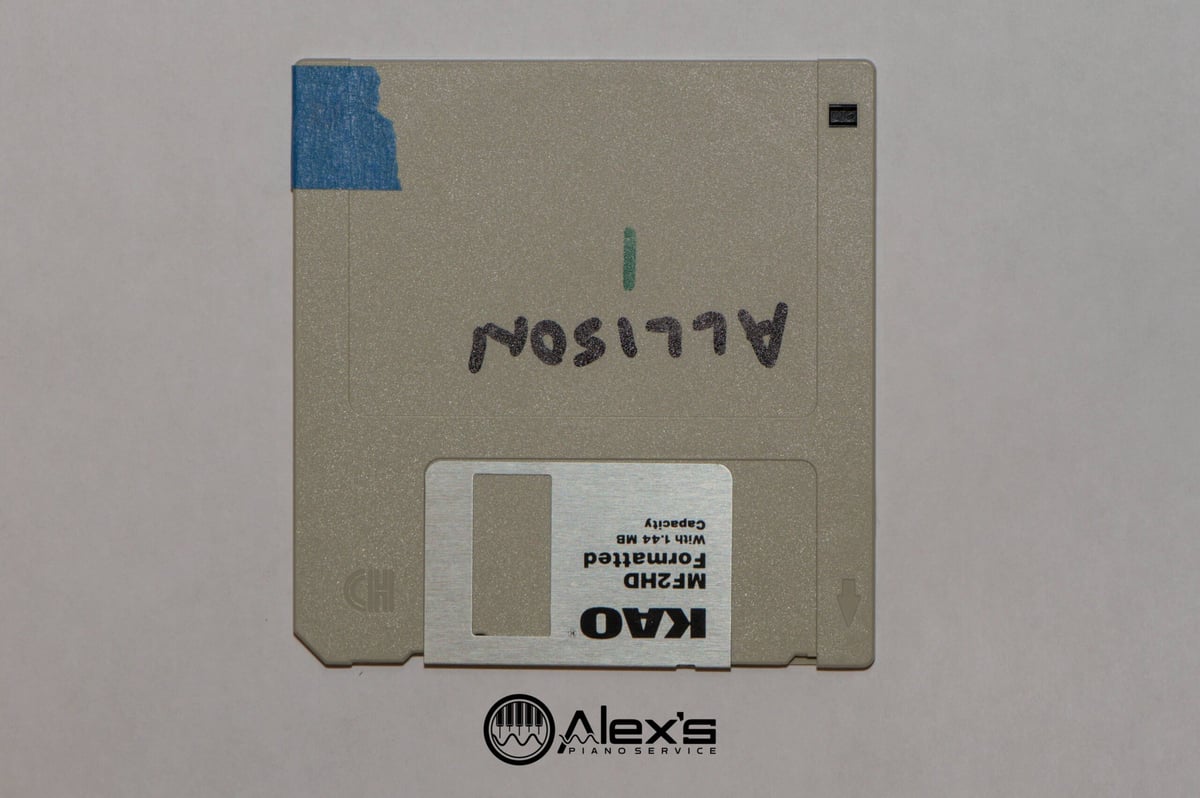
Troubleshoot unreadable Yamaha Disklavier and Clavinova floppies, including copy protection, DD vs HD disks, Mac limits, and recovery options.
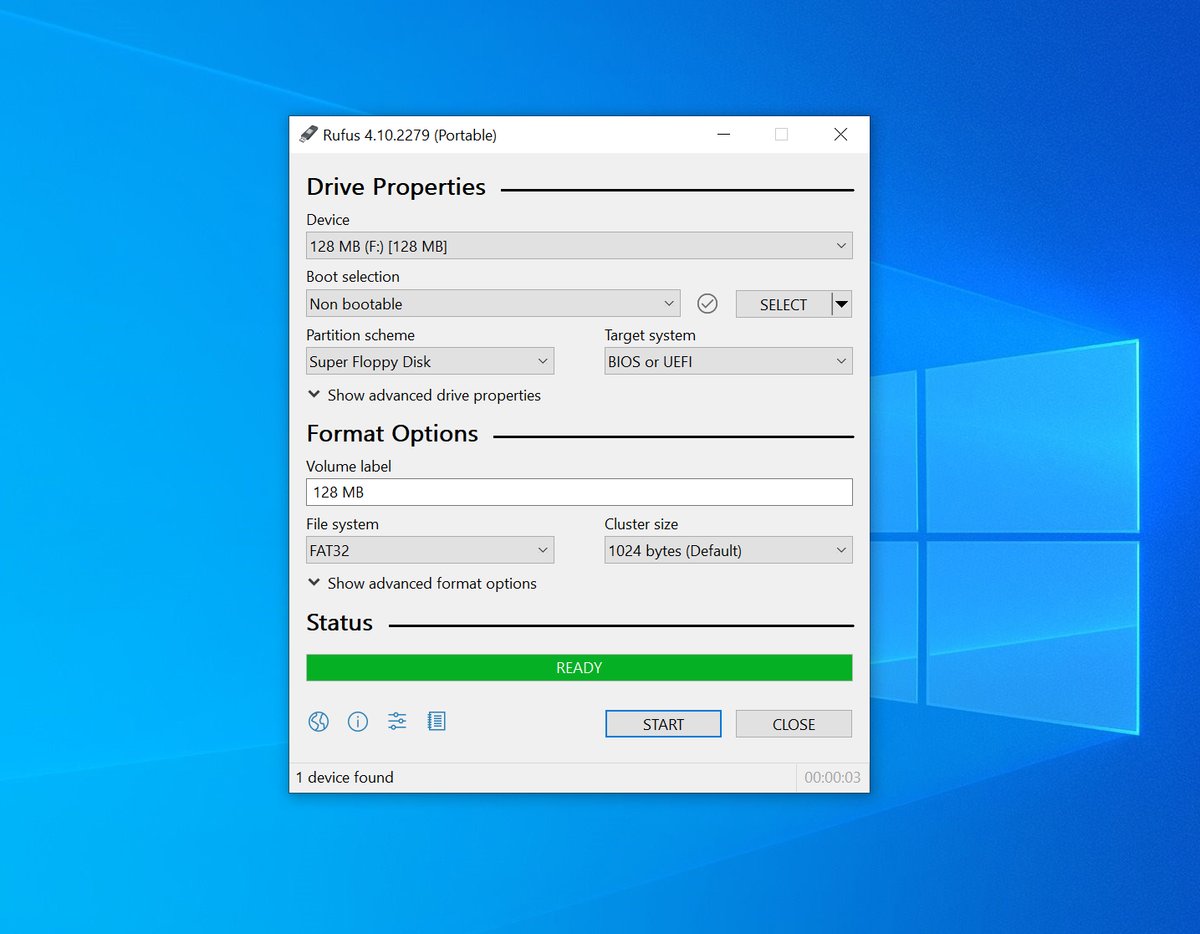
Fix USB sticks that do not appear on keyboards, Disklaviers, or Nalbantov emulators with FAT32, FAT16, and superfloppy formatting tips.
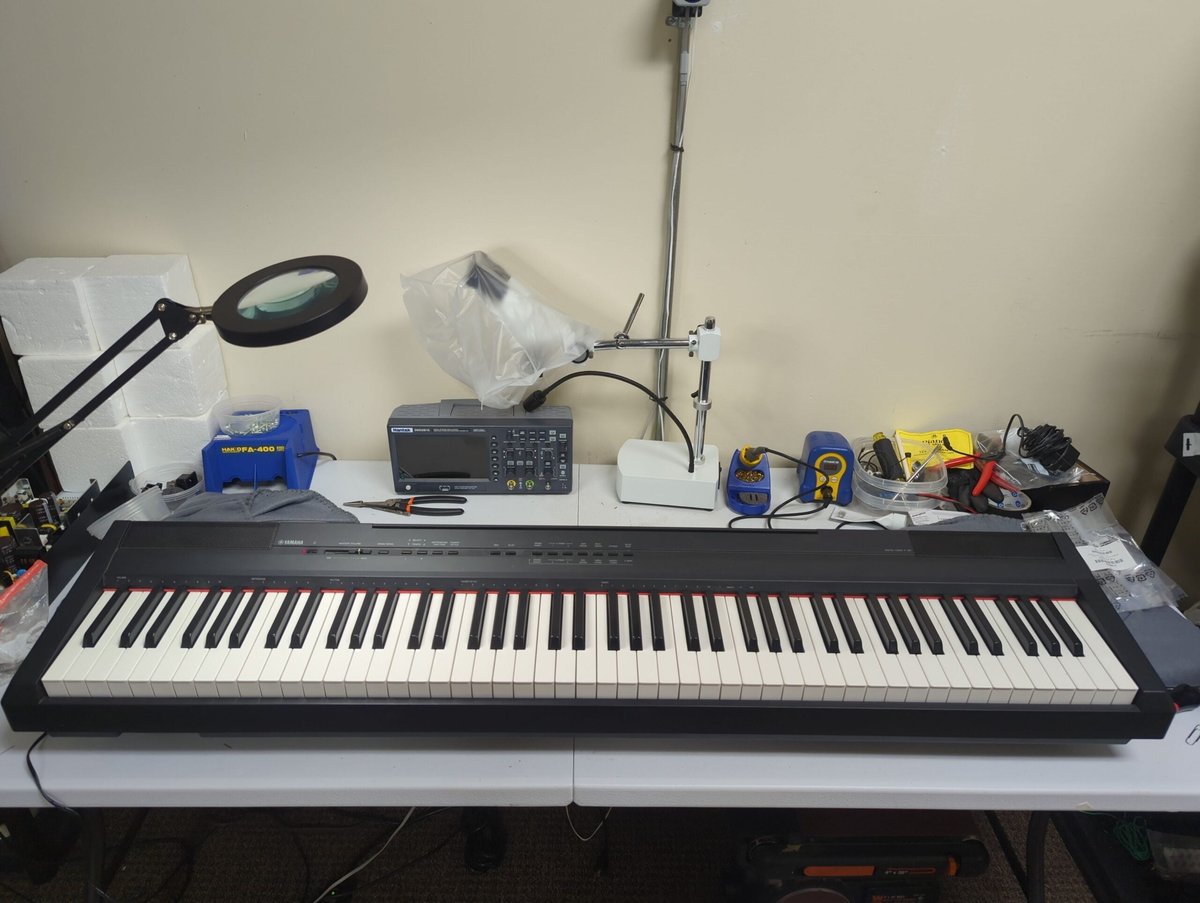
Work notes on a buzzing Yamaha GB1, silent Yamaha P-71 after a spill, and pinblock treatment mistakes that can damage grands.
Factory reset guide for Yamaha keyboards and digital pianos, including common reset button combinations for restoring sound and clearing errors.
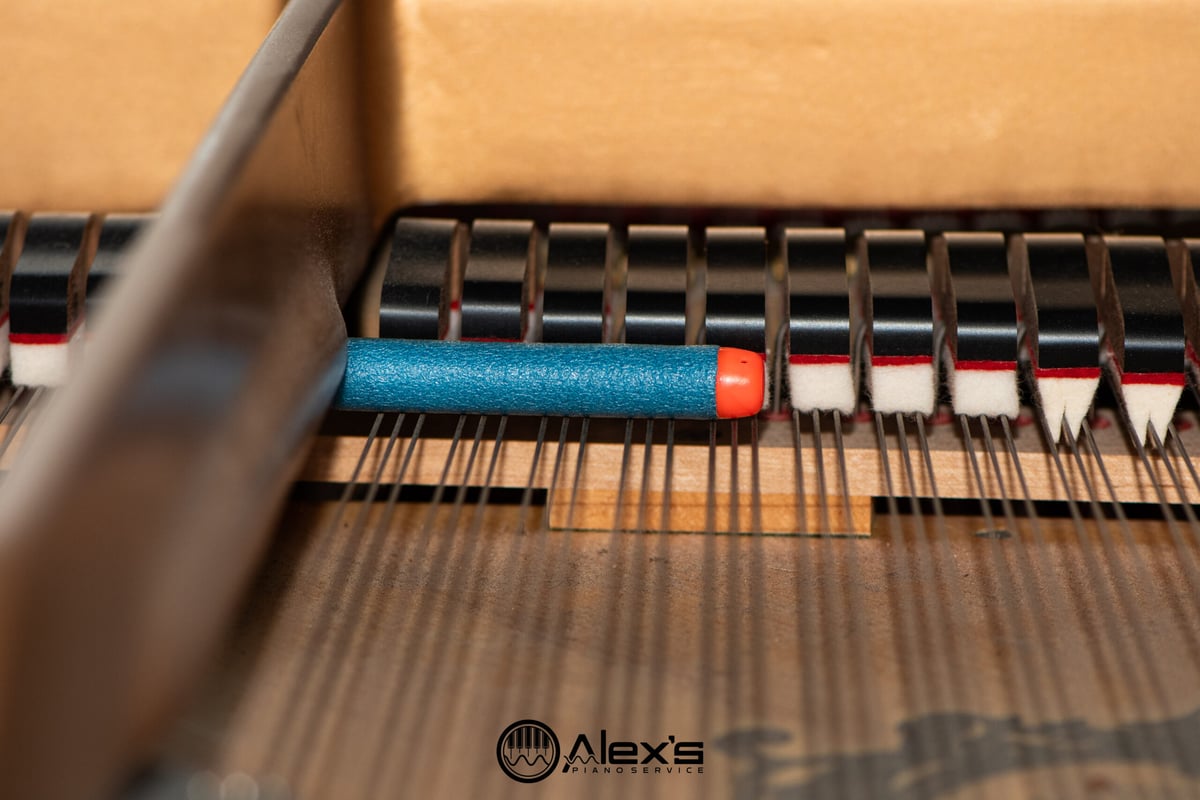
Fix noisy or heavy Yamaha CLP-295GP keys by separating hammer strike and rest felts, a common Clavinova repair from late-2000s models.