Why Disklavier Floppy Drives Fail (And How to Back Up Disks)
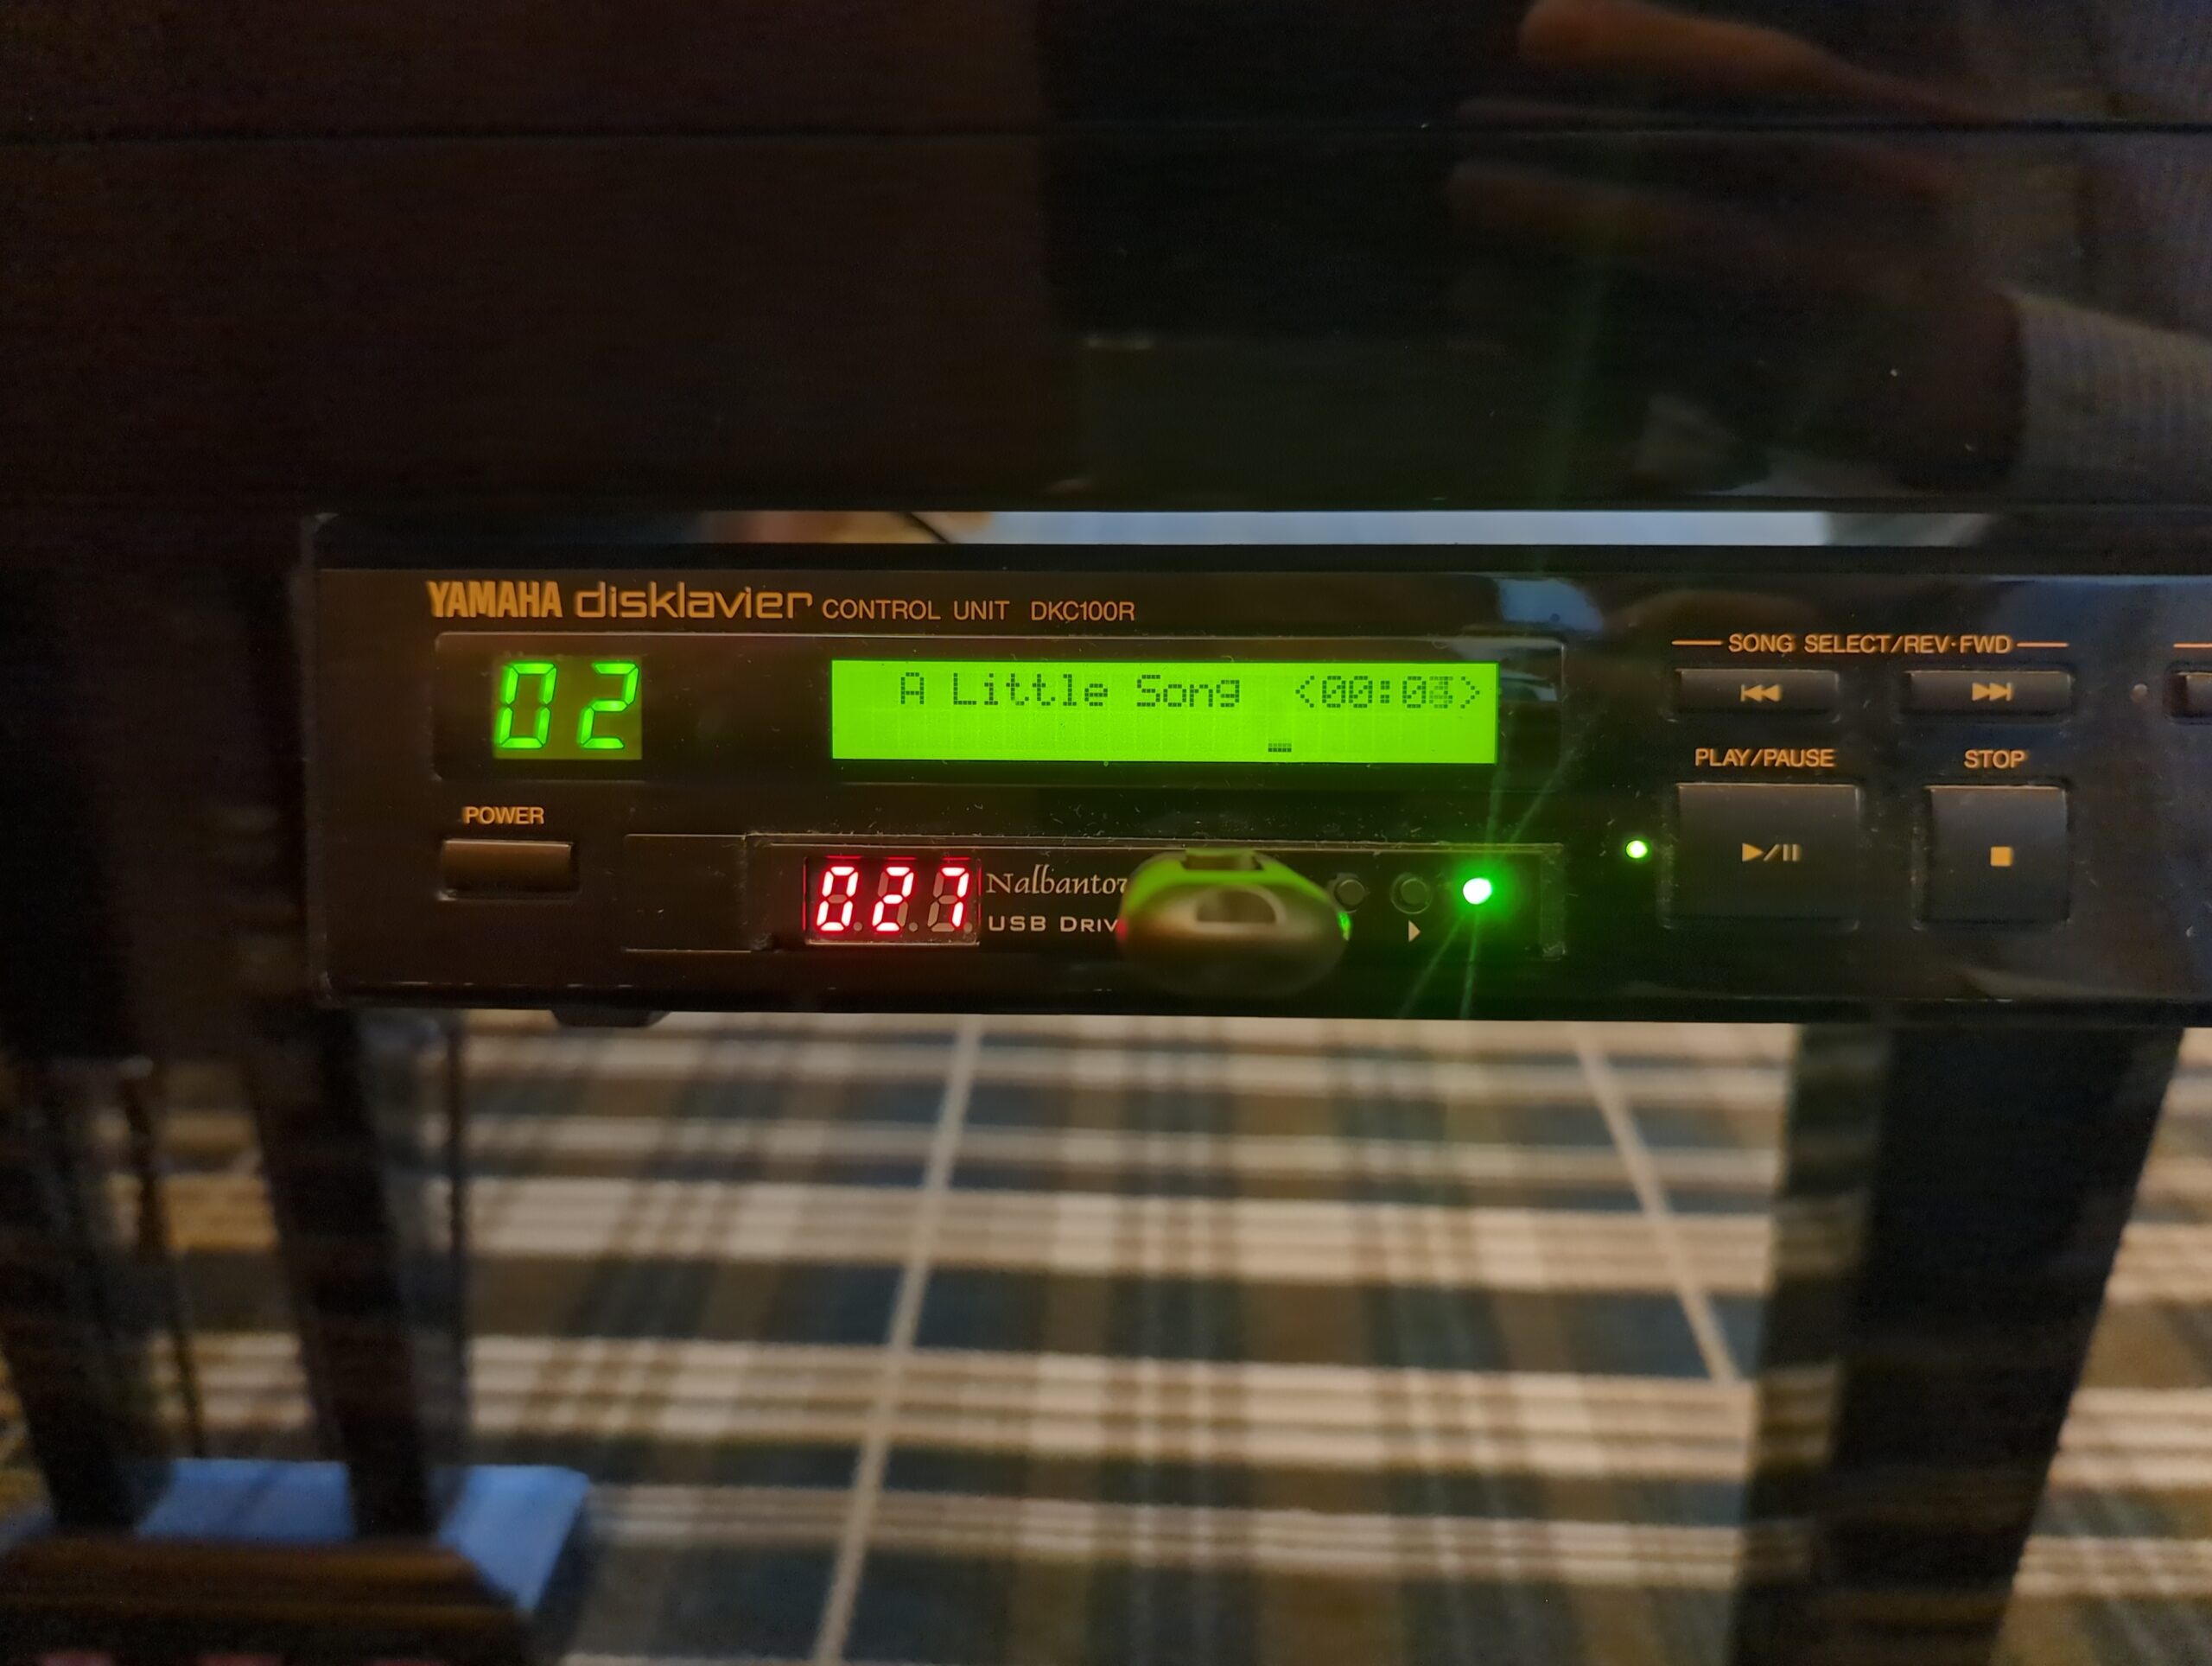
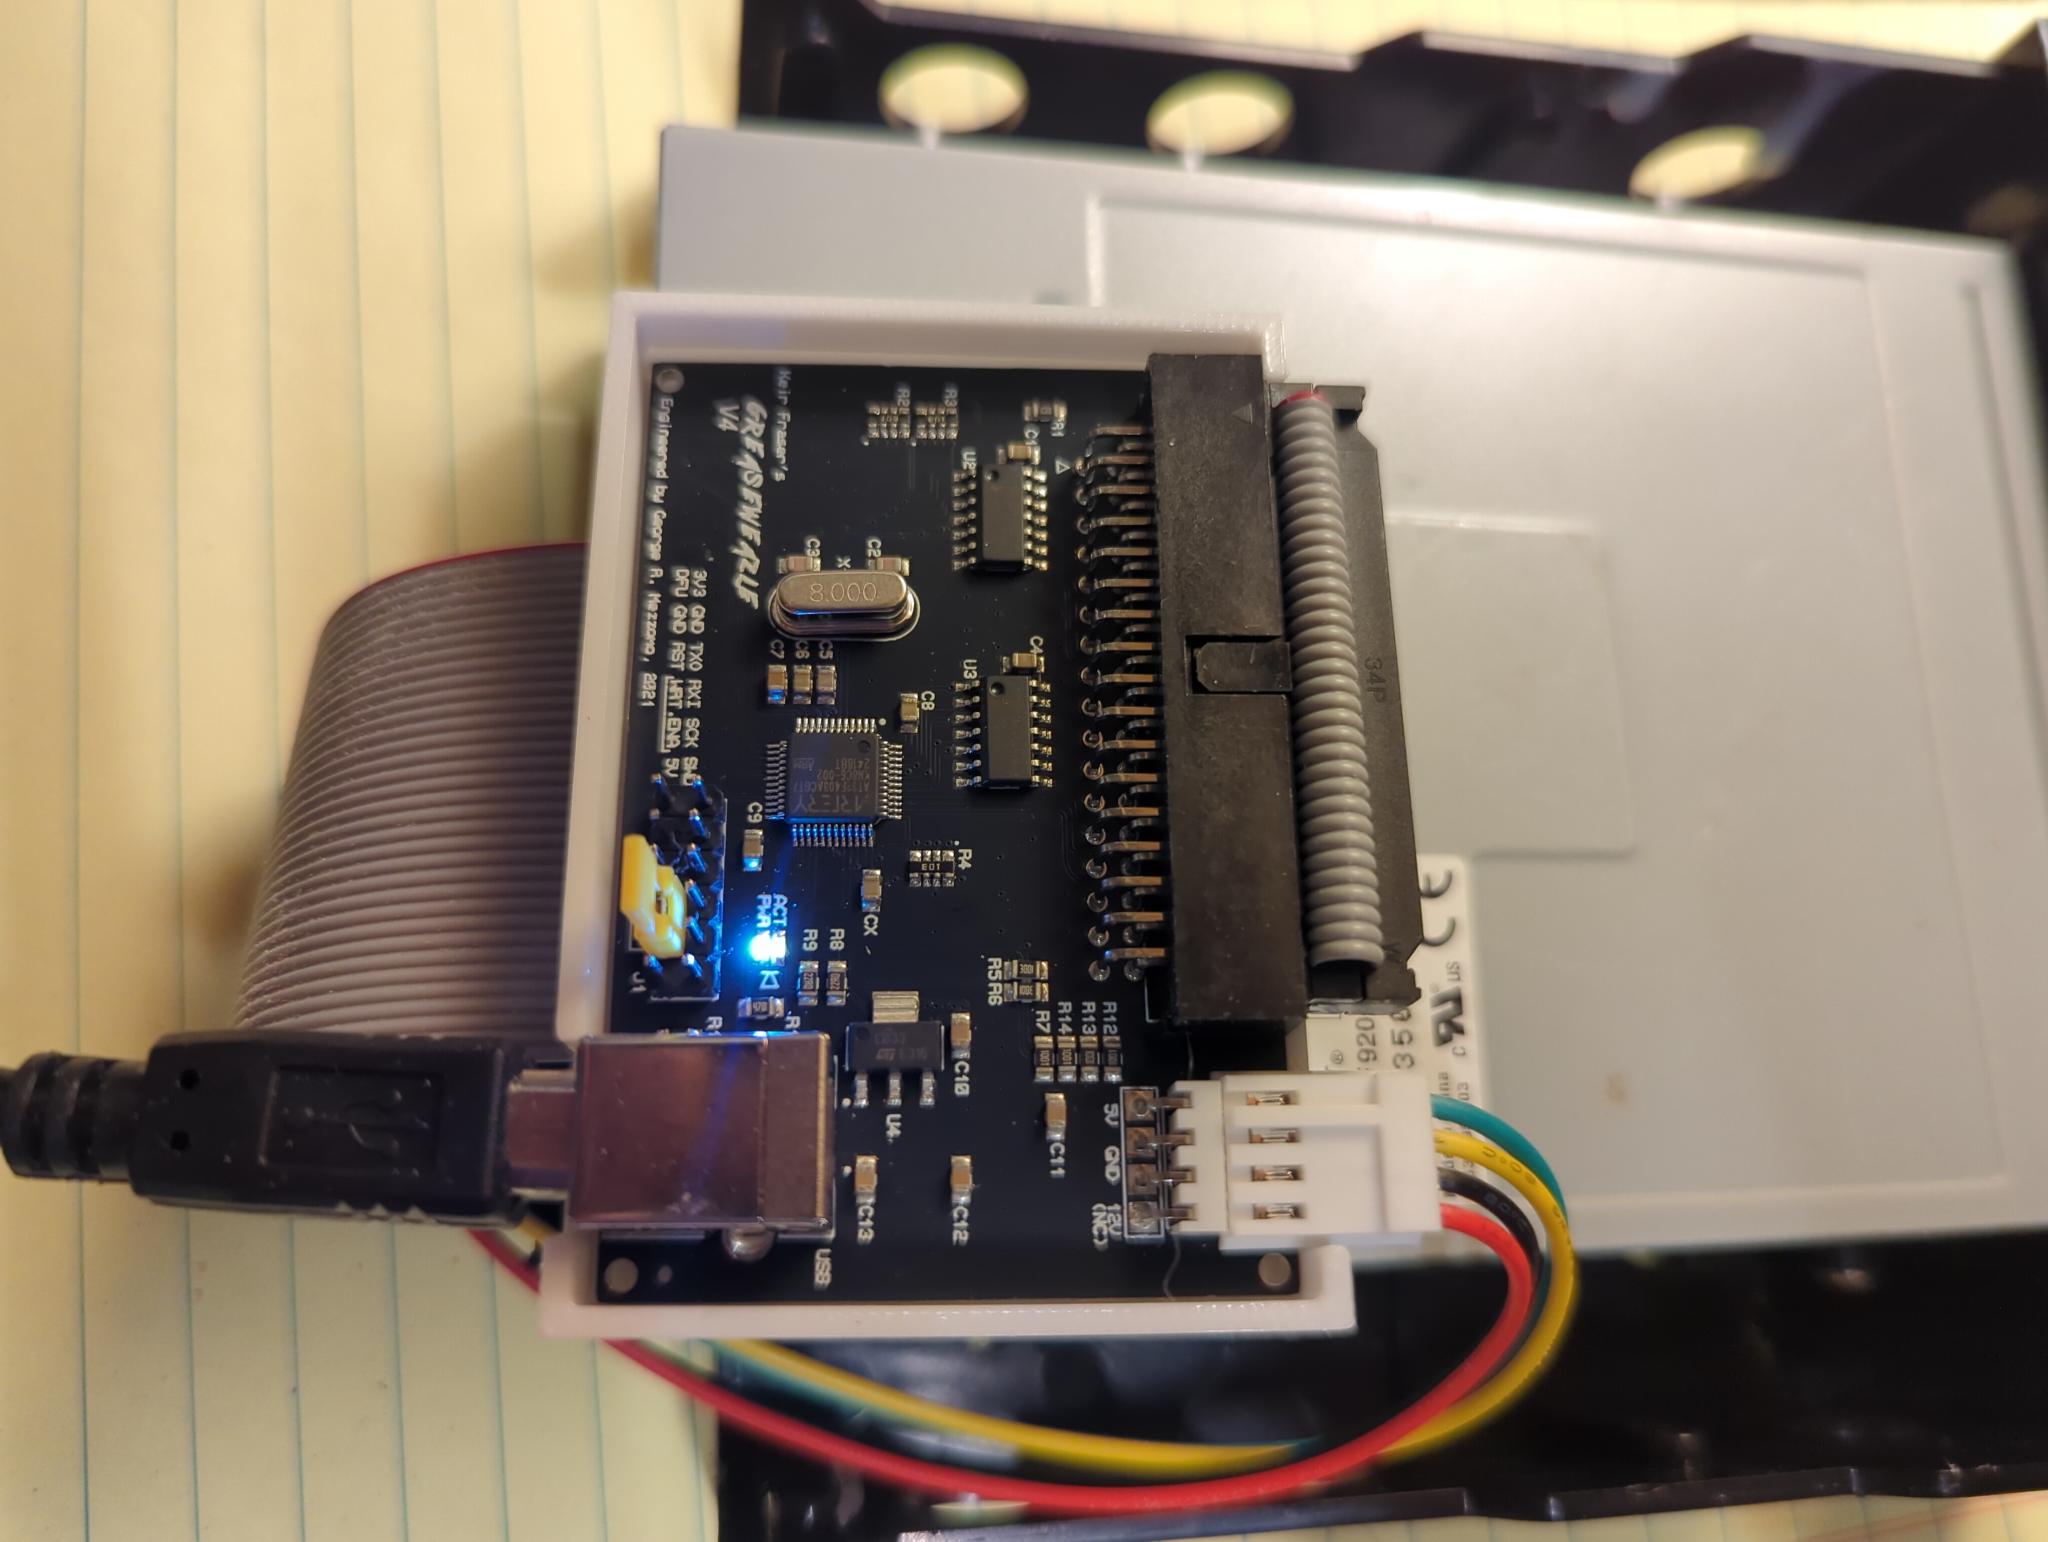
Yamaha Disklavier floppy disk drives are a notorious point of failure. Yamaha Disklaviers used floppy disk drives that were quite excellent for their time: They had all-metal frames, precision stepper mechanisms, and reasonably tolerant analog read electronics. Thirty-odd years later, however, these mechanical drives are far past their life expectancies. If you have an older … Read more