String Beating Explained: Why Piano Strings Beat + Demo Tool
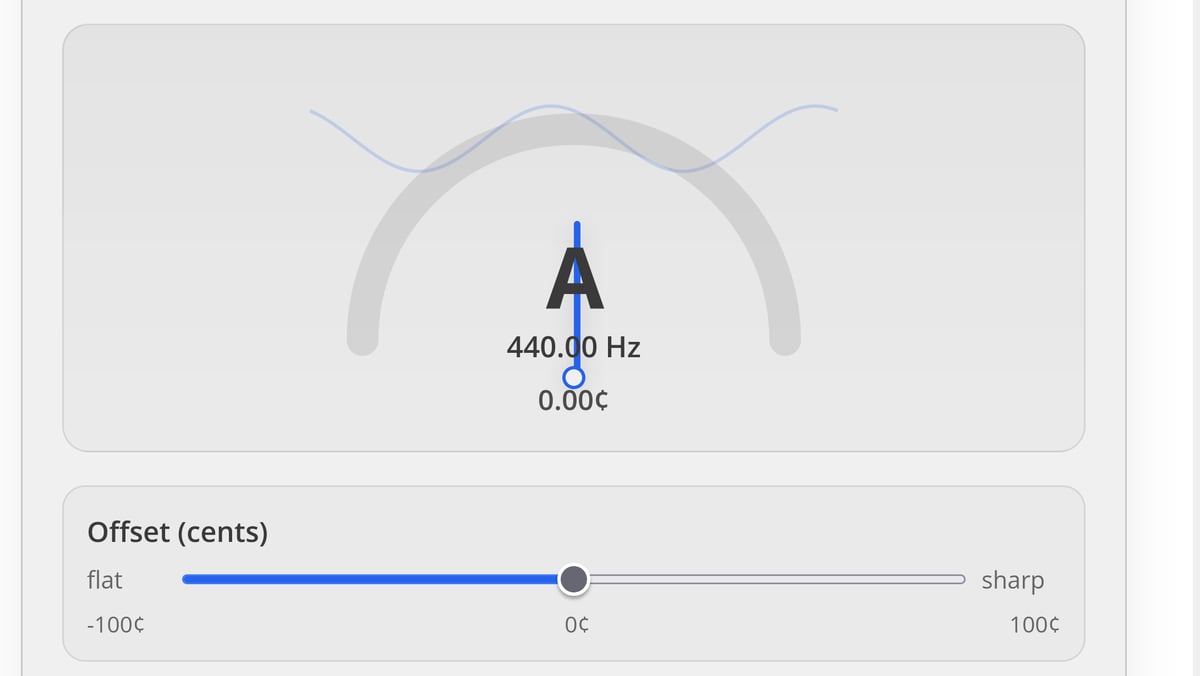
If you’ve ever heard a piano note go “wah‑wah‑wah,” you’ve heard string beating. For piano tuners, it’s one of the most useful sounds: It tells you, instantly, whether two strings are truly matching or fighting each other. In this article I’ll explain what beating between strings is, why piano string beating is so obvious in … Read more