This guide covers a simple APS MIDI Prep Tool workflow: You already have MIDI files saved on your computer, and you want to convert them from MIDI Type 1 / SMF1 to MIDI Type 0 / SMF0 for better compatibility with a Disklavier, player piano, keyboard, USB stick, floppy emulator, or other playback system.
APS MIDI Prep Tool can do several more advanced jobs, including working with floppy images, E-SEQ files, PIANODIR.FIL, MIDI titles, and DOS 8.3 filenames. This page is intentionally narrower than that. We are not starting from a floppy disk here. We are starting with .mid or .midi files that are already on your computer.
Open MIDI Folder, or dragging-and-dropping MIDI files into the window.What this workflow is for
This workflow is useful when a MIDI file plays correctly on a computer, but plays incorrectly on a player piano. A common symptom is that only one hand plays, the accompaniment is missing, or the instrument seems to ignore part of the song.
That can happen when the file is saved as MIDI Type 1. Type 1 MIDI files can store the song across multiple tracks. MIDI Type 0 stores the song in a single track. Many older player piano systems, including some Disklavier workflows, are happier with Type 0 files.
There are two related ideas to keep separate:
- MIDI Type 1 / SMF1 means the file may contain multiple tracks. This is common when files are exported from notation software, sequencers, or DAWs.
- MIDI Type 0 / SMF0 means the file has been merged into a single-track Standard MIDI File. This is often the safer format for older hardware playback.
APS MIDI Prep Tool can convert all listed Type 1 files to Type 0 in one step. Type 0 files that are already correct are left alone.
Important: Type 0 versus Type 1 is about tracks, not channels. Converting to Type 0 merges the tracks into one track, but it does not remap MIDI channels. If a file still plays incorrectly after conversion, the problem may be channel assignment rather than MIDI file type.
Before you start
I strongly recommend making a copy of your MIDI folder before doing any bulk conversion. Even when a tool is designed to be careful, it is always better to experiment on copies than on your only archive.
- Create a new folder, such as
MIDI Type 0 Working Copy. - Copy the MIDI files you want to convert into that folder.
- Keep your original folder untouched until you have tested the converted files.
You can also check Back up before saving before running the conversion. When backups are enabled, APS MIDI Prep Tool creates backup files before modifying the listed files.
This is especially important if the files came from an older disk, a customer archive, a purchased library, or a rare collection. Test a few converted files on the actual playback system before spending time preparing hundreds of songs.
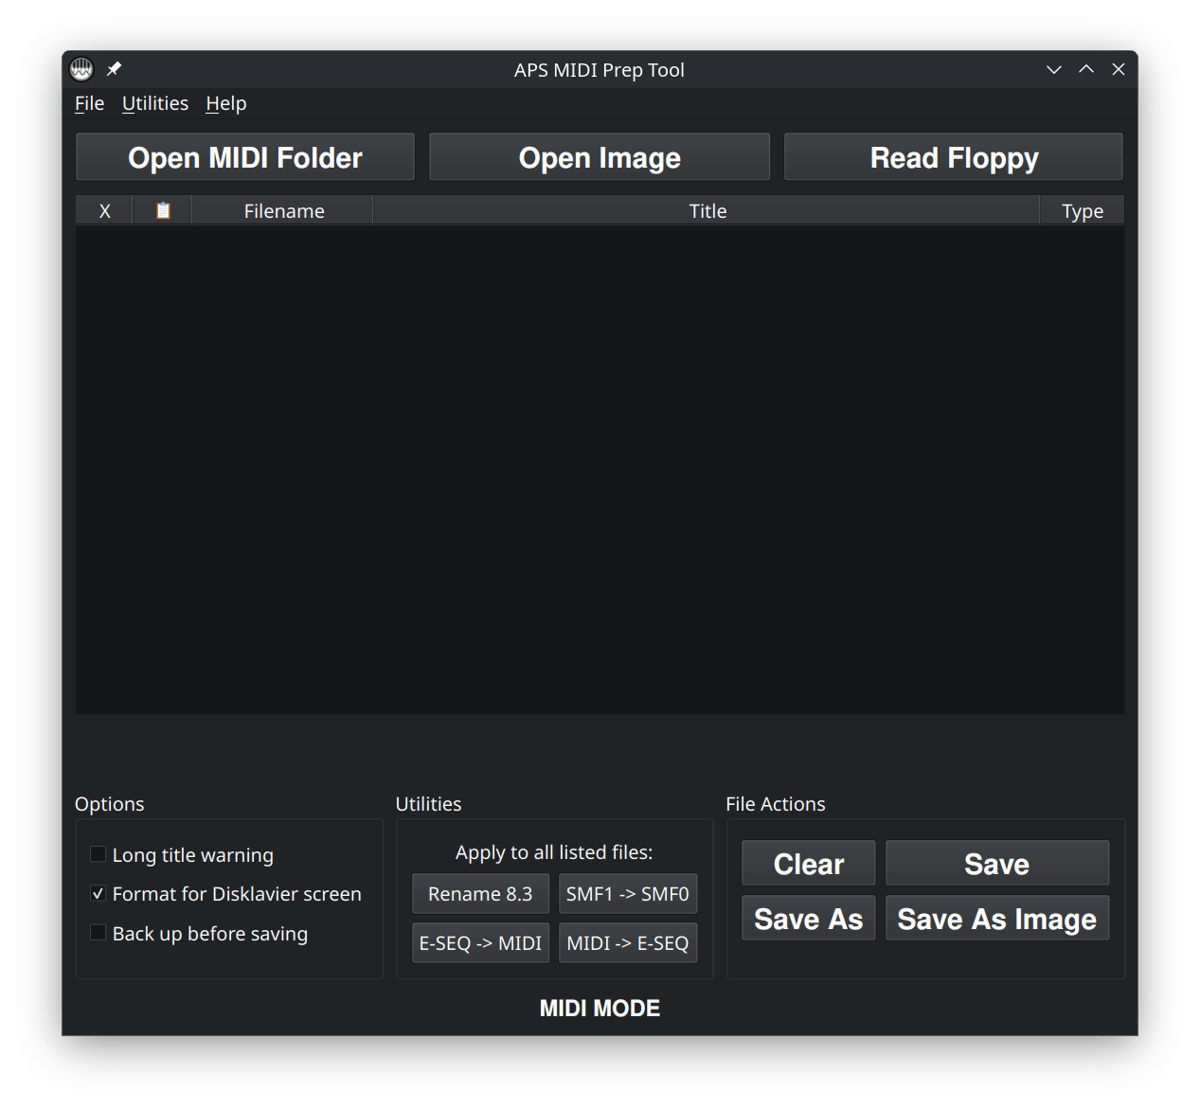
Step 1: Open APS MIDI Prep Tool
Launch APS MIDI Prep Tool. For this workflow, you do not need Open Image or Read Floppy. Those are useful for other jobs, but here we are working with normal MIDI files already stored on your computer.
Click Open MIDI Folder and choose the folder containing your copied MIDI files.
Alternatively, you can drag and drop your MIDI files into the window.
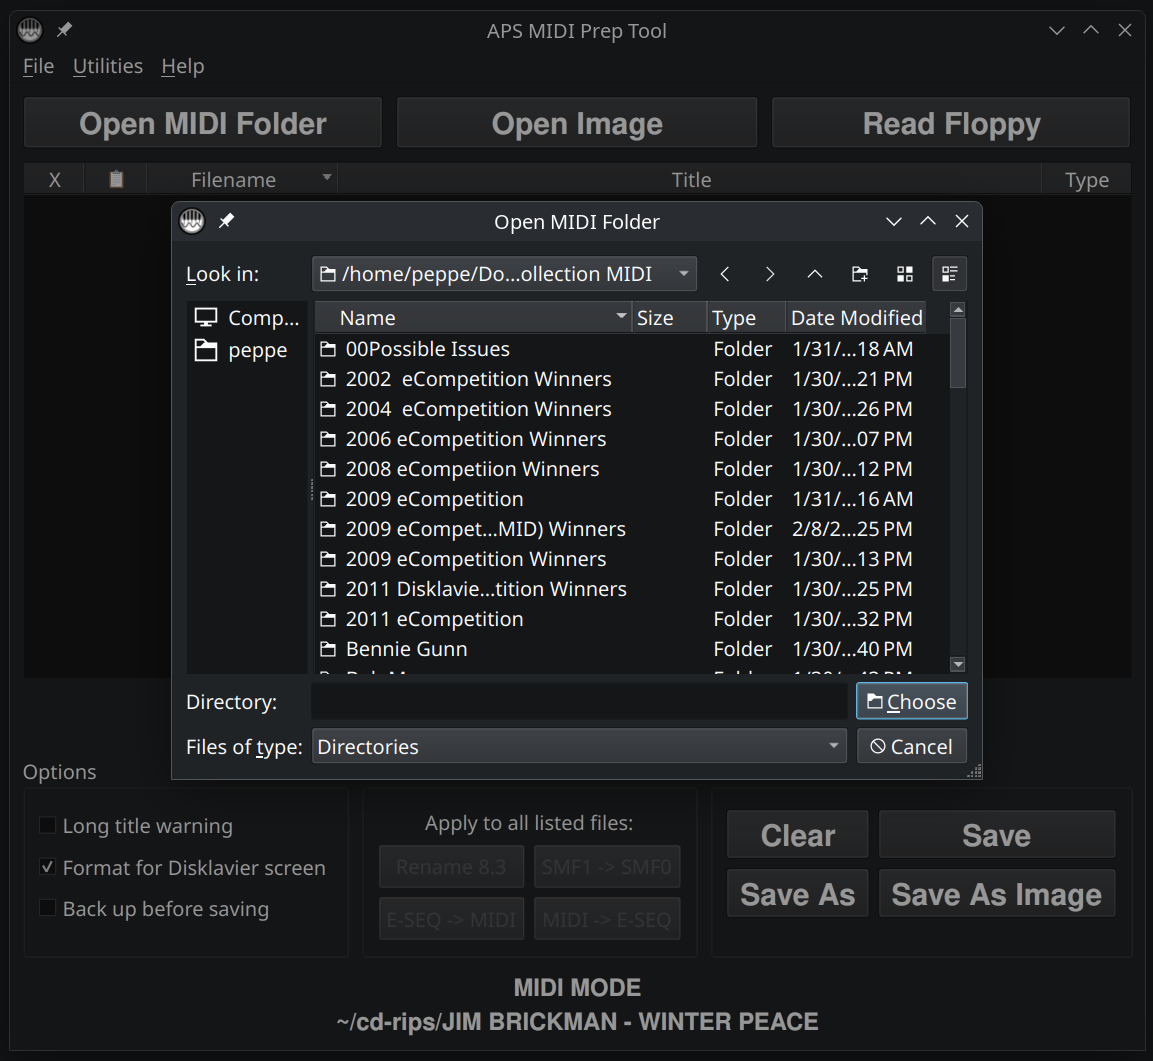
Open MIDI Folder in APS MIDI Prep Tool. Select the folder you want. If you have individual MIDI files, it’s generally easier to drag-and-drop them into the window.Step 2: Review the file list
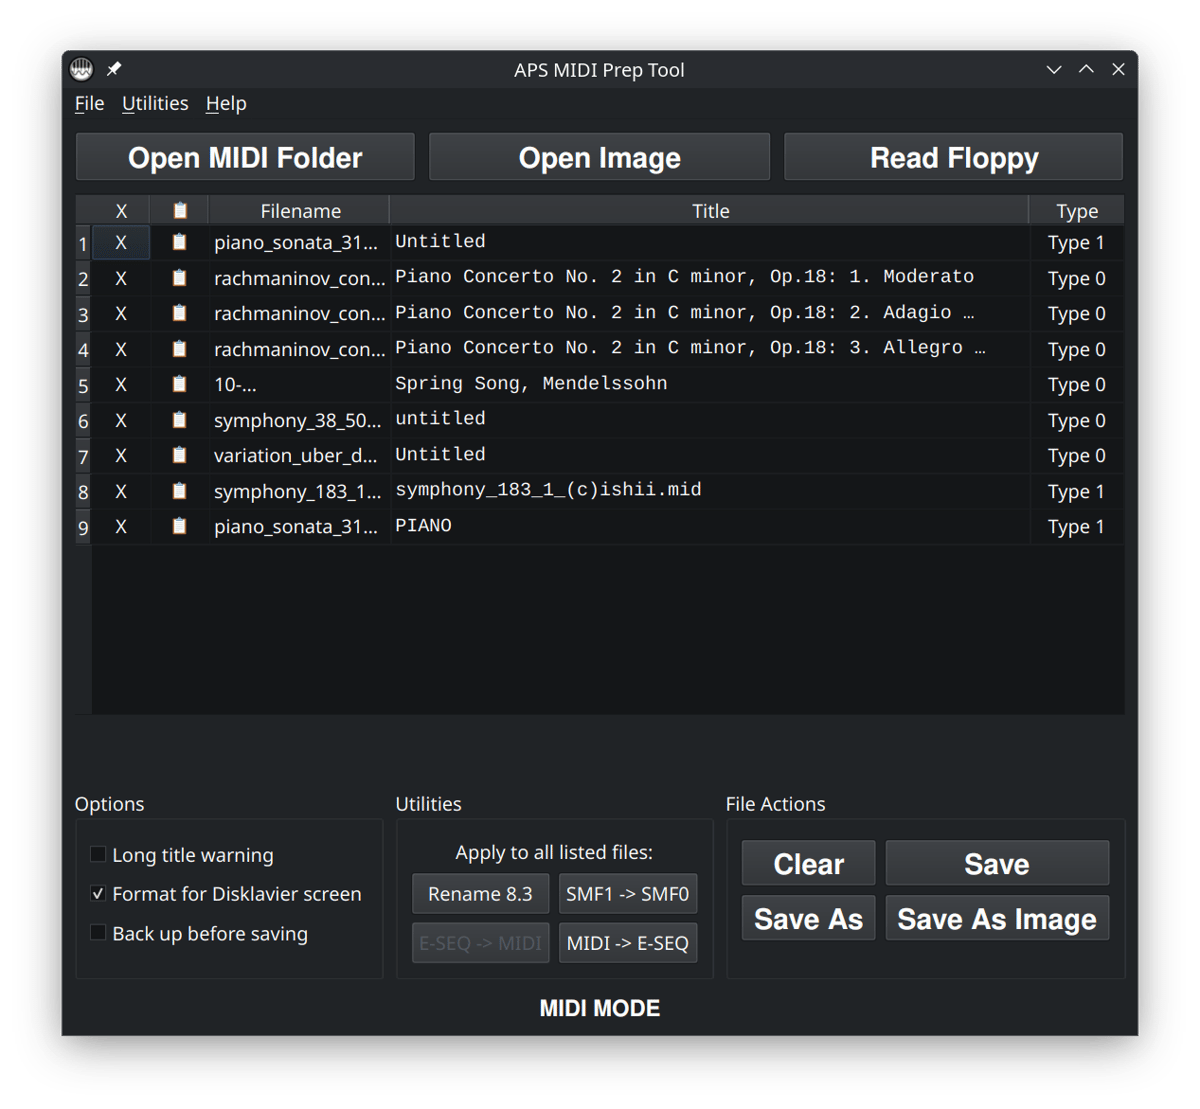
After the folder loads, APS MIDI Prep Tool will show the files in a table. You will see the filename, the extracted title, a long-title warning column, and the detected MIDI type.
Look at the Type column. Files shown as Type 1 are the files this workflow is meant to convert. Files already shown as Type 0 do not need this conversion.
If nothing appears, check that the folder contains files ending in .mid or .midi. If the files are inside another subfolder, open that folder instead. You can also drag individual MIDI files directly into the window.
Step 3: Turn on backups if the files are important
Before converting, decide whether you want APS MIDI Prep Tool to create backup files. If these are important files, I recommend checking Back up before saving before running the conversion.
The Type 1 to Type 0 conversion is a bulk utility. It works on the listed files, so it is best to use it on a working copy of your MIDI folder. Backups add another layer of safety.
Step 4: Convert SMF1 to SMF0
Click SMF1 -> SMF0 in the Utilities section.
You can also find the same command from the menu under Utilities > Convert All SMF1 to SMF0.
APS MIDI Prep Tool will warn you before running the conversion. Read the warning carefully. The conversion changes Type 1 files into Type 0 files by merging the MIDI tracks into a single track. It does not change the musical notes, timing, velocities, or MIDI channels on purpose, but it does change the structure of the Standard MIDI File.
This conversion is not always compatible with Yamaha XG files. If you are not sure whether your files are XG files, work from copies and test the converted files before using them in a performance or customer archive.

SMF1 -> SMF0. Remember to select Back up before saving if you’re working with files you can’t easily replace.Step 5: Confirm the result and Save
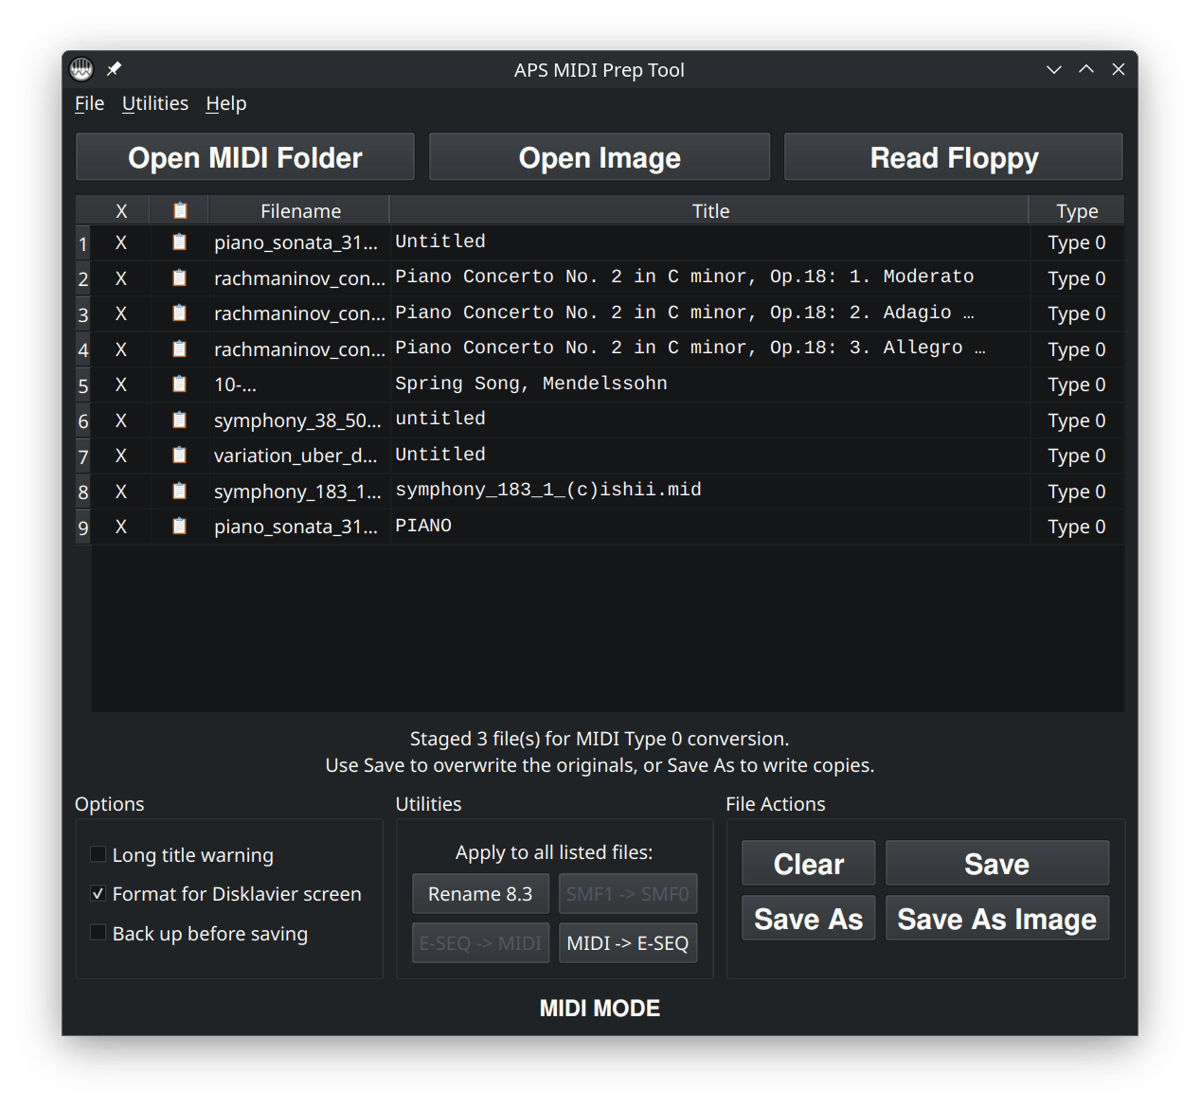
After the conversion finishes, check the status message at the bottom of the window. APS MIDI Prep Tool will report how many files were converted, how many were already Type 0, how many backups were created, and whether any files failed conversion.
Now look at the Type column again. The files that were successfully converted should now show Type 0.
Now save your changes using Save if you want to convert the original files, or Save As if you’d like to save the converted files somewhere else.
If the tool says that conversion was not needed, that means the listed MIDI files were already Type 0. In that case, the playback problem is probably not a Type 1 versus Type 0 issue.
Step 6: Test the converted files
Before copying a whole library to your playback media, test a few converted files on the actual instrument or system. Make sure the piano can see the files, that both hands or parts play correctly, and that the titles are still useful.
If the files now play correctly, you can continue preparing the rest of the folder. If they still play incorrectly, the issue may be something else, such as MIDI channel mapping, a missing instrument setup event, unusual controller data, or a file that was not a normal Standard MIDI File.
Converting from Type 1 to Type 0 is often the right fix when a player piano ignores part of a song, but it is not a cure for every MIDI playback problem.
Step 7: Copy the converted files to your playback media
Once the files test correctly, copy the prepared MIDI files to the place you normally use them. That might be a USB stick, a folder used by a floppy emulator, a computer connected to the piano, or another playback system.
If you are preparing files for an older system, you may also want to use Rename 8.3 afterward so the filenames are short and simple. That is a separate workflow. Type 0 conversion changes the MIDI file structure; Rename 8.3 changes the filenames.
For older Disklaviers and floppy-style workflows, I usually prefer a cautious process: work from a copy, convert to Type 0, test a few songs, then copy the working files to the final media.
Common problems
The program did not show any files
Make sure you selected the folder containing the MIDI files themselves. The files should end in .mid or .midi. If the files are inside another subfolder, open that folder instead. Remember you can also drag and drop MIDI files directly into the window.
The SMF1 -> SMF0 button is not available
Make sure you are in normal MIDI MODE with MIDI files loaded. The Type 1 to Type 0 utility is for listed MIDI files. If you are working inside an image or floppy workflow, finish or export that workflow first, then load the MIDI files normally.
The tool says conversion is not needed
That means the listed MIDI files are already Type 0. If the piano still plays them incorrectly, the problem is probably not MIDI Type 1 versus Type 0. Check the MIDI channels, the file source, and whether the instrument expects a different format such as E-SEQ.
The file still plays only one hand after conversion
Type 0 conversion merges tracks, but it does not remap MIDI channels. If the file still plays only one hand, the notes may be on channels the piano is not using for playback. In that case, you may need a MIDI channel-remapping tool rather than a Type 0 converter.
The file is a Yamaha XG file
This conversion is often not compatible with Yamaha XG files. If you are working with XG files, do not run this conversion on your only copy. Work from backups and test carefully, or use a tool designed for that specific file type and playback system.
The file is Type 2
Type 2 MIDI files are uncommon and are not the normal format for a single song. APS MIDI Prep Tool will identify Type 2 files, but cannot convert them. If you encounter a Type 2 file, convert it to a standard song format first using a dedicated MIDI utility, then test again. Most users preparing Disklavier or player piano files are dealing with Type 0 or Type 1 files, not Type 2.
I need a quick online option instead
If you only need to convert a few files and do not want to install APS MIDI Prep Tool, you can use the online converter here: MIDI Type 1 to Type 0 Converter for Player Pianos.


