This article on Mark IV Disklavier SSD Conversion was originally contributed by Richard Zajac. This applies to anybody looking to replace the hard drive in the Mark IV.
The Mark IV utilized a spinning hard disk, which was more than sufficient for the technology of its time. Even advanced systems like the Yamaha Disklavier don’t demand exceptionally fast read speeds, as piano notes aren’t played within microseconds of each other. However, spinning hard disks do come with inherent drawbacks:
Being mechanical, they are prone to failure, and are noisy. Additionally, during system updates, the limitations of their read and write speeds become evident, resulting in updates that can take nearly an hour to complete.
Whether you’ve chosen to upgrade because of the improved read/write speed, or you’ve simply arrived here because the hard drive has failed, or an update has been interrupted, read on!
First, you’ll need a new solid state drive with a minimum of 80 GB of storage capacity, as well as an IDE to SATA adapter. The drive can be larger than 80 GB—for instance, I nearly always use 120 GB drives, as they’re readily available.
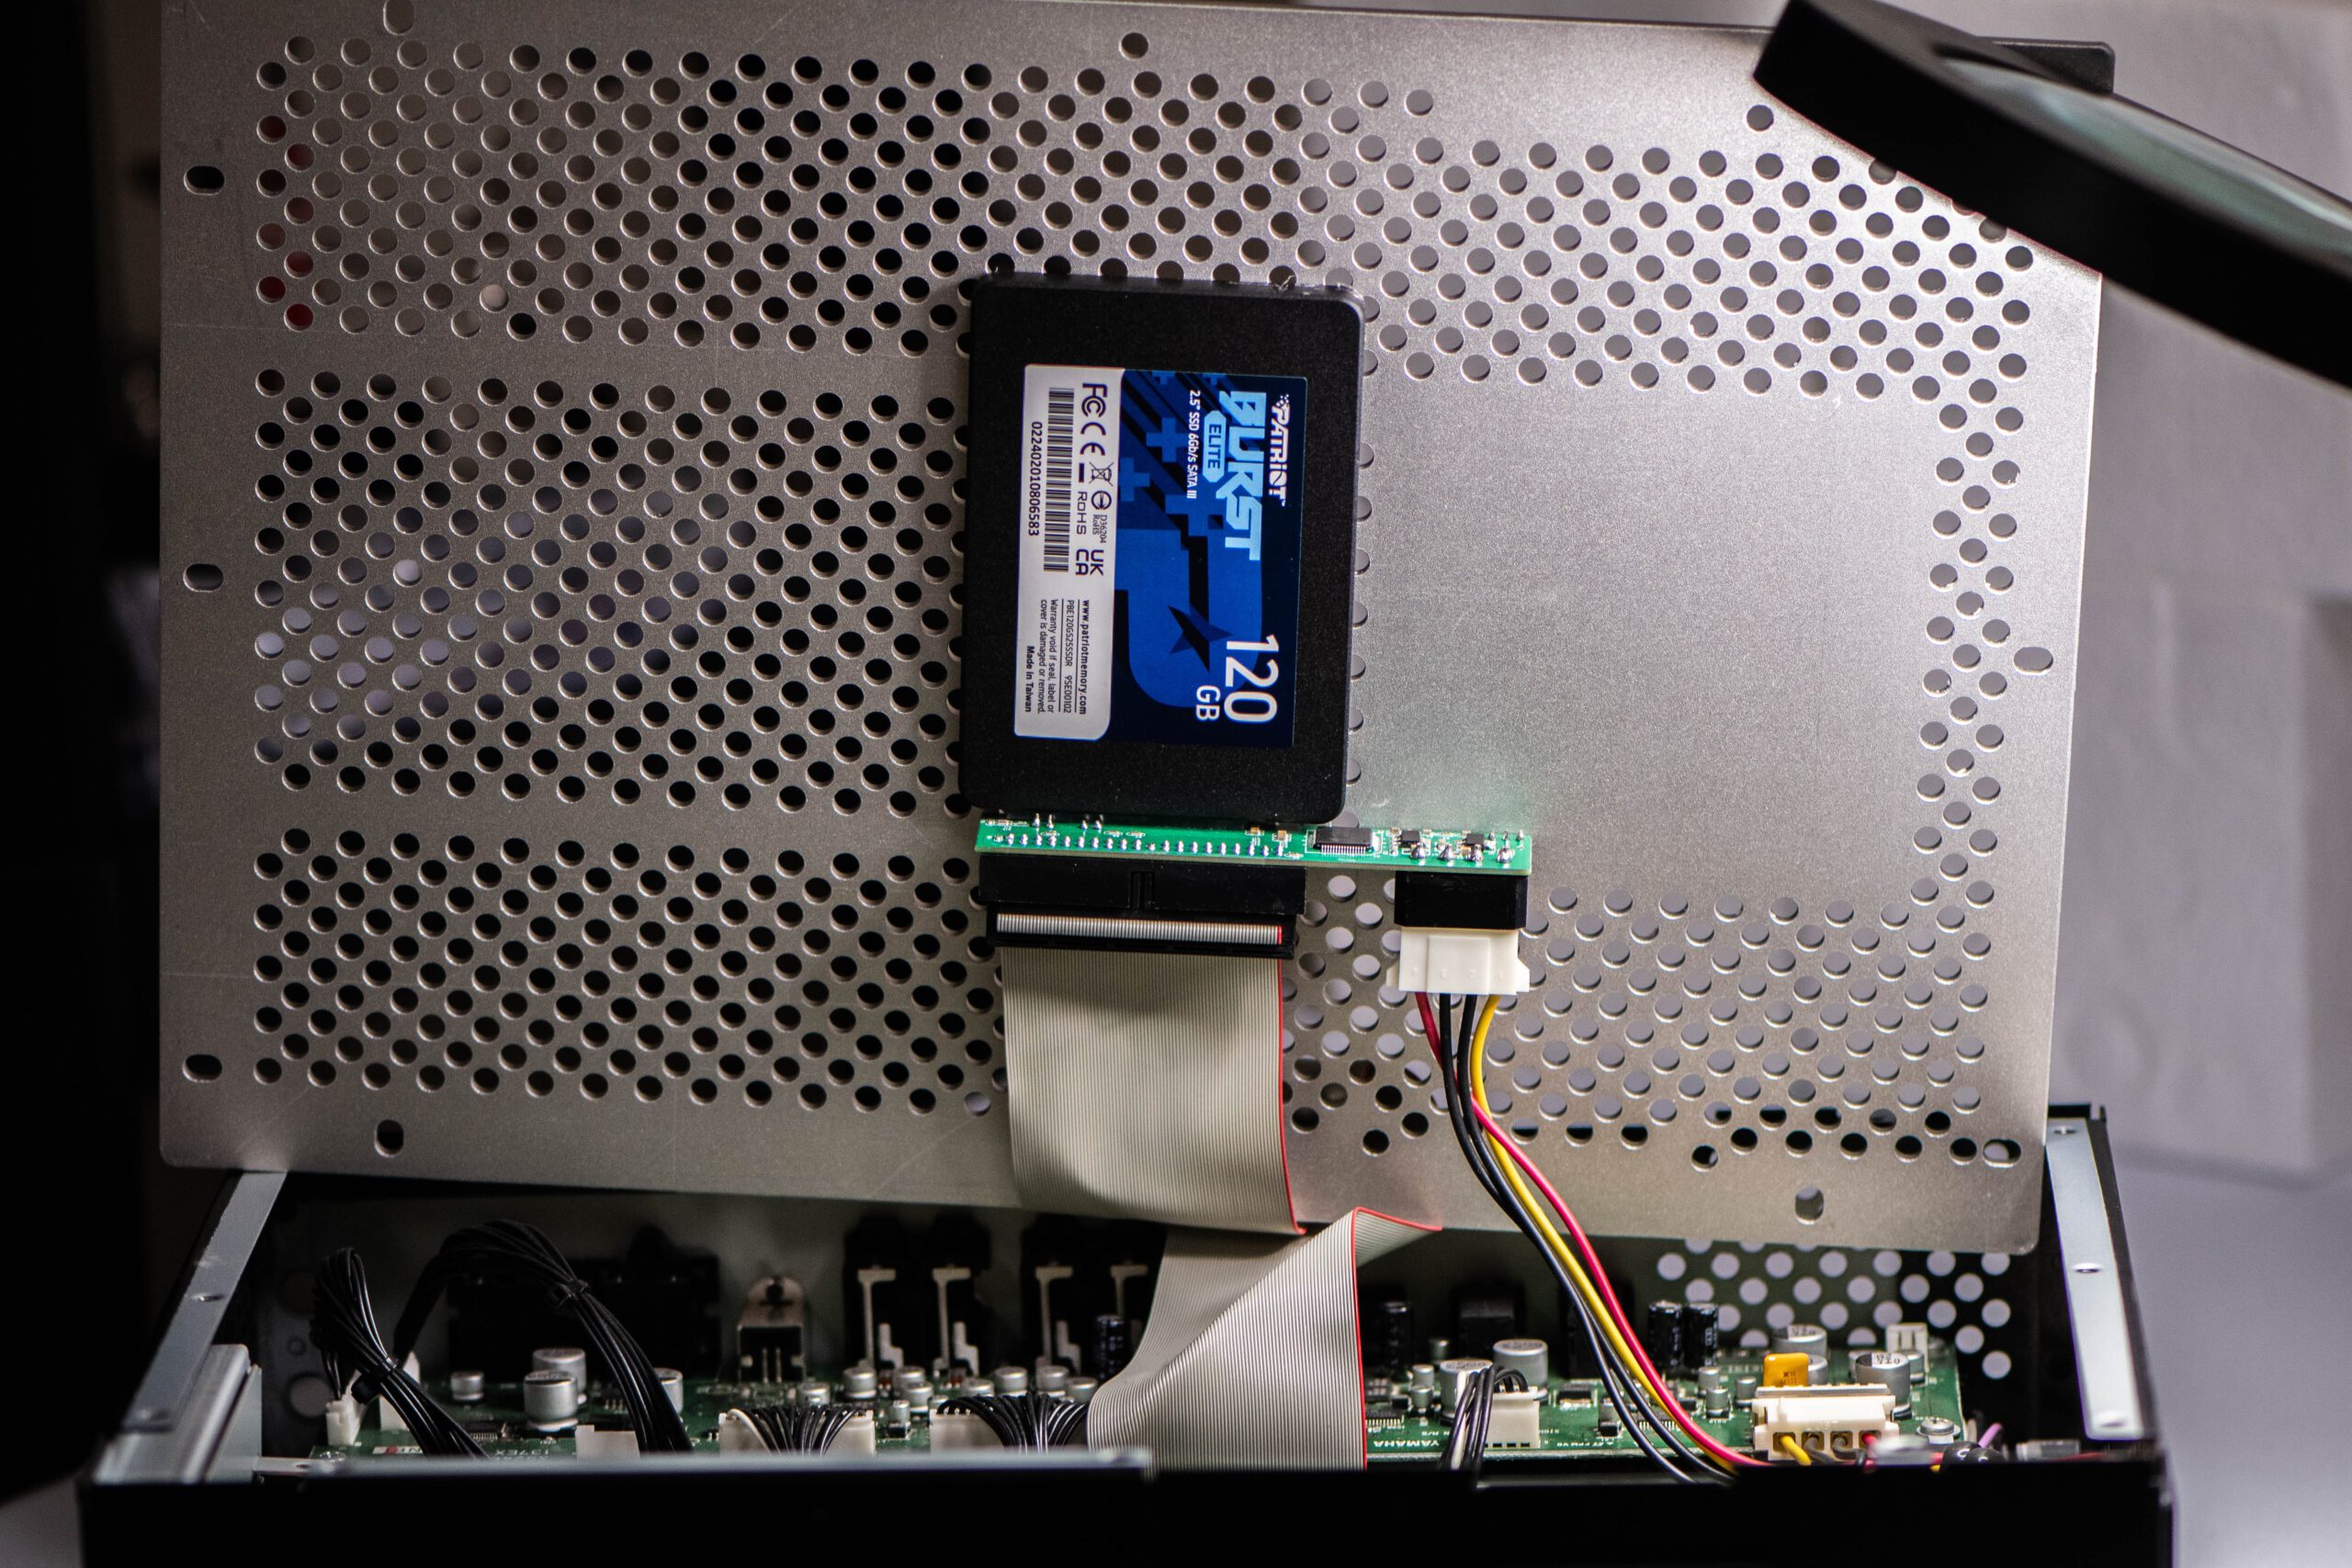
The 120 GB OWC Mercury Pro Legacy comes with all necessary components. (Note that, although Richard used this, and it fit neatly into the system, I installed mine using a 120 GB Patriot Burst drive and Kingwin SATA to IDE adapter, so my pictures differ. His OWC product is a neat, all-in-one solution.)
Removing the Old HDD
1. Remove the I/O Center from the Piano
The I/O Center is variously called the Control Center and the DIO-100. The I/O Center model is DIO-100. The equivalent of the I/O Center in the Mark IV is the Control Center in the ENSPIRE, so the two names are often used interchangeably.
In Mark IV systems the I/O Center is the DIO-100 unit mounted underneath the piano. This is the large black box with several RCA-style audio cables attached. Do not remove the power supply. That’s another large black box that’s plugged directly into the wall. This isn’t user serviceable, and is not where the HDD is located.
Remove the I/O Center from the piano by first unscrewing the parallel port connector using the two flat blade nuts on the sides of the port. The RCA cables may be locking cables that need to be unscrewed.
Unplug all the cables and then carefully unscrew the control unit from the piano. It is very heavy, so carefully lift it down and turn it over.
2. Open the I/O Center
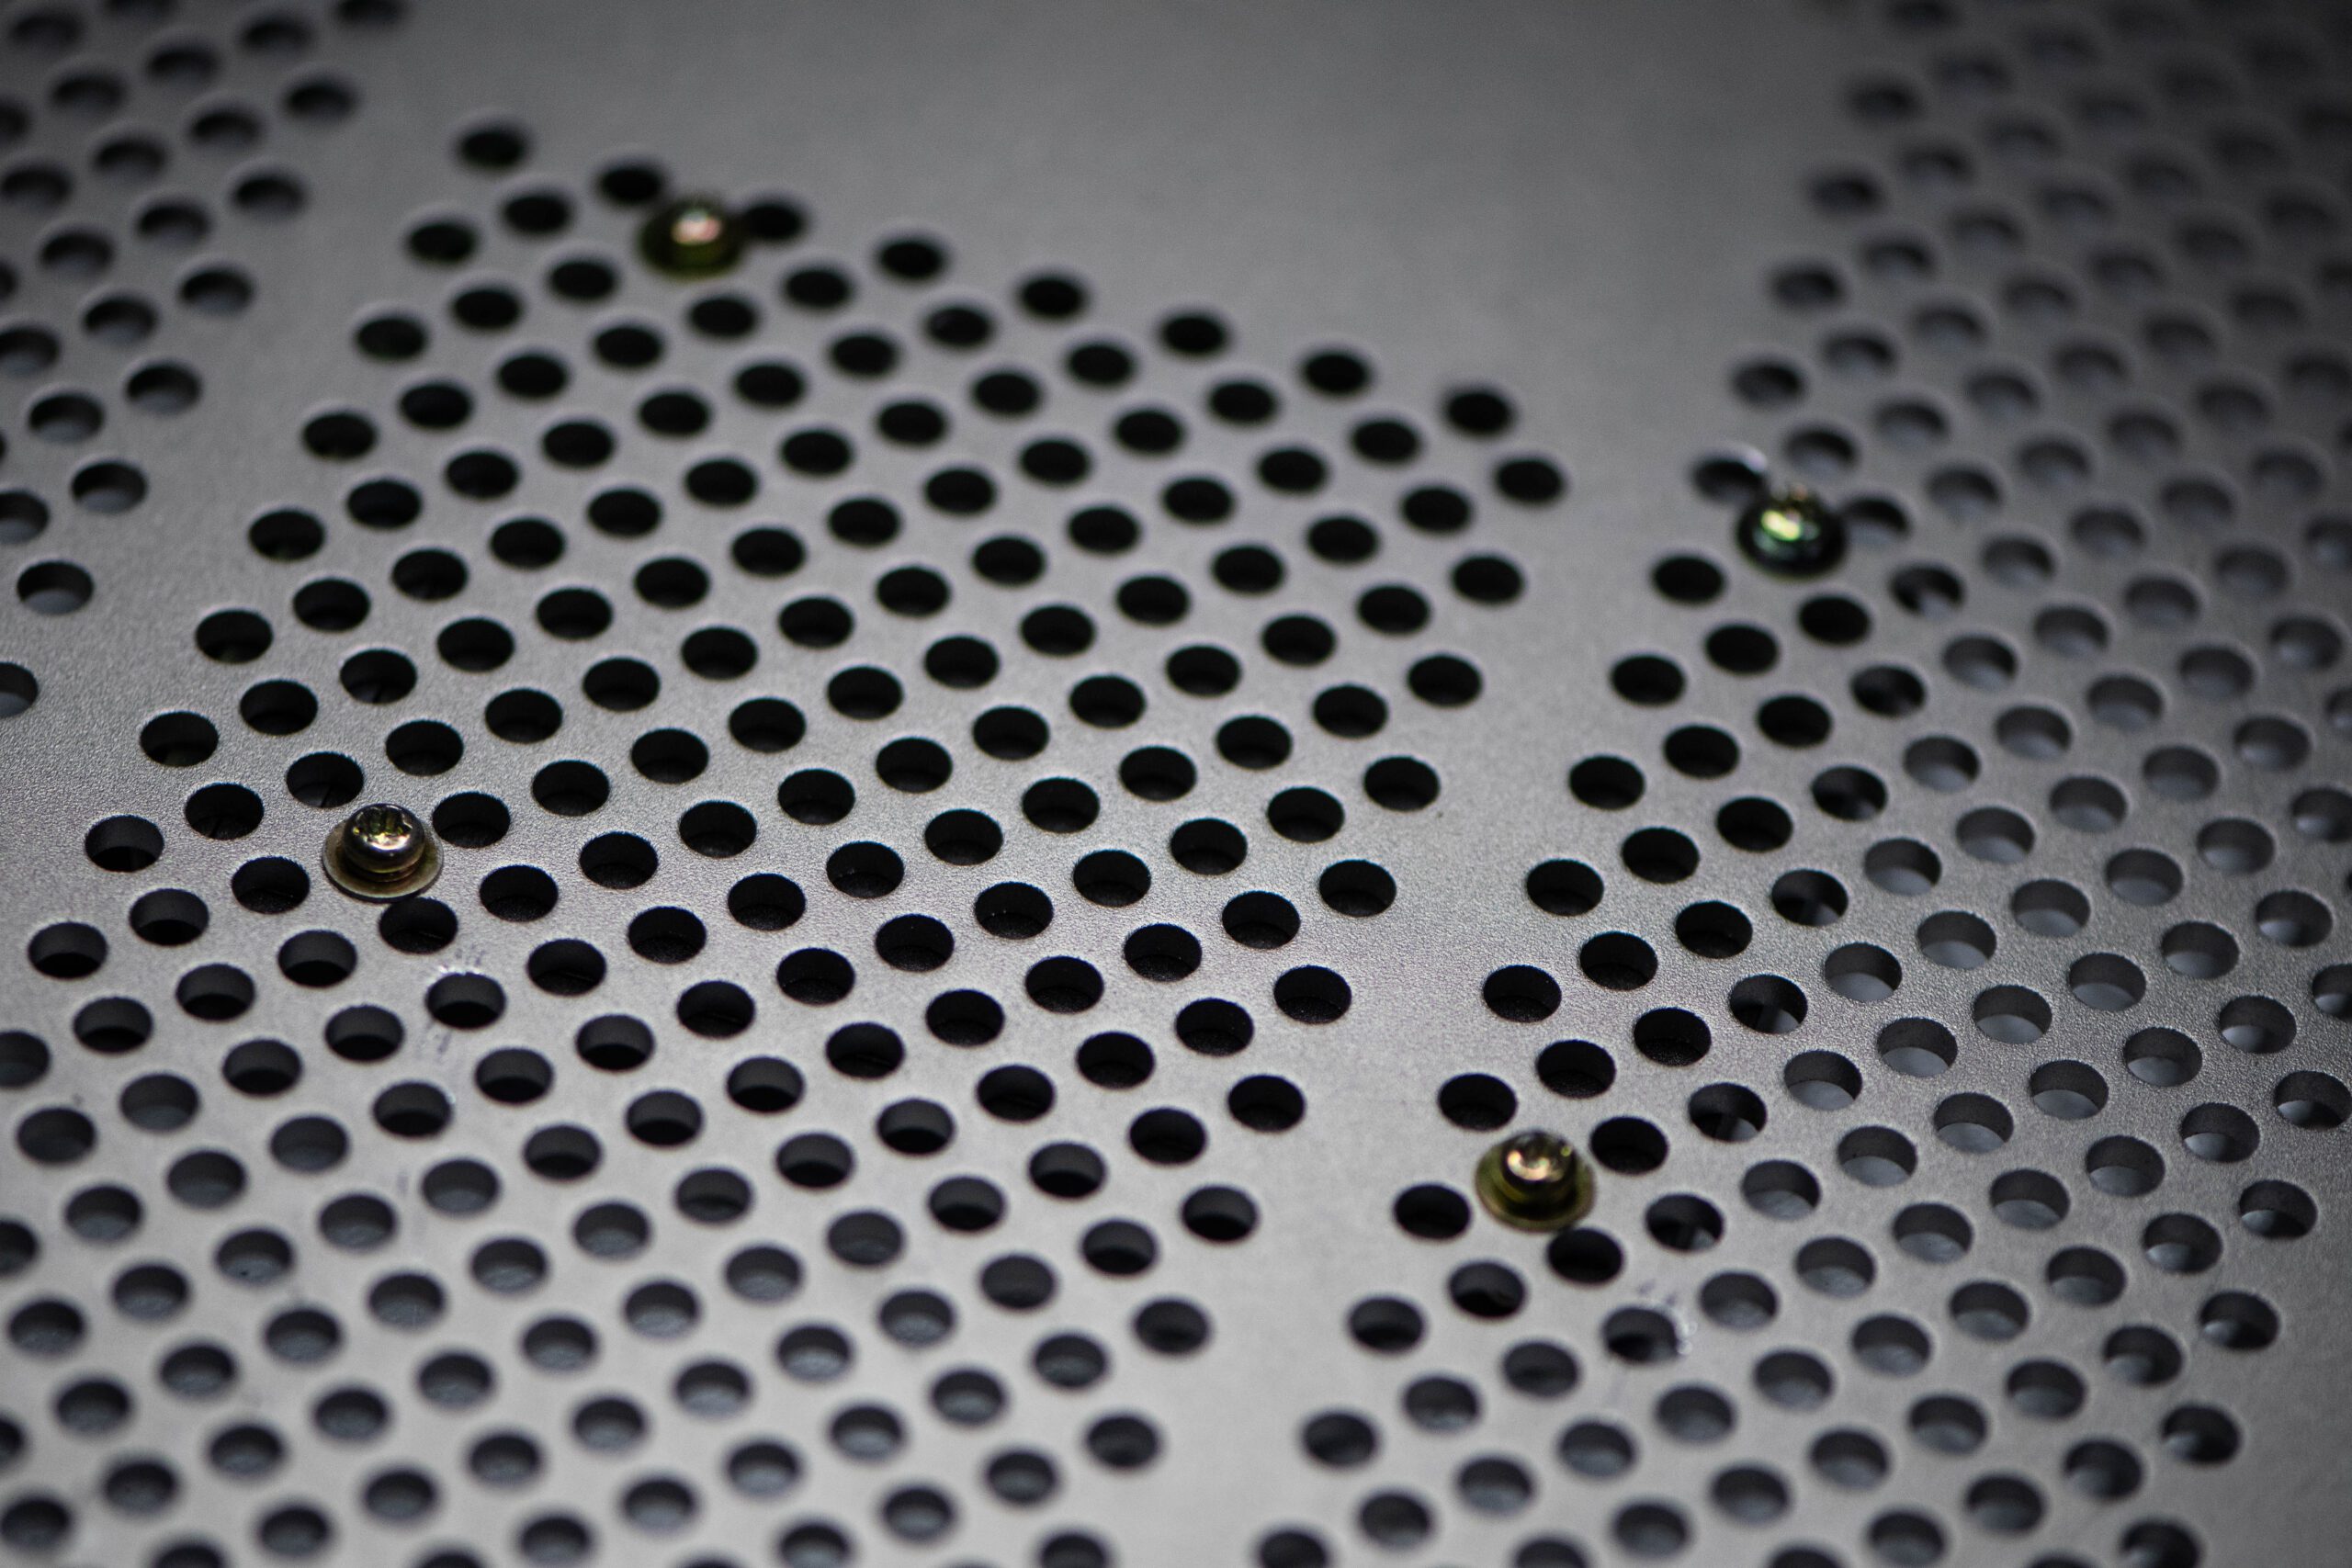
Unscrew all the black screws on the top face of the control unit that would normally be against your piano. This surface is the unpainted, silver surface.
3. Remove the Old HDD
Carefully remove the two plugs from the hard drive. Unscrew the drive underneath using a Phillips screwdriver with lots of pressure taking care not to strip the screws.
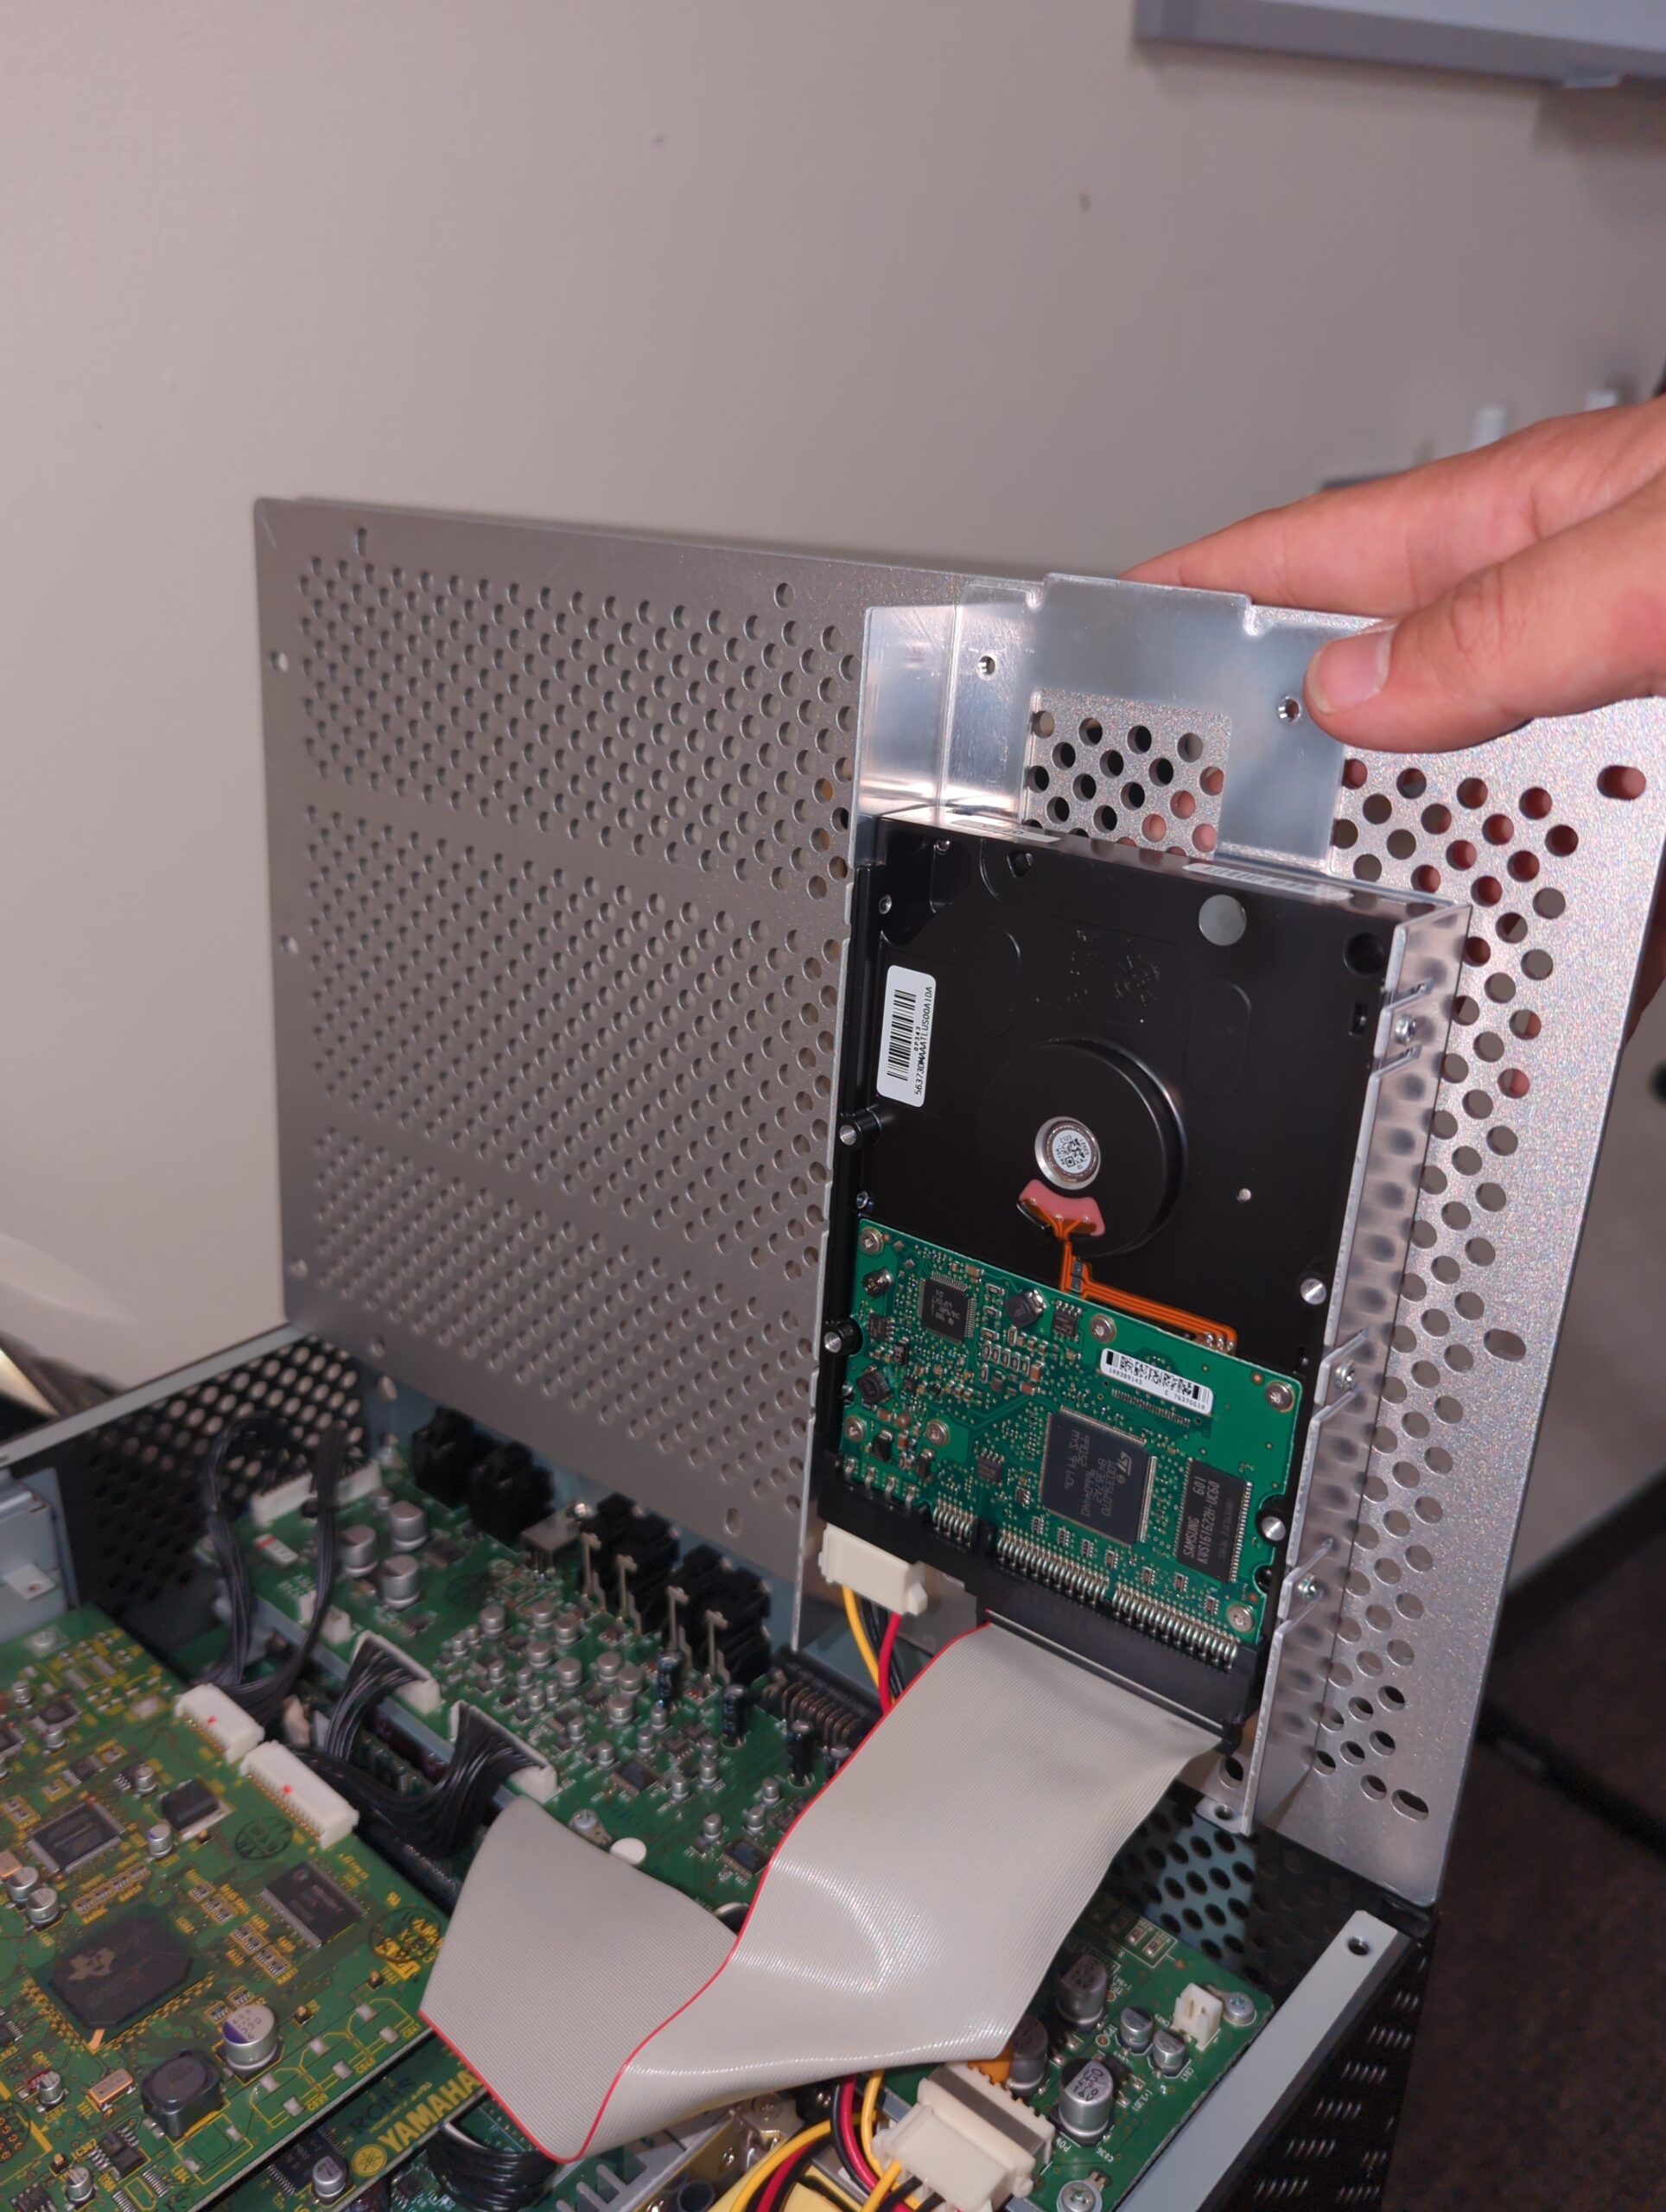
Making an Image of the Old HDD
At this point, you’ll need to copy the contents of the old hard drive into an image file.
If your old hard disk does not work, and you’ve arrived here because your old Mark IV hard disk has failed, please contact me for a fully updated v4.26 Mark IV hard disk image, and include your serial number.
Make certain you have enough space to store a complete image! The file will be 80 GB total.
Windows
If you’re using Windows, you can use Win32 Disk Imager to take an image of the old disk. I’ve also had people recommend Balena Etcher.
Mac
To create your own backup on Mac, you can use the dd instruction in a terminal. Note that you’ll need to adjust /dev/sdX to be whatever the location of your hard disk is! On Mac, this will be similar to /dev/rdiskX. Press Ctrl-T while dd is running to show progress.
sudo dd if=/dev/rdiskX of=backup.img
Linux
You can use dd on Linux just like on macOS. The only difference is that, on Linux, you can request status updates and a progress bar.
sudo dd if=/dev/sdX of=backup.img status=progress
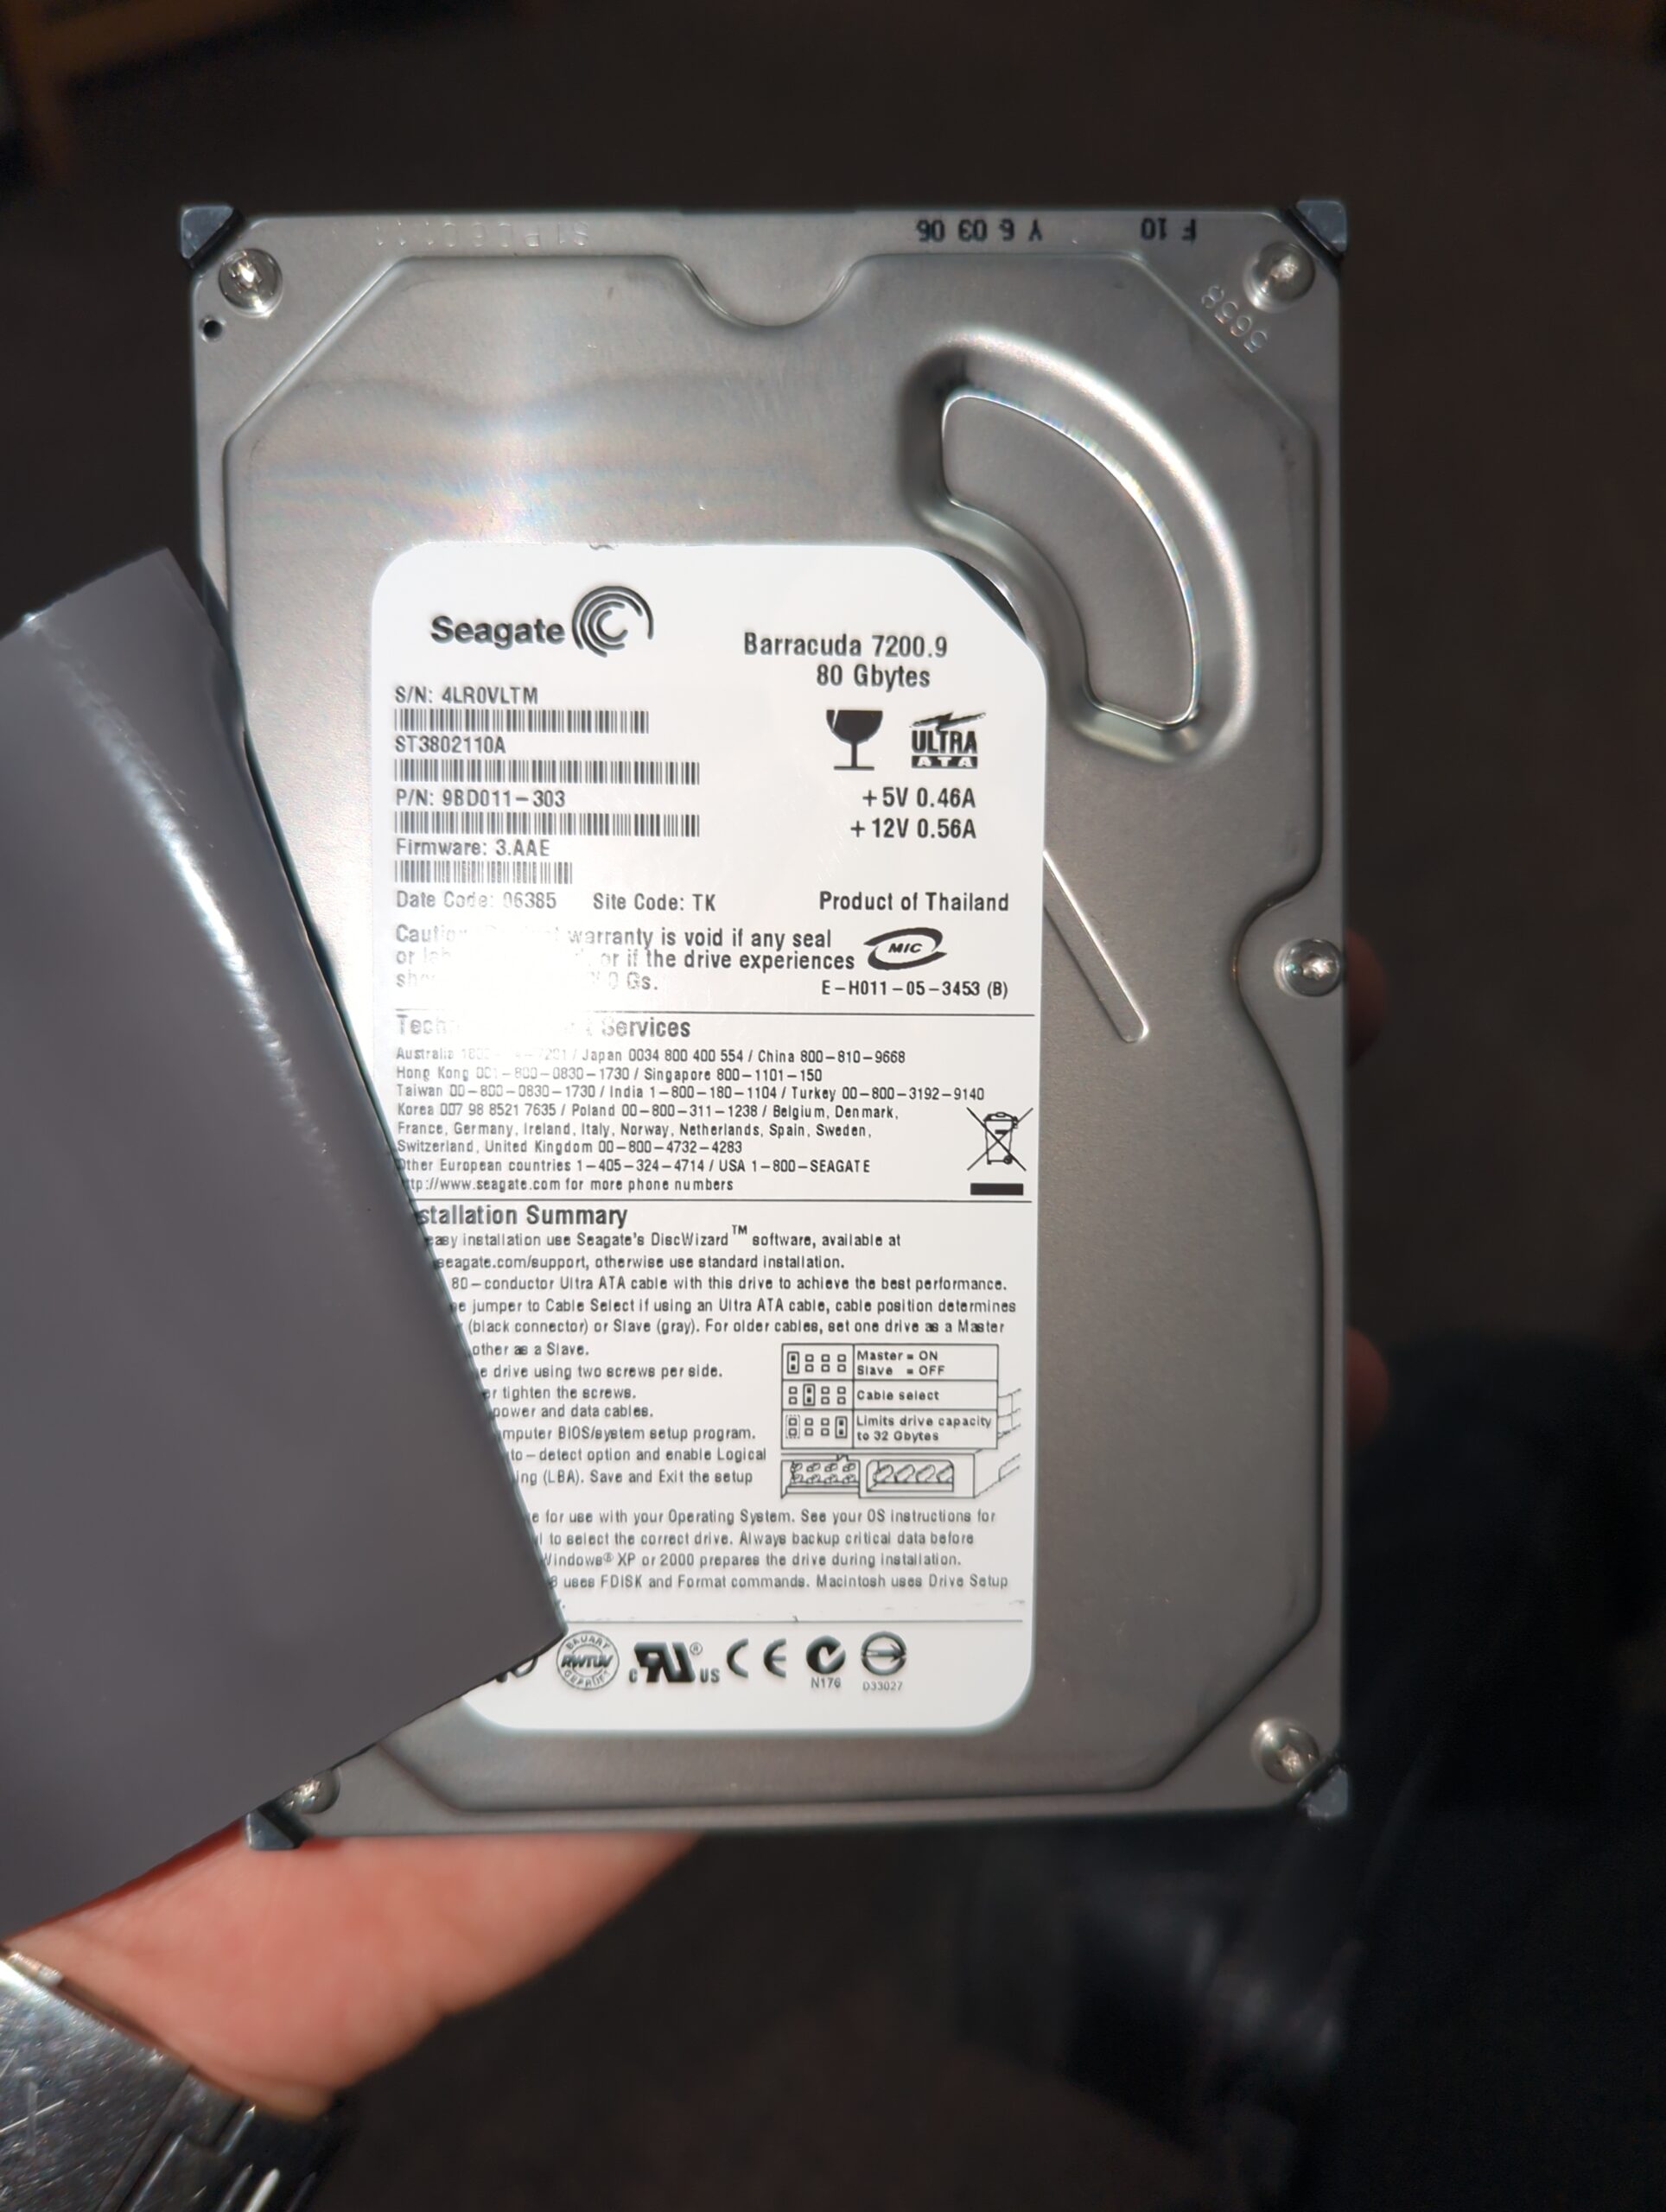
Applying the Image to your New SSD
Take your new SSD drive and plug it into your computer using a USB adapter such as this one. Unplug the red adapter on the back of the hard drive and then plug the following cables into the hard drive itself.
Windows
You can write IMG files to a disk using Win32 Disk Imager. As mentioned above, I’ve also had people recommend Balena Etcher.
Mac
Using the terminal, type in “diskutil list” then press “Enter” to list all the disks in your Mac computer. Take down the number of your USB drive.
For example, it might be /dev/disk2. The following examples assume that it is, but replace it with the appropriate path for your drive.
diskutil unmountDisk /dev/rdisk2
Then press “Enter” to unmount it.
Type in the following command. Replace “/path/to/your.img” by dragging the image file from the Finder into terminal.
Then press “Enter” to burn the IMG image file to the USB drive. On macOS, press Ctrl-T while dd is running to show progress.
sudo dd if=/path/to/your.img of=/dev/rdisk2 bs=4k
Linux
On Linux, you can write an .img file to a USB drive with dd. First, identify the correct device name:
lsblk -o NAME,SIZE,MODEL,TRAN,TYPE,MOUNTPOINTS
Look for your USB drive. It will usually be something like /dev/sde, /dev/sdf, etc.
Unmount any mounted partitions on that USB drive. For example, if the USB drive is /dev/sde:
sudo umount /dev/sde1
Then write the image to the whole device, not to a partition:
sudo dd if=/path/to/your.img of=/dev/sdX bs=4M status=progress
Replace /path/to/your.img with the path to your image file, and replace /dev/sdX with the actual USB device, such as /dev/sde.
Afterward, run sync to flush any remaining disk writes.
Do not write to /dev/sdX1. That is a partition. Write to the whole device, such as /dev/sde.
Install the SSD: Conversion Complete!
Unmount your USB drive, put the red adapter back on, and screw it into your Disklavier top assembly. You will need to use the middle screws to give it enough room to be able to have the cable attached and close it.
Before installing the plate, verify that all connections are secure, and that the adapter is securely connected to the SSD.
Voilà! You have now updated your system and changed your drive to solid state!
Hi Alexander,
I wanted to sincerely thank you for the valuable help and support you gave me.
Your expertise and kindness allowed me to solve the problem with the Disklavier. I’m writing to you from Italy, where unfortunately no one was able to provide me with a clear solution.
I wish you continued success and passion in all that you do.
Best regards,
Roberto
Hello Roberto! Thank you for the kind words, and I’m glad that this solved your problem. Now that the hard drive is replaced, I wish you many happy years with your Mark IV! Thank you very much again.