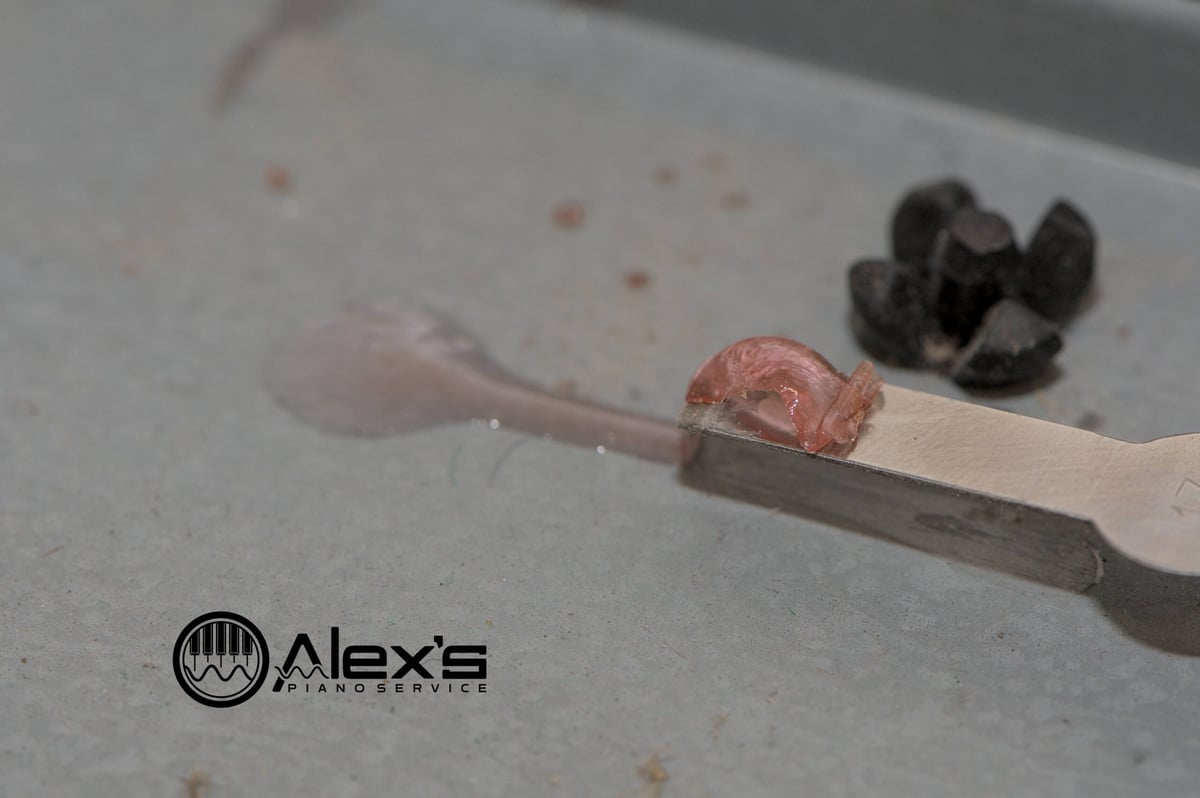
A customer recently brought in a Roland EP‑9 with several sticking keys. The culprit was the notorious red adhesive (affectionately known as the “Roland red glue of death,” or simply “red goo”) that Roland used to secure the key weights in a number of 1990s keybeds. Over time, it can liquefy and migrate, jamming keys and contaminating the keybed. This isn’t unique to the EP‑9—you’ll find similar stories across the JD‑800, JV‑series, D‑70 and others.
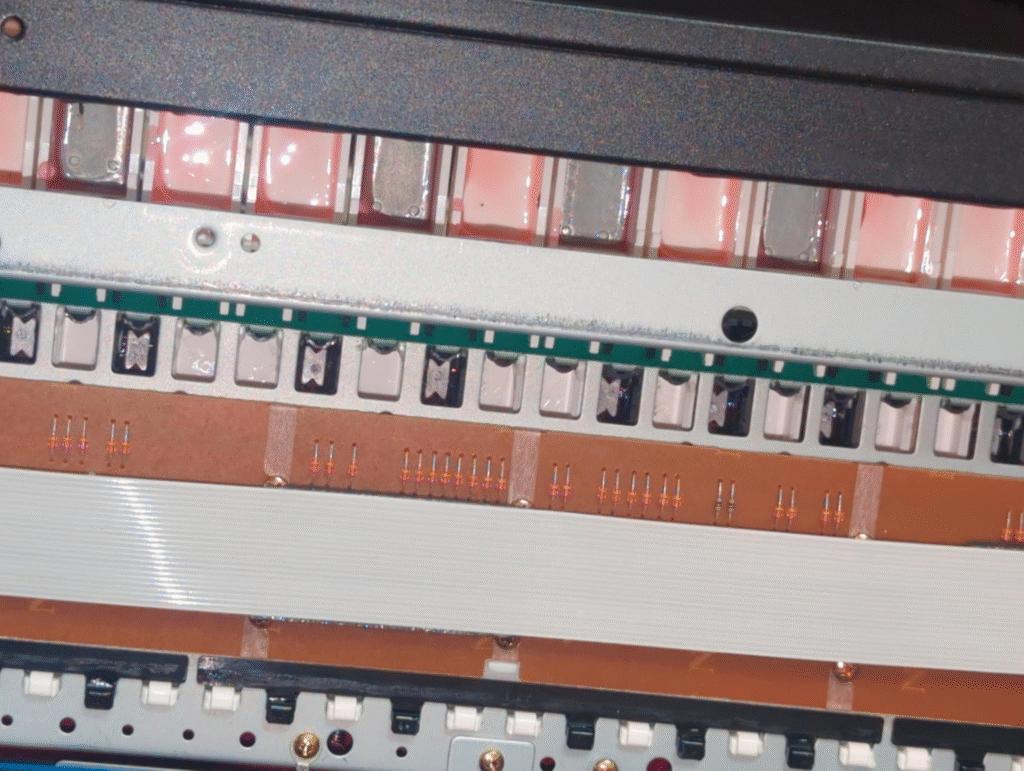
The usual symptoms are keys that return sluggishly or not at all. In bad cases, glue drips onto the contact PCB and causes false triggers or dead notes. Once you open the keyboard, you’ll usually find the key weights scattered about inside, adhered to the case and key slip.
The goo is the degraded epoxy originally used to bond the lead/metal weights to the keys. Heat and age accelerate the breakdown, and the adhesive literally flows. The problem is widely documented by owners and techs.
The instructions below are intended primarily for technicians with experience and comfort working with caustic chemicals.
Dissolving the Red Goo / Red Glue
There are several reputable technicians who recommend using diluted lye to remove the red goo. Mix a lye bath in a plastic container—do not use metal containers. Community recipes vary; for example, a common formula is about 1 molar (≈80 g NaOH in 2 L water). Always add lye to water, not the other way around, and expect heat.
Wear eye and skin protection. Lye is caustic, and can cause burns and blindness. Also be aware of pets—who might investigate the solution—and ventilate the space properly. Make certain never to mix the lye with bleach or acid.
Once you have a lye bath prepared, put all the keys into the solution. A few hours took care of most of the glue in my case. Some techs leave them overnight or even longer depending on severity. Avoid heat: Using very hot or boiling water can speed up the reaction and potentially warp keys, according to some reports.
During the soak, the room will fill up with a distinctive fishy smell as the red adhesive breaks down. This means it’s working! The smell does linger for weeks, which is yet another reason to do this in a well-ventilated area away from people and animals.
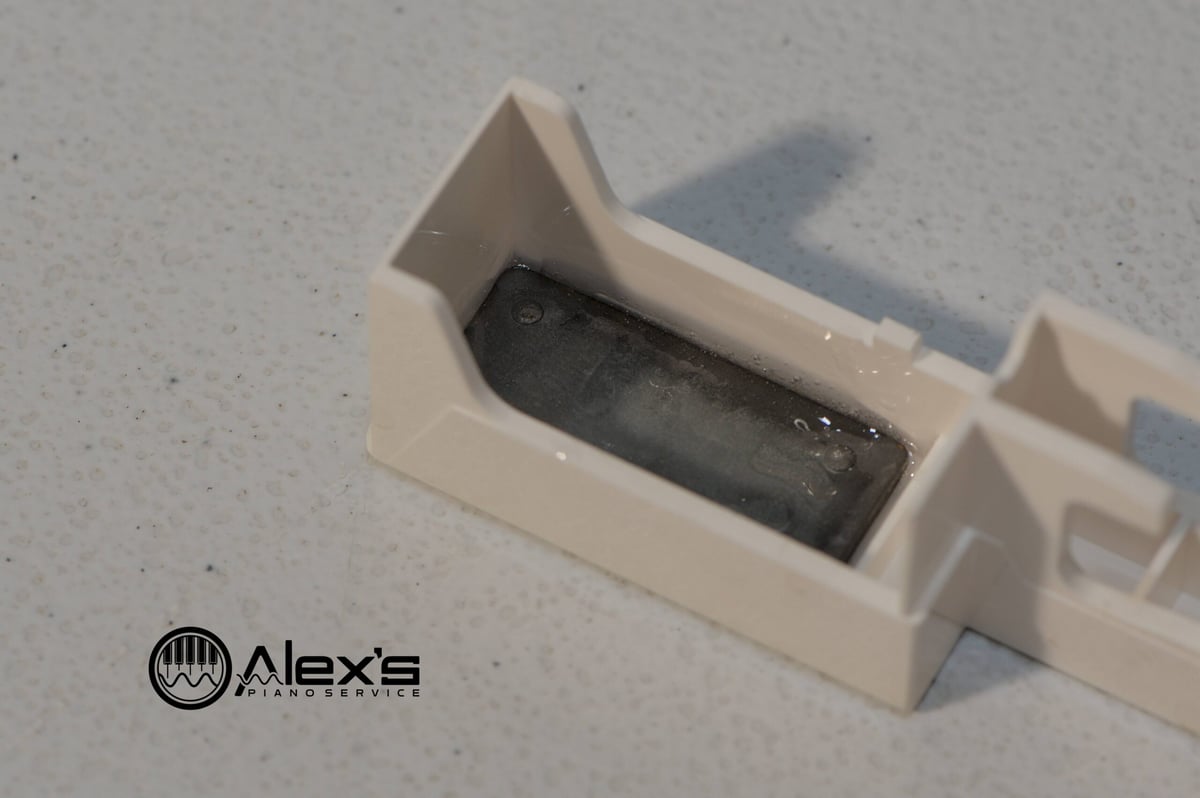
After soaking, the lead weights should fall out of the keys freely. If they don’t, gently tap them out. If you have to pry, let them soak a little longer. Only pry as a last resort, and even then, use only mild force.
After the lye bath, thoroughly rinse with plenty of water, then wash with mild soap. I finished with a polish—Cory Key‑Brite—on the visible surfaces. If you do not do this, the offensive smell will cling to your keyboard for weeks.
Why lye?
Community experience shows sodium hydroxide (lye) dissolves the red adhesive, but leaves ABS key plastic and metal weights intact at room temperature. As with any chemical process, exposure time, temperature, and concentration matter—don’t overdo it.
It’s possible the lye will cause visible corrosion on the lead even if you use it conservatively. The keys should be undamaged: ABS can tolerate brief, room-temperature exposure to sodium hydroxide at common concentrations. Keep soaks reasonable and at room temperature.

Scraping the Remaining Red Goo / Red Glue
Because the goo flows, you’ll find it everywhere—under key tops, along the keybed rails, and pooled in the bottom shell. Mechanically scrape residue with a single‑edge razor, then wipe with paper towels or isopropyl alcohol (IPA) as needed.
Freeze‑spray can make hardened blobs in the chassis brittle so they flake off cleanly.
Don’t neglect the bottom of the case either. Those little puddles might migrate if the instrument is stored upside‑down. This extra cleanup means you only have to do the job once.
Use caution around electronics. If the goo reached the rubber contact strips or circuit boards, clean them carefully—definitely no lye. You can use IPA sparingly, and short blasts of freeze spray might make the epoxy brittle. Unfortunately, severe contamination may require replacement parts. Regular ESD cautions apply.
Affixing the Weights with Epoxy
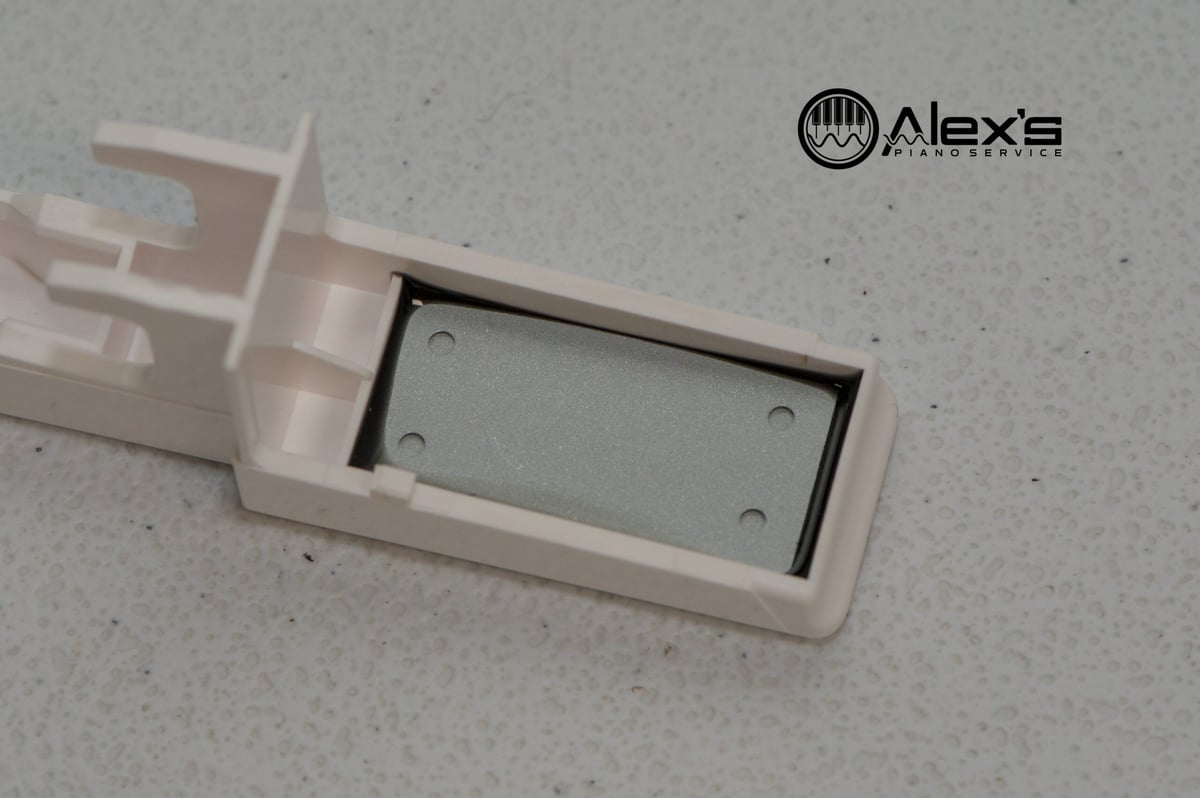
Now that the keys are clean, we can affix the weights. For this, I used J-B Weld. In my research, other technicians use various epoxies including Gorilla 2-Part Epoxy. Some have used silicone or construction adhesives, but epoxies remain the consensus for durable bonds.
When working with the lead weights, make sure to wear gloves. Lead is toxic, and you’ll be handling it quite a bit. The gloves will also help keep the epoxy off of your skin; although that’s not as dangerous, it’s sticky and messy.
Whatever you use for an adhesive, make sure you have enough of it. Use enough epoxy so a small bead squeezes up on all four sides when the weight is seated. I also brushed a thin cap over the top of each weight.
Only make small batches of epoxy, rather than one big batch. It sets quite quickly, so you’ll have to make multiple batches, each with a several-minute window.
Clean up epoxy quickly! It’s not too difficult to clean when it’s still wet, but after a few minutes, it will be challenging to remove from the keys.
Now allow the keys to cure before reassembling the keyboard. Although J-B Weld ClearWeld cures in an hour, I gave my keys a full day before I reinstalled them. Follow the directions on the epoxy you choose.
Once the keys are back in place and the keyboard is assembled, you can return to playing your Roland keyboard once more! If you need a replacement power adapter, be sure to check my Roland power adapter lookup tool for the EP-9, or any for other Roland keyboard.