If you own a Yamaha Clavinova from the early 2000s and you’re noticing some sticking keys or sluggish response, you’re definitely not alone. As one of the few authorized Yamaha Service Centers here in Maine, I get this call a lot. Unfortunately, it’s a design flaw from that era that eventually affects these otherwise excellent instruments. In fact, it’s so common that one person even designed a 3D model of the key tail you can print on a 3D printer; however, ordering a replacement key is easier and inexpensive.
If you’re located in Maine, I’d be happy to help you fix your sticking keys. If you aren’t, you can find a local technician using Yamaha’s Service Center locator.
Note that this issue also occurs in some P-series and YDP-series keyboards. Although this issue appears mainly in Clavinovas, it does occur in other instruments from this time period.
Why are my Clavinova keys sticking?
Before we begin, this article is specifically about early-2000s Yamaha Clavinovas and their (unfortunately) very common sticking-key problem caused by cracked key tails. Clavinova keys can also stick for other reasons, including spills and foreign objects.
If a key jams right at the very top and won’t go down all the way, that’s usually a foreign object in the keybed or between the keys—not a cracked tail.
If two adjacent keys feel stuck together, that’s typically either a small object wedged between them or something sticky bridging the gap. Sometimes you can clear it without disassembly. In a pinch, I use a business card as a thin “shim” to slide between the keys. You can even cut the card into a small hook shape to lift debris out from between them.
If a key (or a group of keys) feels sticky near the top, but frees up once you get it moving, that points to spill residue lower in the action. It’s not unusual for the hammer mechanism to stick to the bottom after a spill. For an example of what that looks like, here’s a Yamaha CLP-370 suffering from spill damage.
The models listed below are known to have issues with cracked key tails. This list is not complete, but it includes the most common offenders. If your model appears here and you are experiencing sticking keys, cracked key tails are the likely cause.
| Series | Models |
|---|---|
| CLP |
|
| CVP |
|
| P |
|
| YDP |
|
So what’s going on with these cracked key tails?
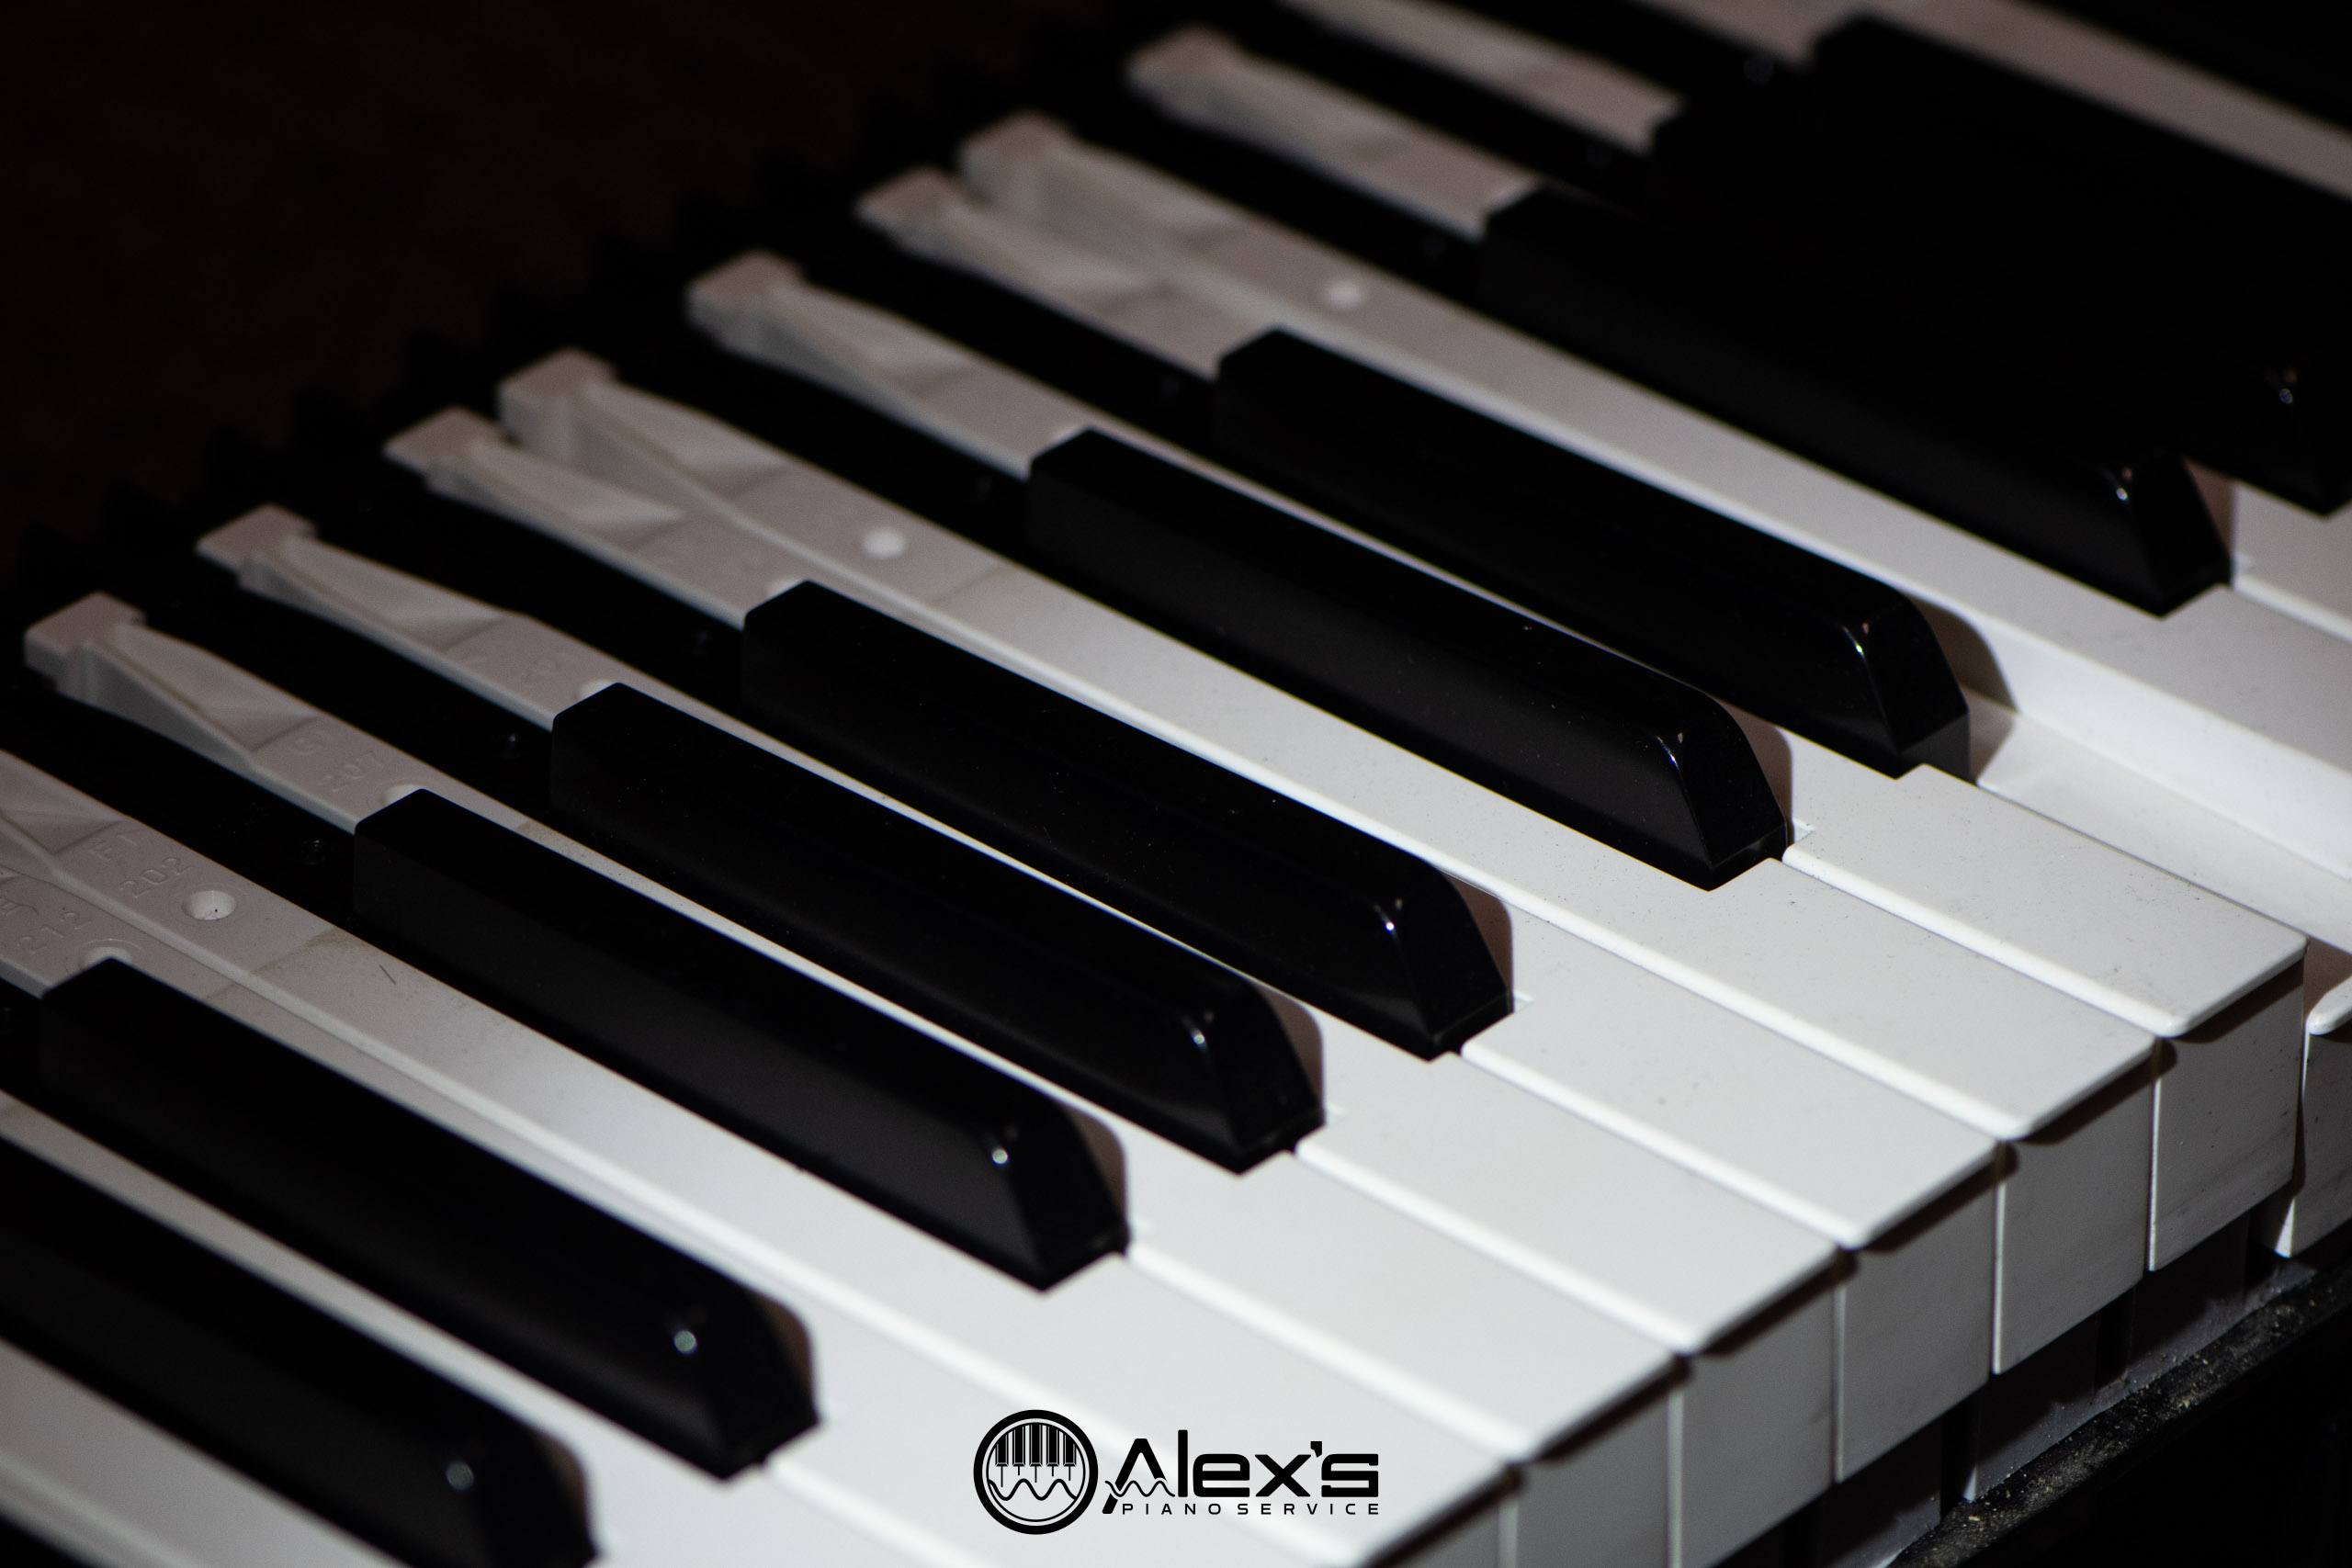
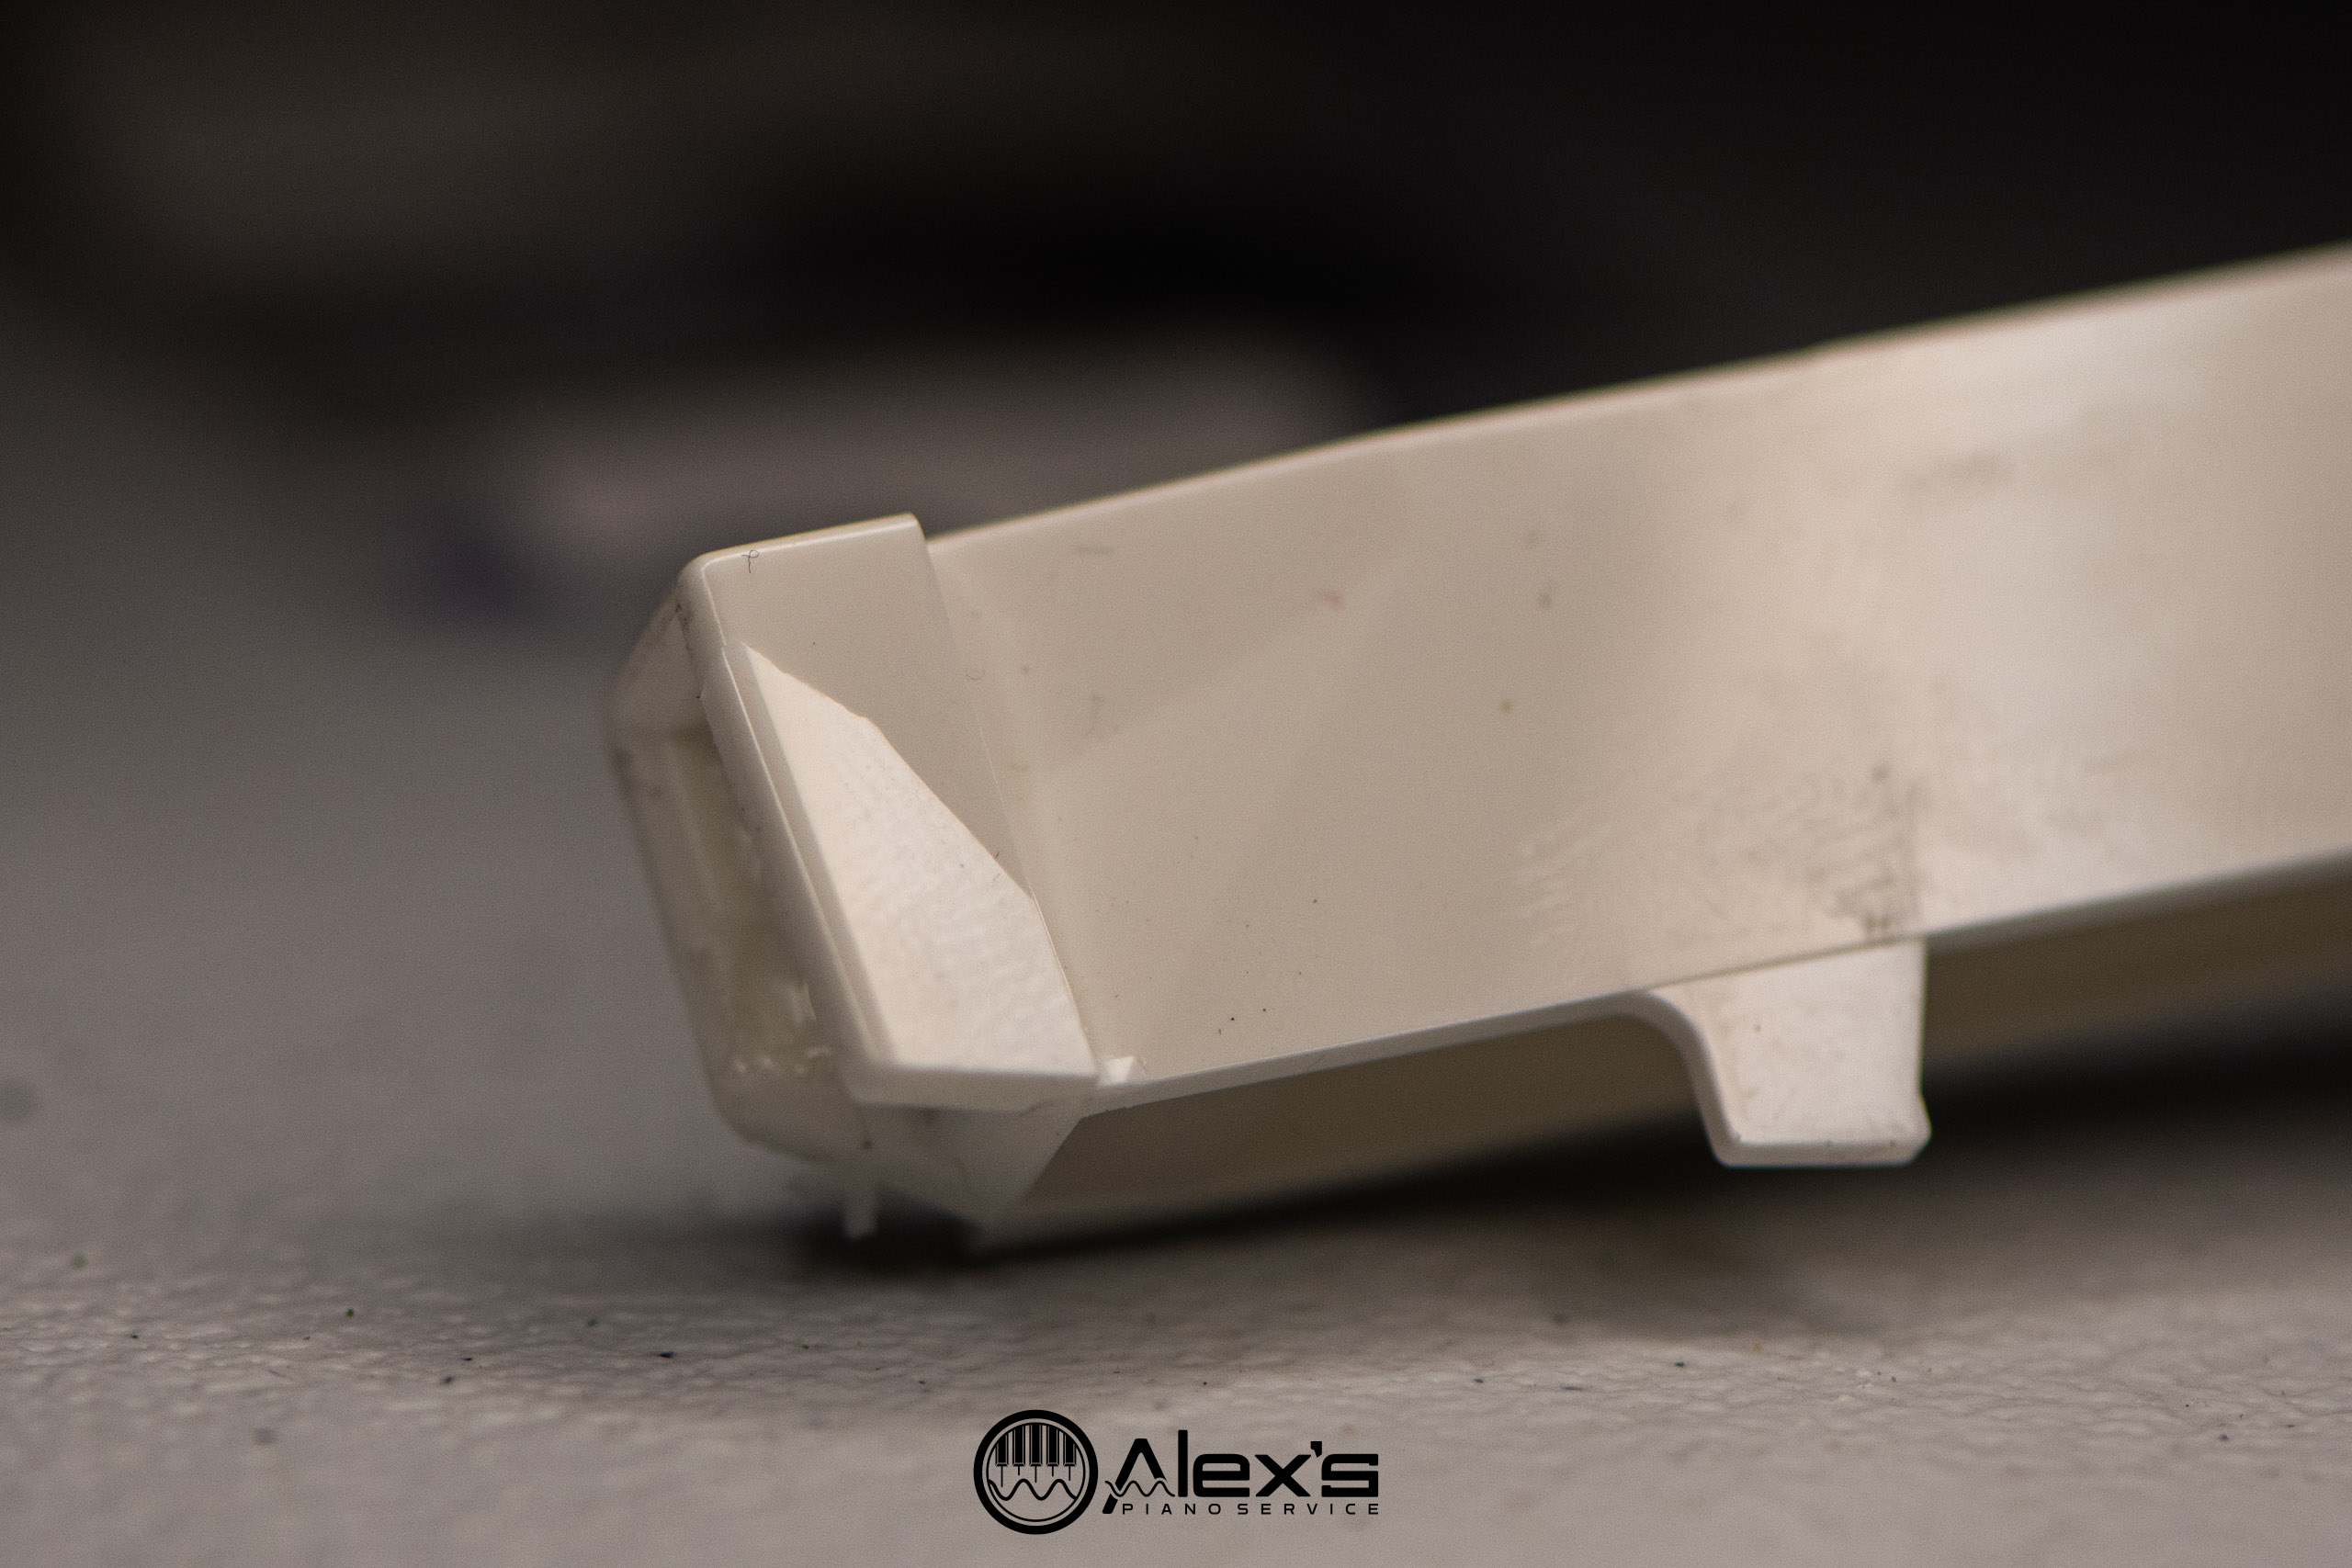
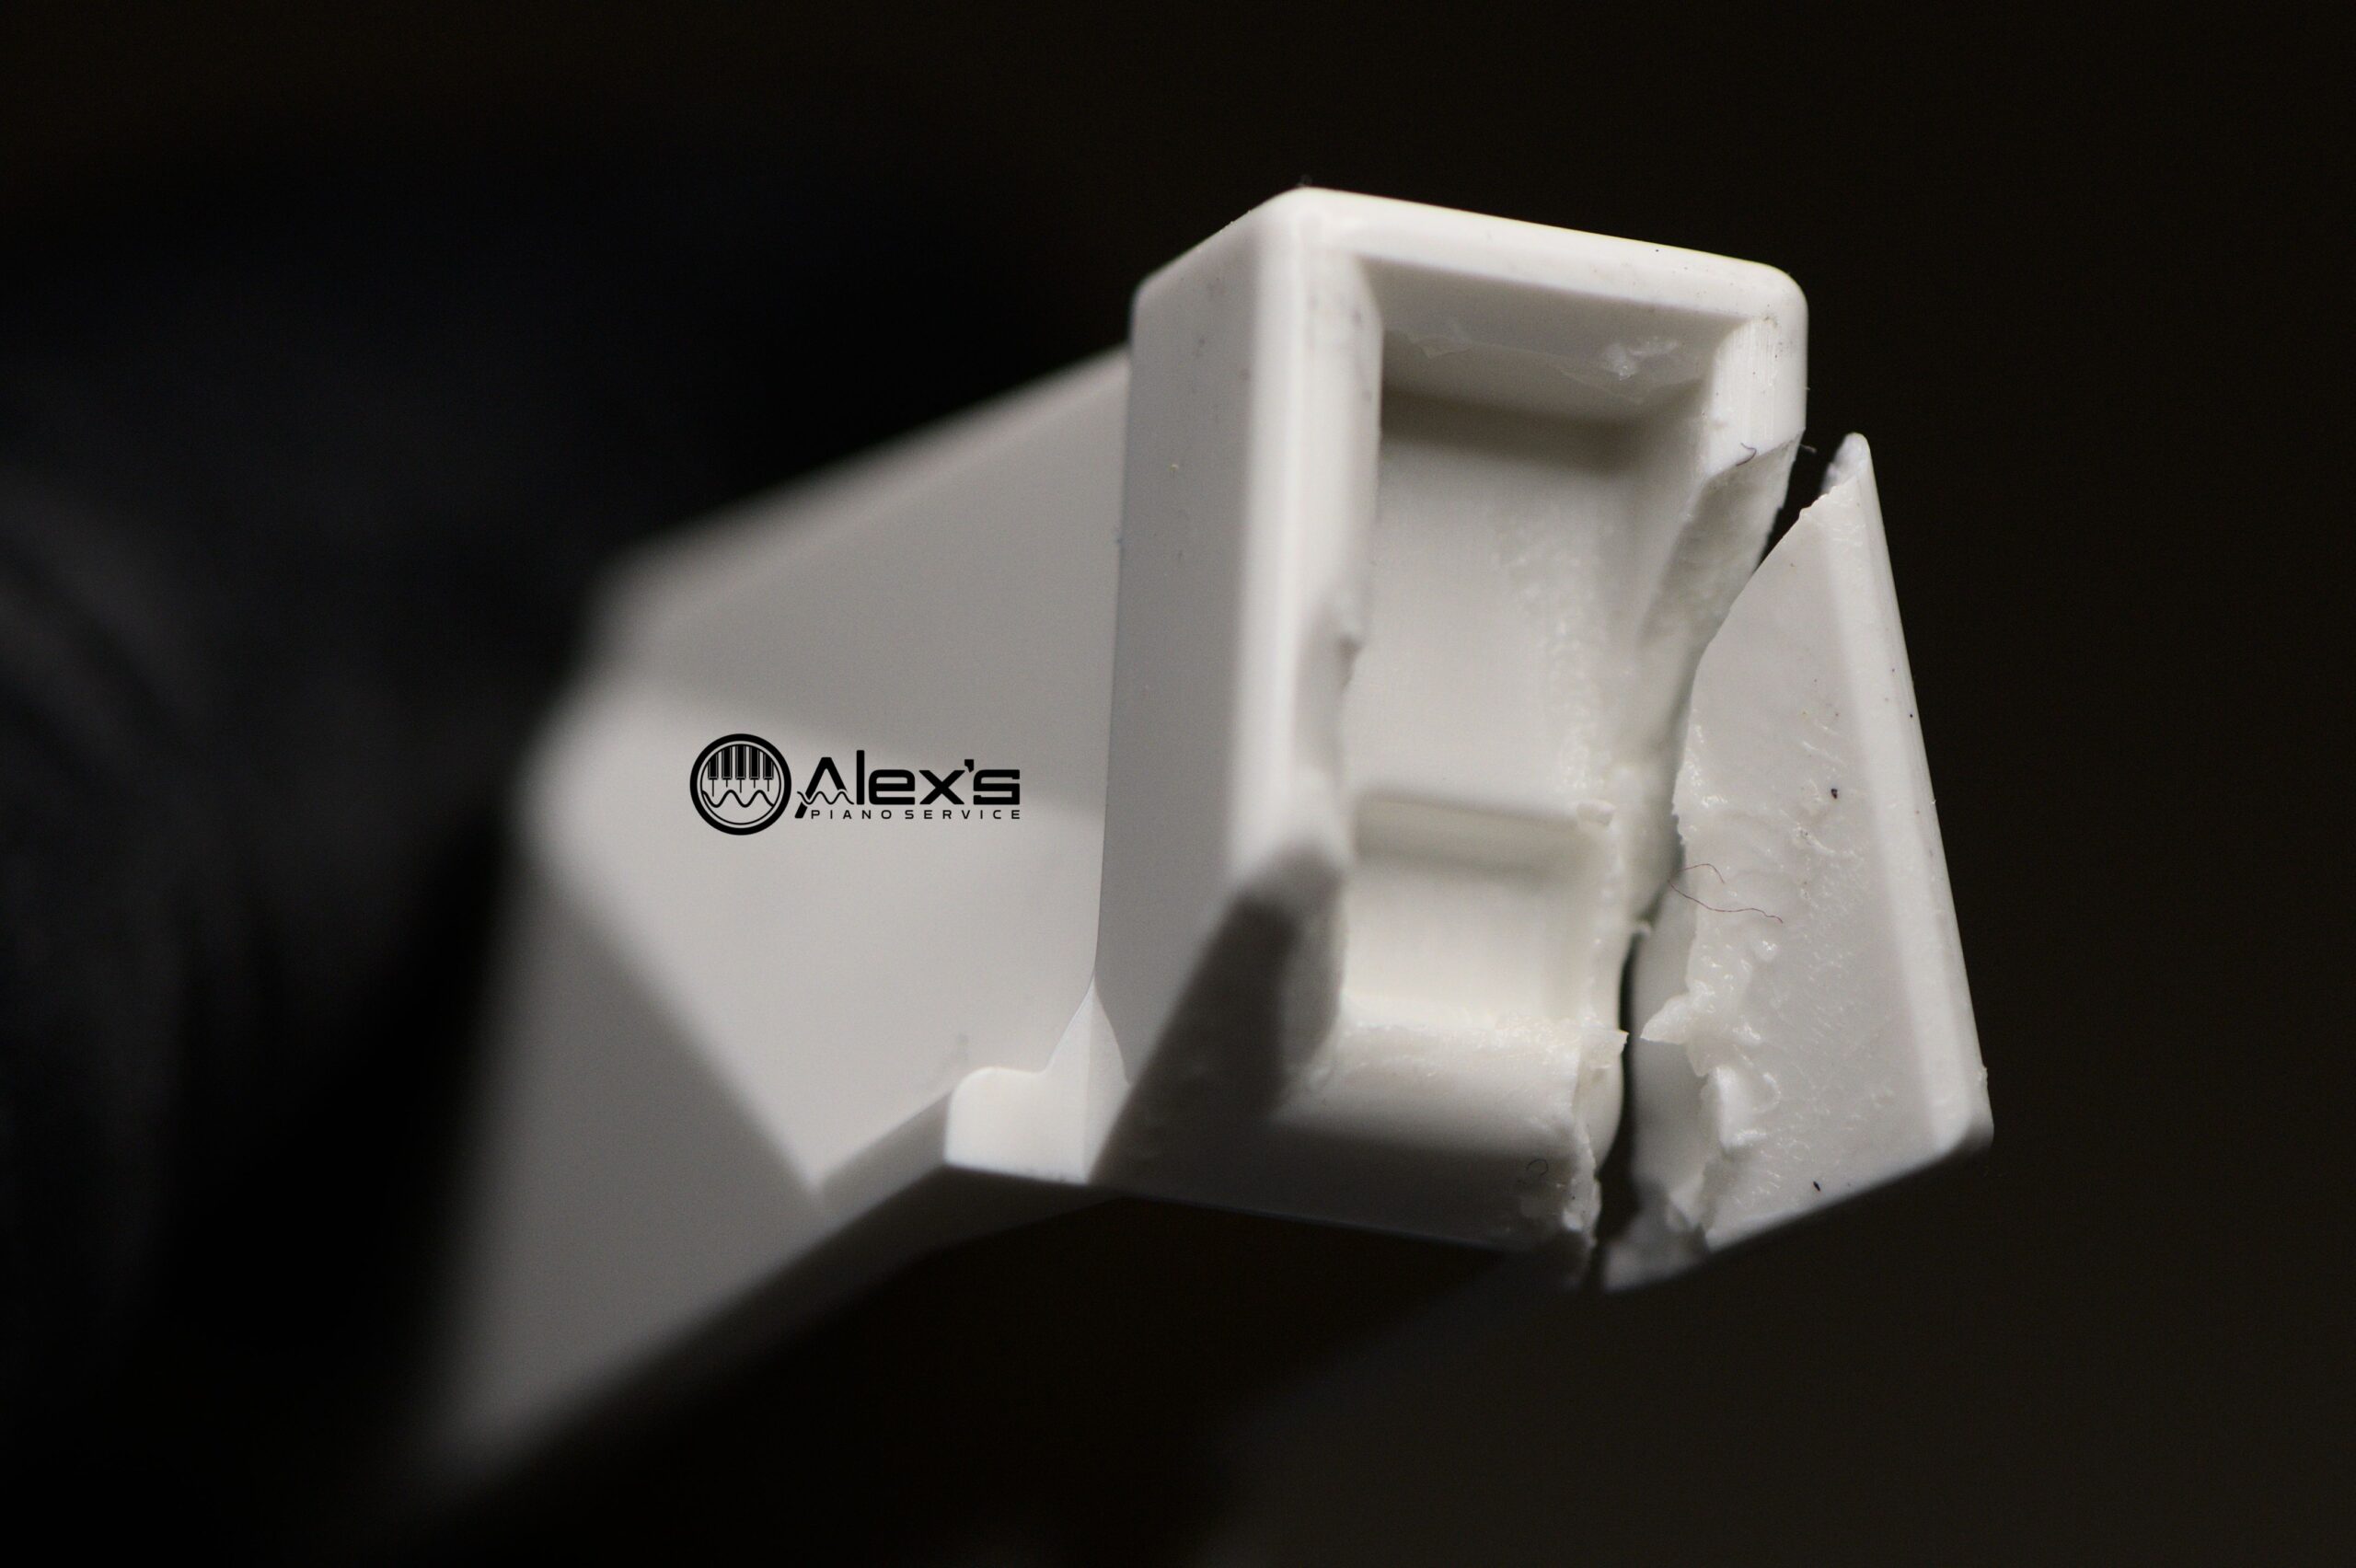
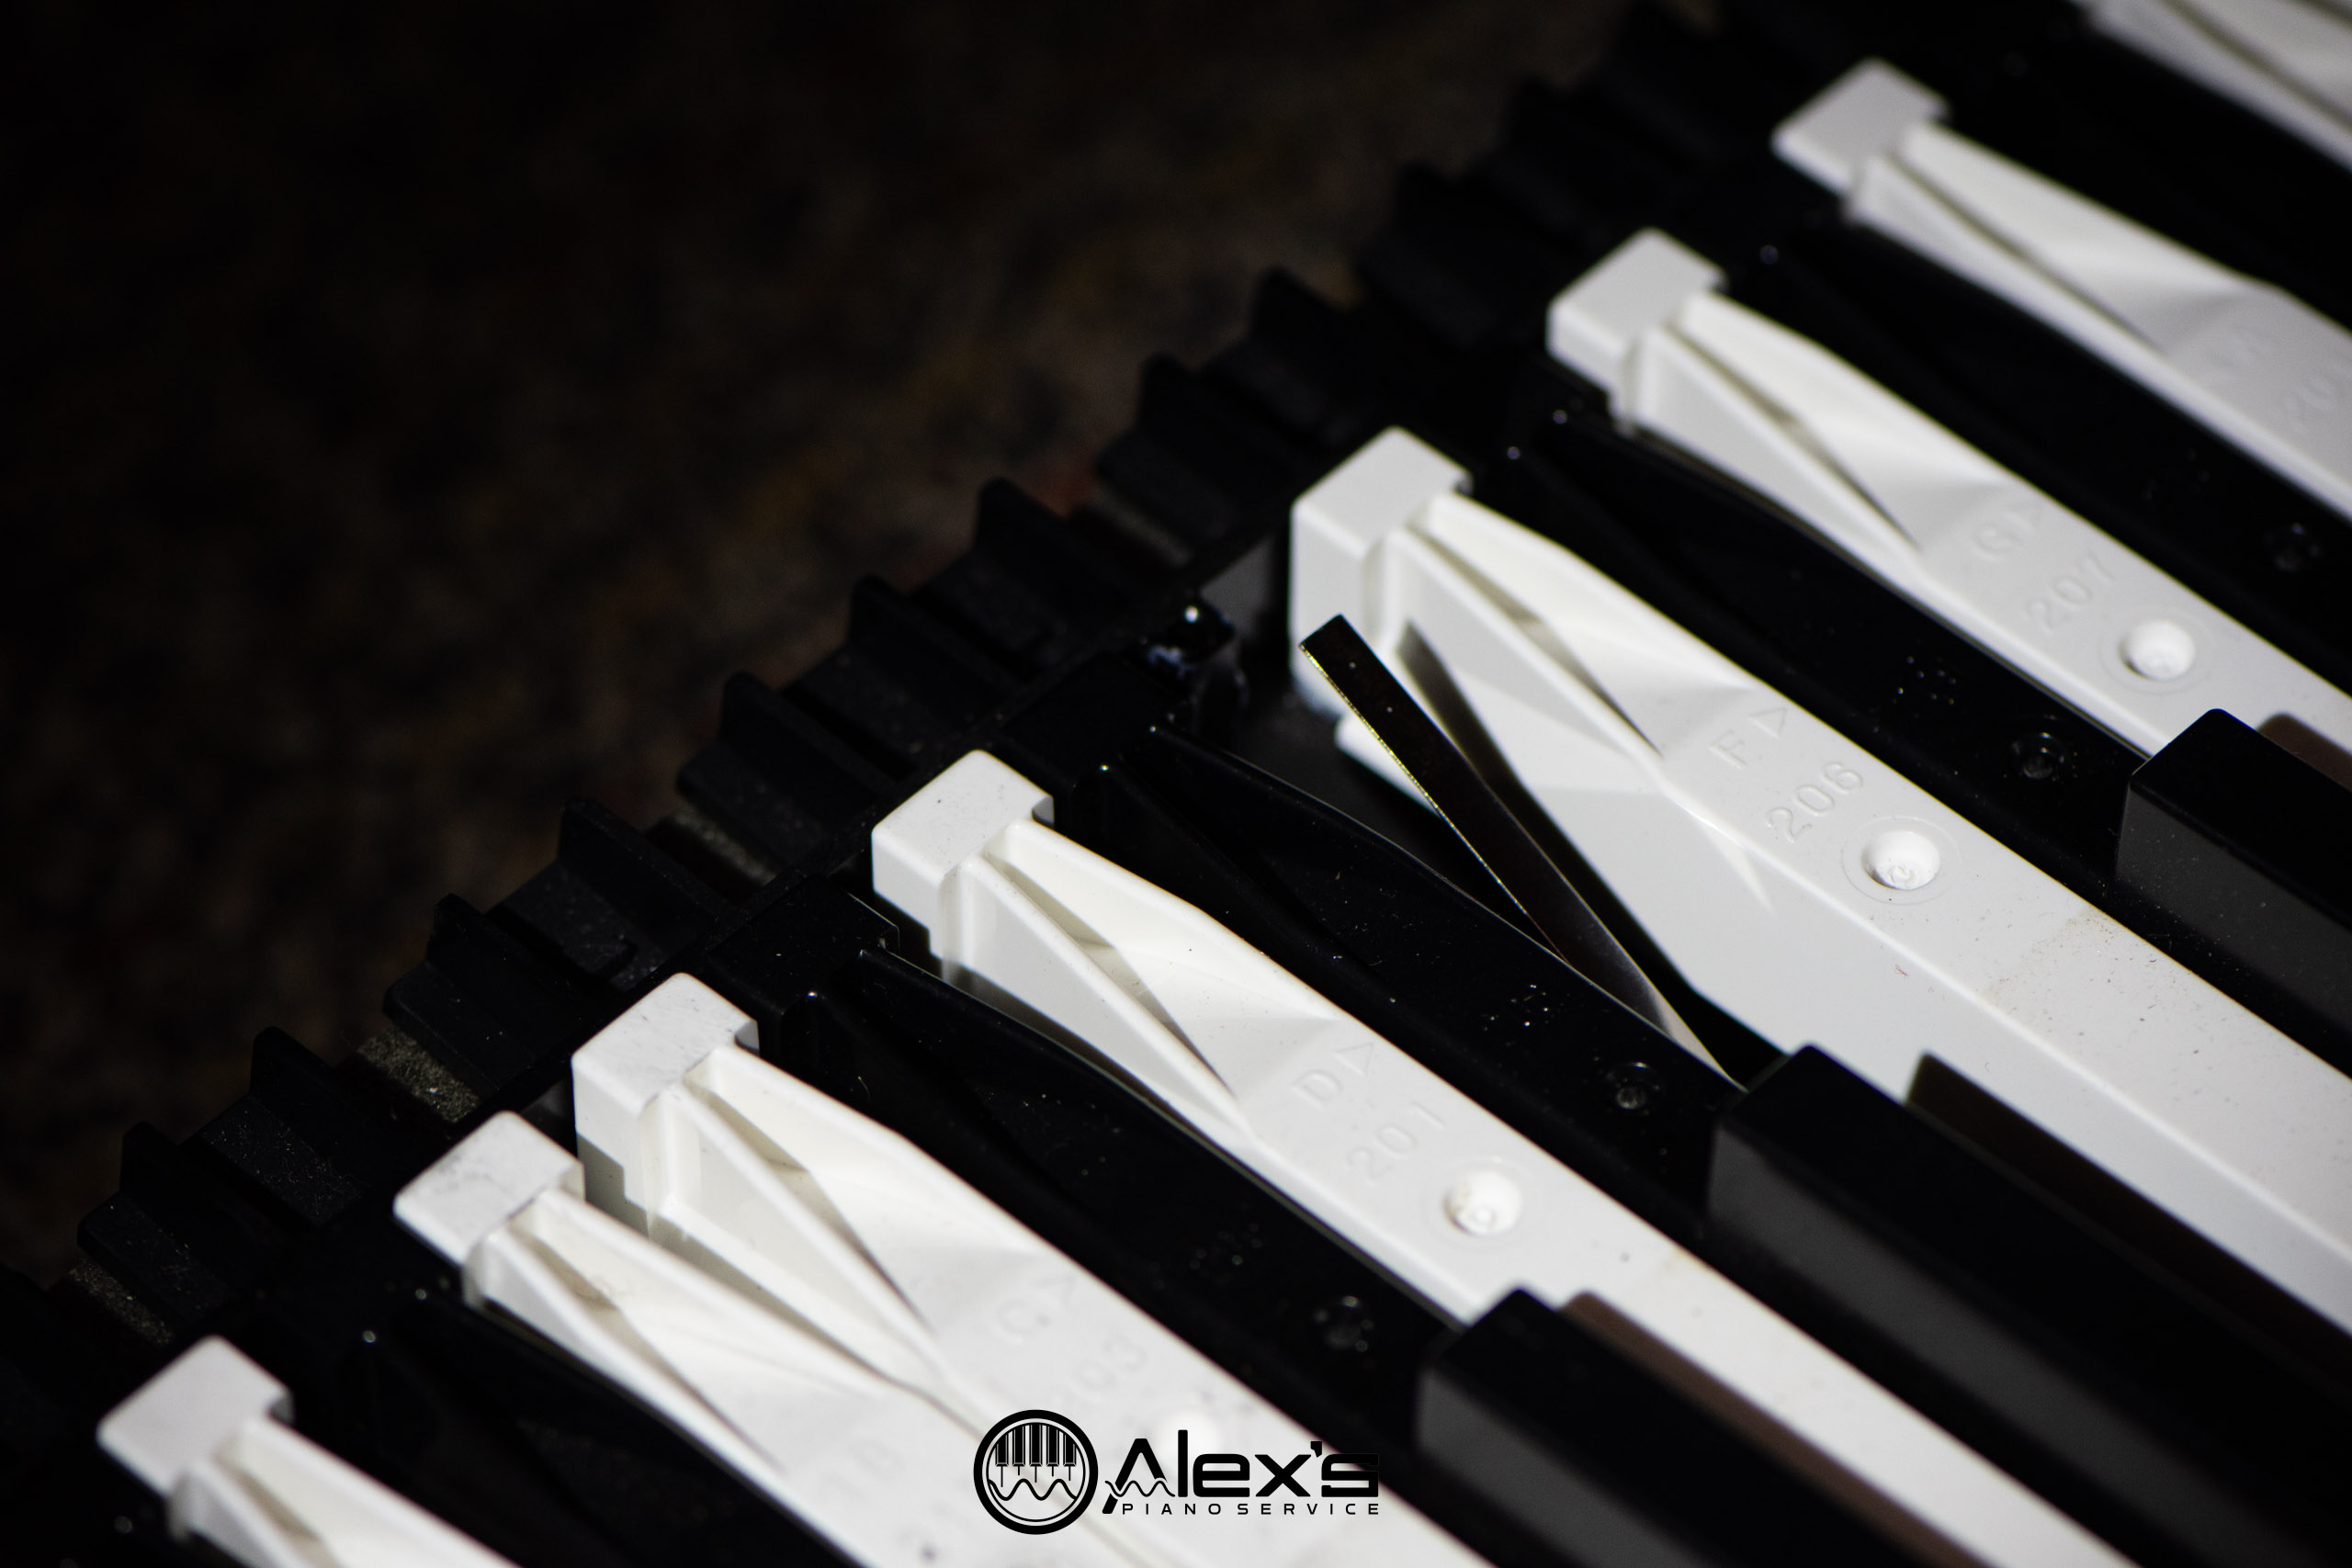
The culprit is the plastic “key tail” at the back of each key. Yamaha used a particular type of key design during those years that tends to become brittle and crack with age and regular use. One reader speculated a possible reason is a molded weld/knit line (where two flow fronts meet during injection molding), which can be mechanically weaker than the surrounding plastic. This might explain why the cracks usually appear at the same spot. However, this is only a hypothesis.
Once those key tails crack, the keys lose their smooth motion, become sluggish, and eventually stop returning properly—which is what you’re feeling as a “sticking” key. It’s quite rare for the key to fully separate, although that can happen.
Sometimes, all it takes is one enthusiastic kid sitting down to play, and within a few minutes several keys are cracked. I’ve gotten that call more than a few times, and it’s not the kid’s fault!
In many cases, you can spot a cracked key tail just by looking at the keyboard from the front. The affected key often sits slightly tipped or angled compared to the neighboring keys.
Can you replace just one or two keys?
Technically, yes—but I don’t usually recommend it unless you’re doing the work yourself. The problem is, once a few keys have gone, the rest are typically not far behind. You end up chasing your key tail, so to speak, as more keys start cracking one by one. It’s frustrating and ultimately costs you more time and labor, especially if you have the work done by a technician.
What’s the best fix?
In most cases, the better option is to replace all the keys at once or, better yet, swap in a whole new keyboard assembly. Yamaha’s official recommendation is a complete replacement keyboard assembly. The new keyboard assemblies are improved over the originals, and no longer have this issue.
Yes, it’s a significant repair, but it restores the playability and feel of your Clavinova. If the rest of the electronics are still in good shape, this kind of repair makes sense—especially when you compare it to the price of a brand-new Clavinova.
A full action replacement will get your instrument back to feeling like new again—no more sluggish or sticking keys, and you won’t have to worry about more breaking anytime soon. And, of course, it means you also have new felts and a freshly lubricated keyboard! It’ll quite literally play like new.
Is it worth repairing?
Most of the time, yes. A properly repaired Clavinova can serve you well for years to come. These are solid instruments, and other than the key issue, which is well known, the rest of the components typically hold up very well. If you love the feel and sound of your current Clavinova, repairing it is often a smart investment.
Should I hire a technician or do it myself?
Replacing the action isn’t very difficult if you’re handy. You can purchase Yamaha replacement actions yourself, either through Yamaha 24×7, or through Syntaur. Here’s a link to Syntaur parts for the CLP-150, for instance. The keyboard actions typically cost about $600 retail.
You can also replace individual keys yourself. Sometimes customers choose to watch me replace a single key so that they can perform future repairs on their own. If you don’t mind replacing keys periodically, this can be an inexpensive approach.
If you’re purchasing them for DIY work, Syntaur is reasonably priced, and allows you to purchase the parts based on keyboard model: You don’t need to find a service manual or do any additional research.
However, technicians can obtain these parts from Yamaha for dramatically less. So much less that, in fact, paying a technician to replace the action may not cost much more than doing it yourself. I’d highly recommend getting a quote from your nearest Yamaha Service Center.
What repairs should I avoid?
Over the years, I’ve seen a few well-intentioned “fixes” that either don’t work, or make the repair harder (and more expensive). Hopefully this list saves you some time and trouble.
Spraying lubricants/oils into the keybed
If the problem is a cracked key tail, extra lubrication won’t help. And spray lubricants generally aren’t the right choice for Yamaha actions anyway.
Even when the sticking is caused by a spill or other contamination, spraying oil is still unlikely to solve the underlying problem. Worse, overspray can migrate down onto the key contacts and contact boards under the keys and cause new issues.
Best case, even if you happen to hit a moving joint, you’re also likely to wash away Yamaha’s original grease (it’s thicker than most people expect). That can create fresh issues elsewhere in the action.
Forcing stuck keys repeatedly
If you force a key that’s sticking due to a cracked tail, it often just snaps the tail the rest of the way off. If the cause is something else—like a foreign object—force can break other parts or damage alignment.
Yamaha keys should move freely. If they don’t, something is wrong—and force isn’t the answer.
Gluing the tail back on with random household glue
Cyanoacrylate (superglue) and generic epoxies can work temporarily, but they’re easy to misalign and may not hold up long-term under repeated stress. A misaligned repair can also cause binding. If you’re not replacing keys, a properly controlled solvent-weld repair (done safely) is generally the more “factory-like” bond on compatible plastics.
Can I just glue the keys?
Typical household glues are not appropriate for fixing cracked key tails. However, some technicians repair broken key tails using a solvent-weld method rather than replacing the entire key. Solvent welding works by briefly softening/dissolving the plastic surface so the two pieces fuse as the solvent evaporates.
This is not the same as superglue. If done well, a solvent-weld can be a strong, permanent repair, but it is also easy to make a mess if the solvent runs, and it must be kept away from felts, contacts, and other plastic parts.
A reader recently wrote in to let me know that MEK (2-butanone) has worked for him for numerous long-term repairs in multiple Clavinovas, and so I do present it here as an option. Solvents such as MEK (2-butanone) are highly flammable and the vapors can be irritating. It requires excellent ventilation and proper protective equipment.
Need help?
If you’re dealing with sticking keys and are wondering if it’s time to fix or replace, reach out and contact me. I can take a look, give you an honest assessment, and walk you through the options.


Hi, I have a CVP 203 and have replaced a few broken keys. Several other were stuck in the down position but taking them out, wiping down their sides and moving the spring around fixed it. I have one key that is still slow to return up or stays down. I’ve put a new key it its place and it is still happening. Ive also check the spring. What else could be happening?
Hello Suzie! If you’ve replaced the key with a new one, that mostly rules out a cracked key tail. If you remove the key and spring altogether, does the hammer (the white plastic piece with the long metal weight) move freely, or does it drag? With the key removed, you should be able to lift the hammer at the back (by the metal weight) and let it drop with essentially no resistance through its full range of motion.
As the key moves up and down, there’s a rubber pad on the underside of the key that slides against the white plastic hammer. That contact should be very smooth and is normally greased. If there’s any foreign substance (a dried spill like soda is a common one), the key can drag on the hammer and feel sticky or slow to return. Even a little dried residue or grit can add a lot of friction.
Spills can also soak into the felts, but that usually presents as sticking near the top or bottom of the stroke rather than continuous drag through the whole press.
If everything looks clean but the problem persists, double-check that the return spring is seated correctly.
Hey.. pls. how to get 3d stl format for Yamaha Cvp92 key housing (keybed)
Hello Kaung! Are you looking for a model of the entire key frame? That’s pretty large—the entire piece is nearly the size of the whole keyboard. I’m not aware of any public models of either the keys or of the entire keybed. Typically if the key frame needs to be repaired, I’ll use a chemical plastic weld. I believe it normally has to be purchased as part of the full key bed (including keys, contacts, etc). Thank you!