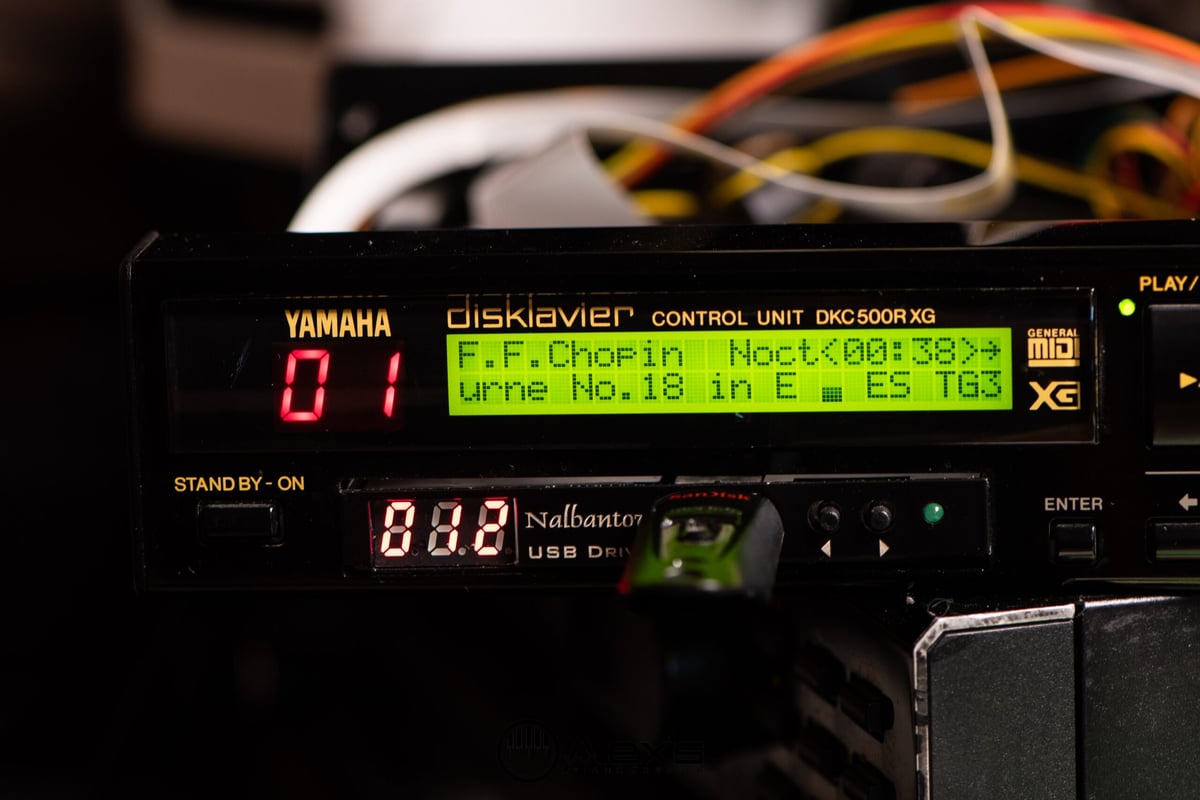
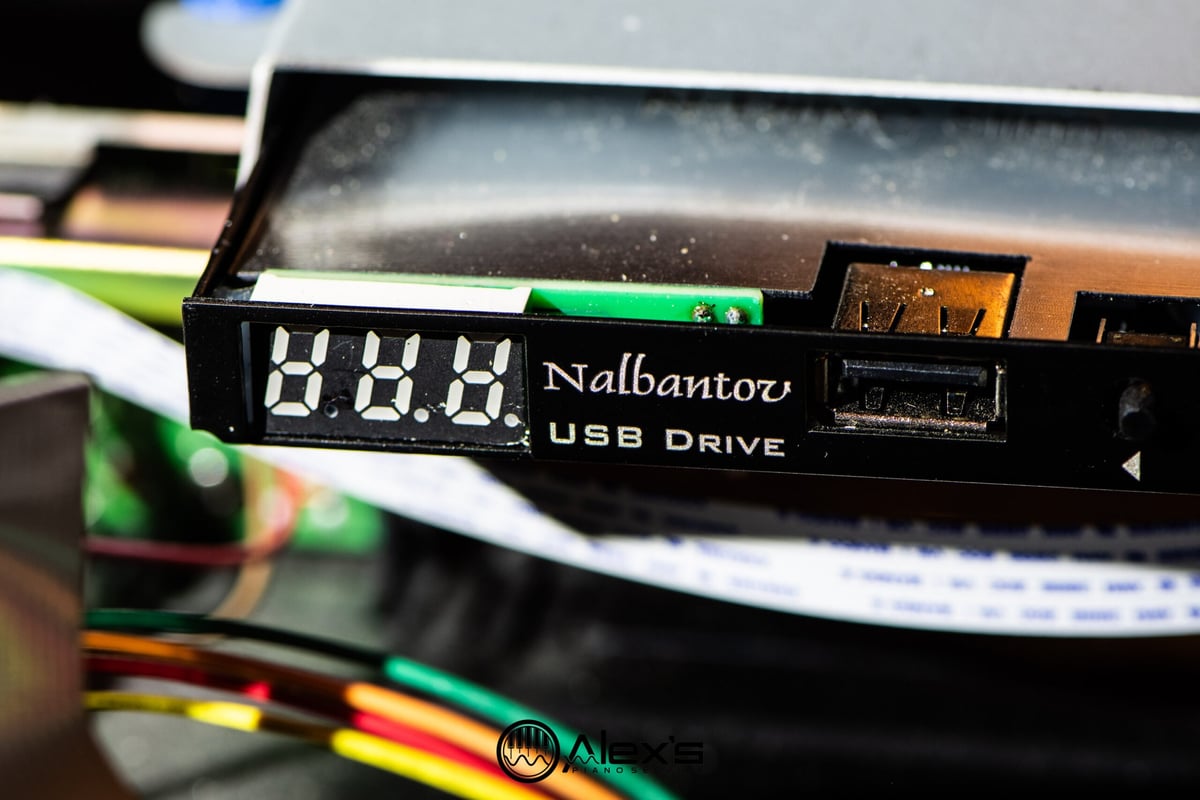
A customer recently asked me to upgrade his DKC-500RXG floppy disk drive to a Nalbantov USB floppy disk emulator. I’ve recommended the Nalbantov emulator for many years. It has no moving parts and a capacity of 1000 floppy disks on a single USB stick, and is an excellent replacement for the original floppy disk drive.
I’ve written an article on upgrades for your Disklavier, and I frequently get questions about using other kinds of emulators, such as the Gotek. The Gotek will not fit the DKC-500RXG or other Mark II models. The Nalbantov slim drive still uses the same underlying hardware as the Gotek, but comes in a customized case designed to fit in these small enclosures.
Although this article is about the DKC-500RXG, the process is identical for the DKC-500R and the DKC-500RW. It’s also very similar for the DKC-100R, although you will need a different Nalbantov emulator model. See my page on Nalbantov USB floppy disk emulators for more.
Purchasing the Nalbantov
Some links in this article are affiliate links. As an Amazon Associate I earn from qualifying purchases. Your click fuels hours of reviewing old service manuals—at zero added cost to you.
There are numerous versions of the Nalbantov available for purchase, and many other floppy disk emulators as well. However, this Nalbantov slim drive is currently the only one that works in the DKC-500RXG. You can purchase it either from Amazon, or directly from Nalbantov.
Installing the Nalbantov
Open the DKC-500RXG Control Unit
Remove the four screws that hold the bracket in place. There are two on each side of the control unit. These hold the bracket in place, but they also keep the lid secure.
Remove the five screws on the back of the control unit. There are two on each side and one in the middle.
Remove the Old Floppy Disk Drive
There are three screws mounting the assembly to the bottom of the case. Remove these screws, being careful not to lose the small metal bushings. You’ll be able to remove the floppy disk assembly once the screws are removed.
However, before you remove it, you should also carefully unstick the ribbon cable from the metal drive bay. The ribbon cable is bonded with a mild adhesive, and will come off easily as long as you apply even pressure.
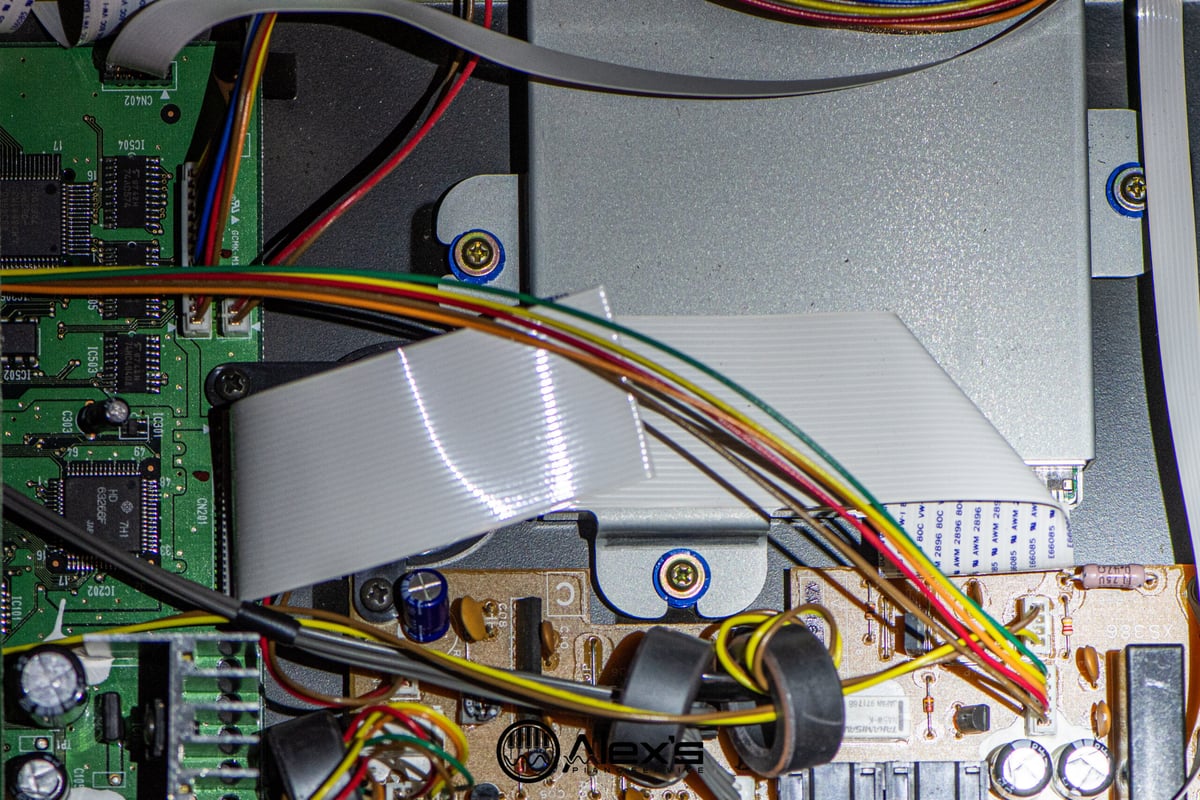

Disconnect the Ribbon Cable
These ribbon cables are referred to as Low Insertion Force (or LIF) cables. You can remove them by simply pulling them out of their connector. There are no latches. It’s much easier to work with the ribbon cable when the floppy disk assembly has already been detached from the bottom of the control unit.
Remove the Floppy Disk Drive from the Drive Bay
There are four screws holding the old floppy disk drive in its metal casing. Remove those four screws and separate the floppy disk drive from the drive bay. You will not reuse these screws.
Attach the Nalbantov to the Drive Bay
Your Nalbantov came with a variety of screws, including four rather long, pointed ones. Use these four screws to affix the drive bay to the Nalbantov.
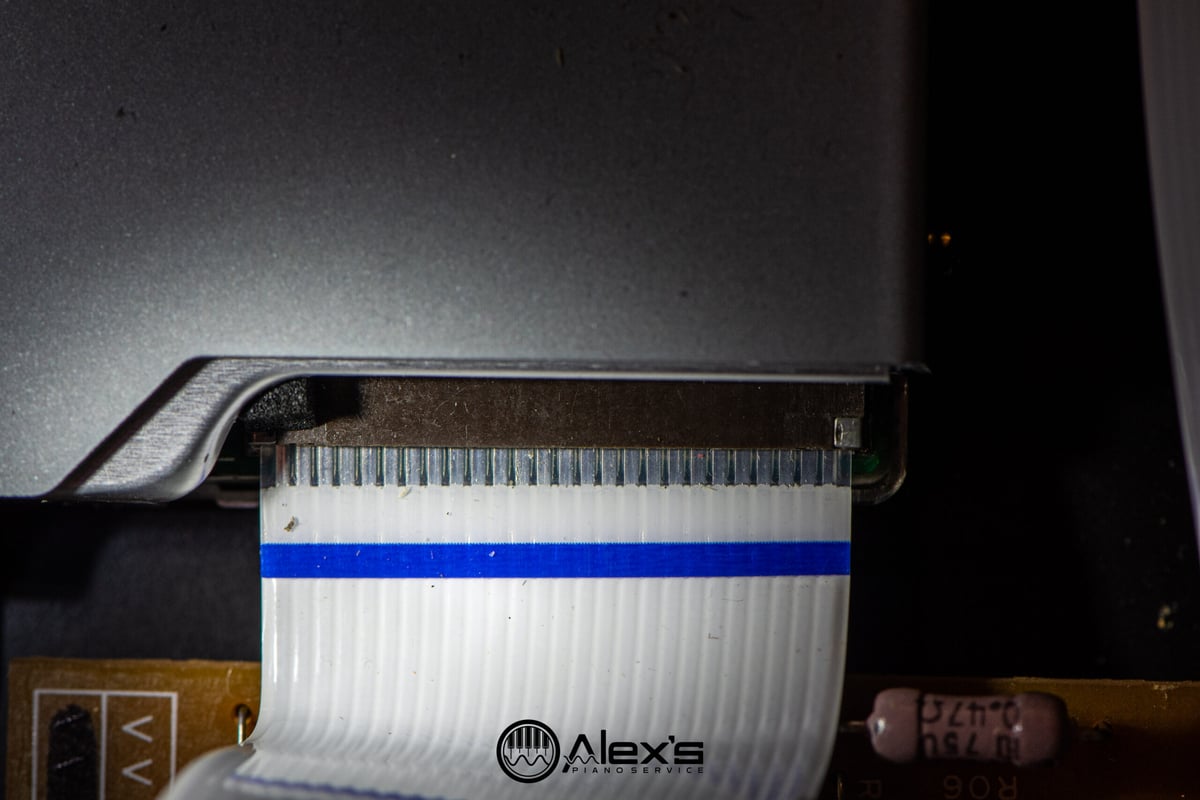
Connect the Ribbon Cable to the Nalbantov
Simply push the LIF ribbon cable into the connector on the back of the Nalbantov. Make sure to get the orientation correct. The cable should lie flat just as it did on the original floppy drive. It’s easy to install these cables upside-down, so be careful!
Do this before mounting the Nalbantov and drive bay to the bottom of the control unit. Although these cables shouldn’t require much force to insert, it’s much easier to push them in easily and uniformly when the drive is still outside the control unit. It’s common for people to bend LIF cables or damage their contacts pushing them from an awkward angle.
Mount the Nalbantov and Drive Bay to the Bottom of the Case
You can install the drive exactly as you removed the original. Insert the three screws through the three rubber grommets, and tighten them. Dress the cables as needed.
Close the DKC-500RXG and Reinstall
That’s the entire process! Overall, it’s an approachable project for somebody with moderate technical ability.
If you’re local to the Maine area or would like to ship me your control unit, I can do this conversion for you. Just reach out to me and let me know!


