This article shows my exact workflow for creating archival copies of unique or rare floppy disks, and extracting the files. This is a summary of my workflow:
- Create an archival-quality digital duplicate of the floppy disk.
- Convert that copy to a more useful format.
- Extract music (MIDI or E-SEQ) from the converted files.
For more information about the Greaseweazle, see their page on GitHub. You can also read my brief comparison of the Greaseweazle and KryoFlux. If you’re looking to purchase a Greaseweazle, they keep a list of places to purchase them here.
And a thanks to Yann Serra, both for his comments and for his excellent getting started guide here!
Initial Safety Precautions
Before starting, make sure the floppy disk write-protect shutter is open, if possible. Most 3.5-inch floppy disks have a write-protect switch in the top-right corner (if you’re looking at the front of the disk). Make sure that this is switched to the open position. This tells the floppy disk drive not to write to the disk.
Remove the write-enable jumper from the Greaseweazle. The Greaseweazle comes with a Write-Enable jumper installed. This is usually clearly labeled on the device. Remove this jumper. This signals to the Greaseweazle that it should not send write instructions to the drive.
In short, open the write-protect shutter on the floppy disk and remove the write-enable jumper from the Greaseweazle. Although these steps seem redundant, we should take every reasonable precaution to protect these old disks.
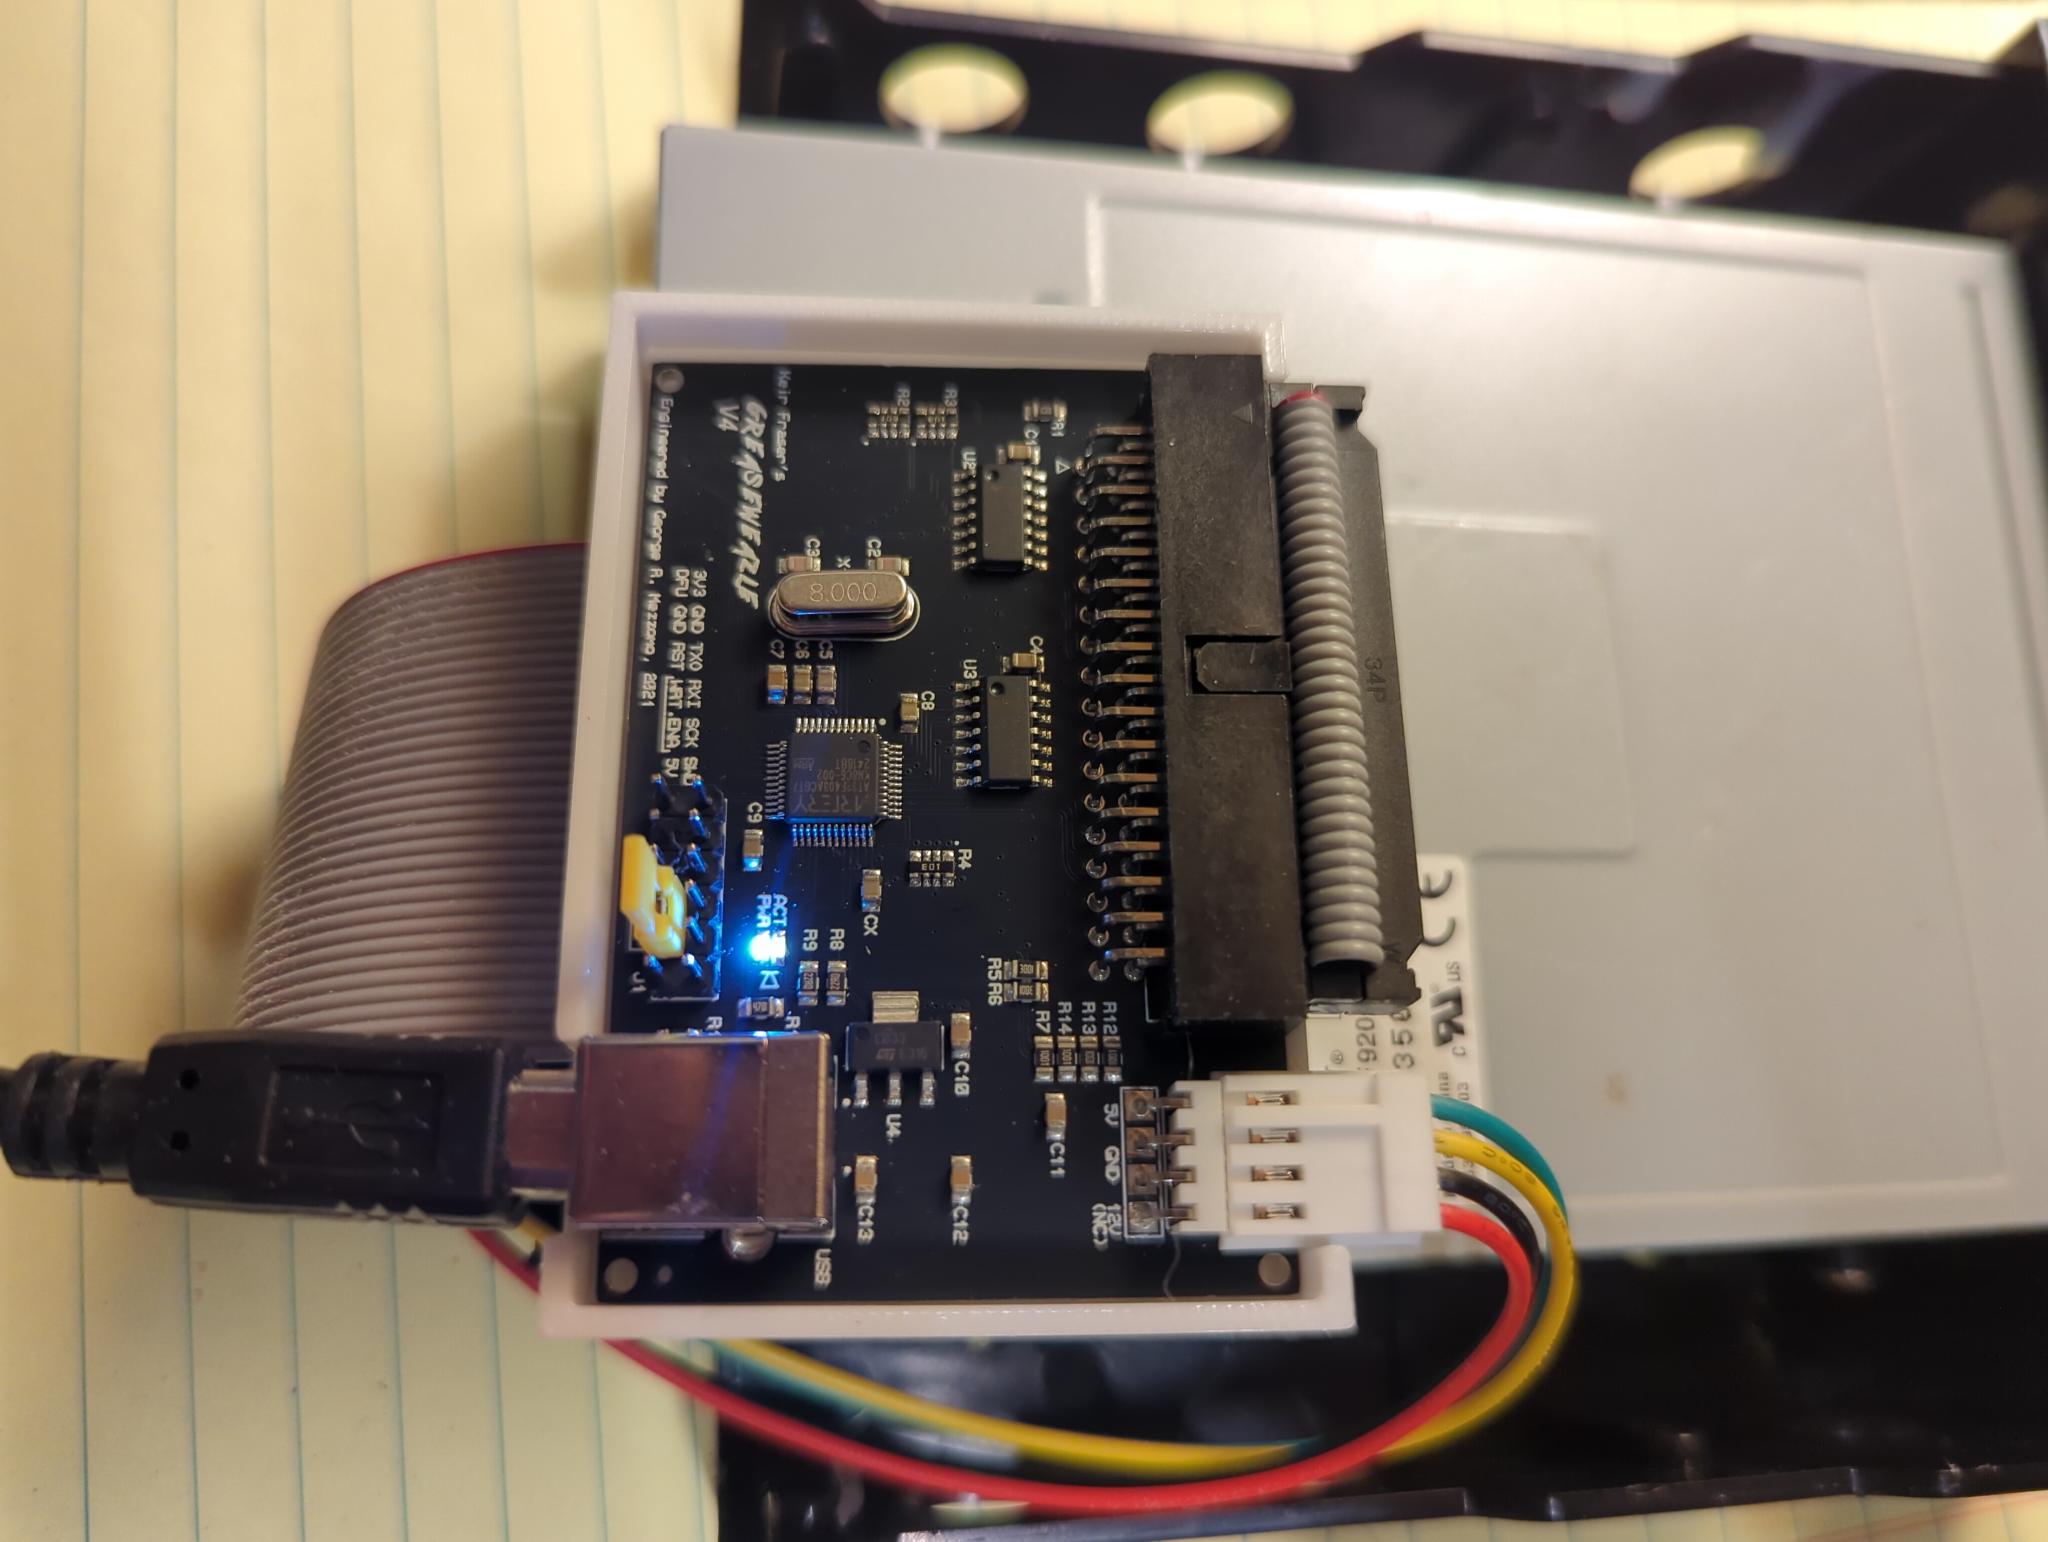
Create an Archival-Quality Copy with the Greaseweazle
My first step is creating an extremely high-quality, archival digital copy of the floppy disk, and all subsequent work is performed on that digital copy. This is a duplicate of the disk at the level of magnetic flux. In other words, this is reading the underlying magnetic fields that make up the bits and bytes, rather than the data itself.
It does not matter if the disk is IBM-formatted, if it’s double-density or high-density, or even if it’s corrupt in spots—we’re simply creating as exact a copy as possible.
Using the Greaseweazle, this is a straightforward process. From the terminal, I use the following instruction:
gw read <filename>.scpCode language: Bash (bash)The .scp extension is important. This is the SuperCard Pro flux format, and is for storing magnetic flux data. The resulting file will be relatively large (in this case over 20 MB) compared to the actual floppy disk, which here is only 720 KB. That demonstrates the amount of extra detail about the surface of the disk these files capture.
From this point onward, I’ll work with only this archival-quality duplicate. The floppy disk itself can now be stored safely. This is important, as these disks are old, and working with them always risks damaging them.
Please note that in the image below I’m also using the --drive=1 switch. This depends on your setup, including both the floppy disk drive and cable. This may not be the appropriate switch for you.

gw read to create an archival-quality master copy.Converting your Master SCP to IMG
Now I can take my master copy and convert it to an IMG file. These files are widely used in floppy disk emulators, but more importantly are used in virtual machines and can be extracted by software such as 7zip.
Of course, I also wrote a floppy disk image conversion tool. But if you already have a Greaseweazle handy and the tools installed, you can perform this conversion easily yourself. The instruction is straightforward:
gw convert --format=ibm.720 <filename>.scp <filename>.imgCode language: Bash (bash)Note that in this case I know the original floppy disk was a 720 KB double-density floppy disk. This is typical for early Yamaha Disklavier floppy disks and Yamaha PianoSoft disks. However, if I were converting a 1.44 MB high-density floppy disk, I would substitute ibm.1440 for ibm.720.
Note that you can convert it to other types as well. For instance, you can convert this file to the .hfe file type natively readable by the Nalbantov. Gotek drives using FlashFloppy can read either HFE or IMG files. If you convert to an HFE file, the syntax is slightly different:
gw convert <filename>.scp <filename>.img::bitrate=250Code language: Bash (bash)Note that --format isn’t specified here, which prevents flagging various copy-protection schemes as bad sectors. However, when converting to an HFE file, you do need to specify bitrate. For double-density disks, this will typically be 250, and for high-density disks 500.
If the disk has strong copy protection and you’re planning to read the image in the device the floppy disk was originally designed for, then this is a convenient way to short-cut the entire process. You can now drop this HFE file right onto your Nalbantov USB stick.
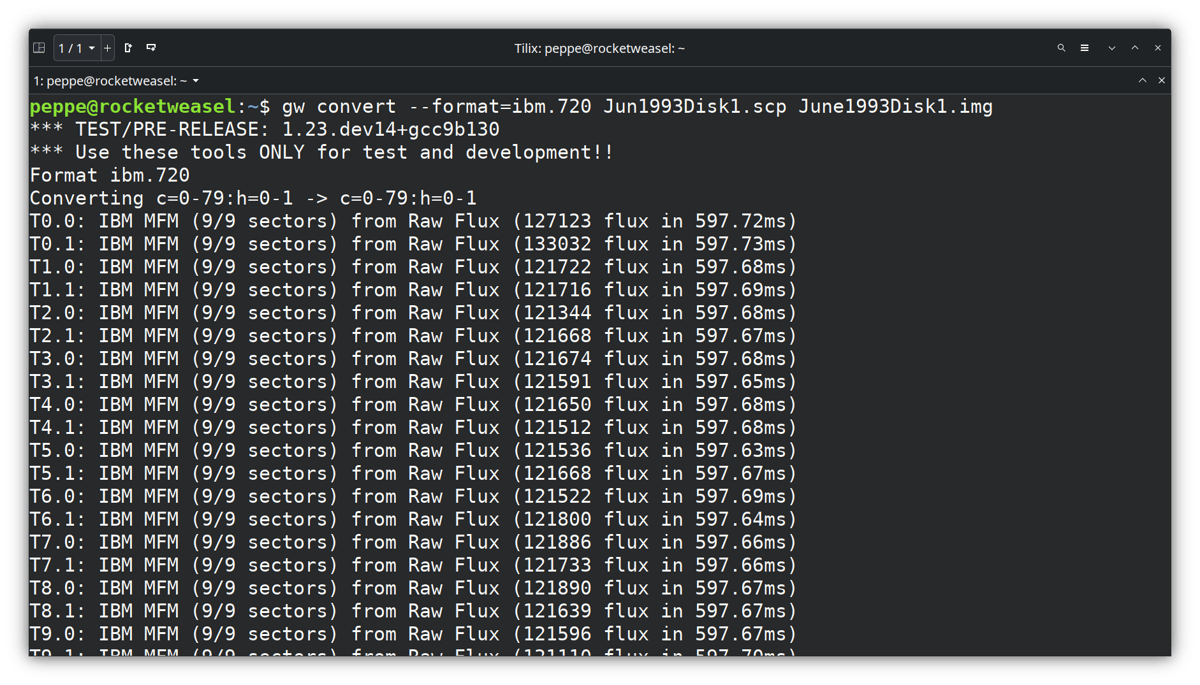
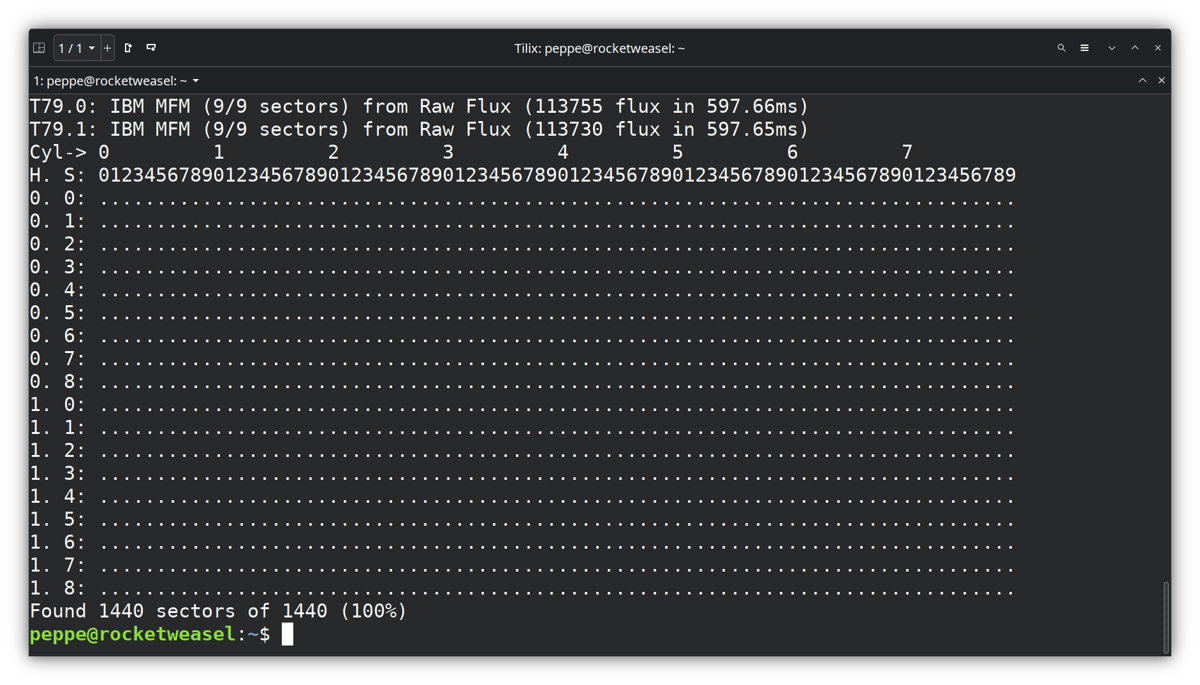
gw convert instruction to convert the scp file—raw magnetic flux—into a usable IMG file.When you specify the --format flag, you’ll see a very useful table at the end of the conversion. This table displays sectors successfully read and converted. This will show a period (.) on successful read sectors, and an X on failed sectors.
With Yamaha PianoSoft disks, you’ll typically see an X in the very first position. The disk below converted perfectly. Note also “Found 1440 sectors of 1440 (100%)” displayed at the bottom of the screen.

Extracting the Files
I use all of the following workflows, depending on the situation and the floppy disk.
Create SCP Copy → SCP to HFE → Add to Nalbantov USB (described above)
The advantage of this method is that it works on all floppy disks, almost irrespective of format or copy protection. It’s almost the same as having the real floppy disk. The disadvantage is that you can’t copy the files onto your computer or convert them from E-SEQ to MIDI, or vice versa.
Create SCP Copy → SCP to IMG → Extract with 7-Zip
This method is fast, and will extract all of the files on the floppy disk or image, including non-music files. In that sense this is the most complete method. However, it does not allow you to convert from E-SEQ to MIDI (or vice versa) without using DKVUTILS, and it does not work on copy-protected disks.
Create SCP Copy → SCP to IMG → Rename IMG to BIN → Open with PPFBU
This method works with nearly all Yamaha Disklavier disks, and will allow you to convert to MIDI or E-SEQ at the same time. This approach is easiest if you’re using a Windows computer and want to start from an archival copy. It does not work on some Clavinova or synthesizer disks.
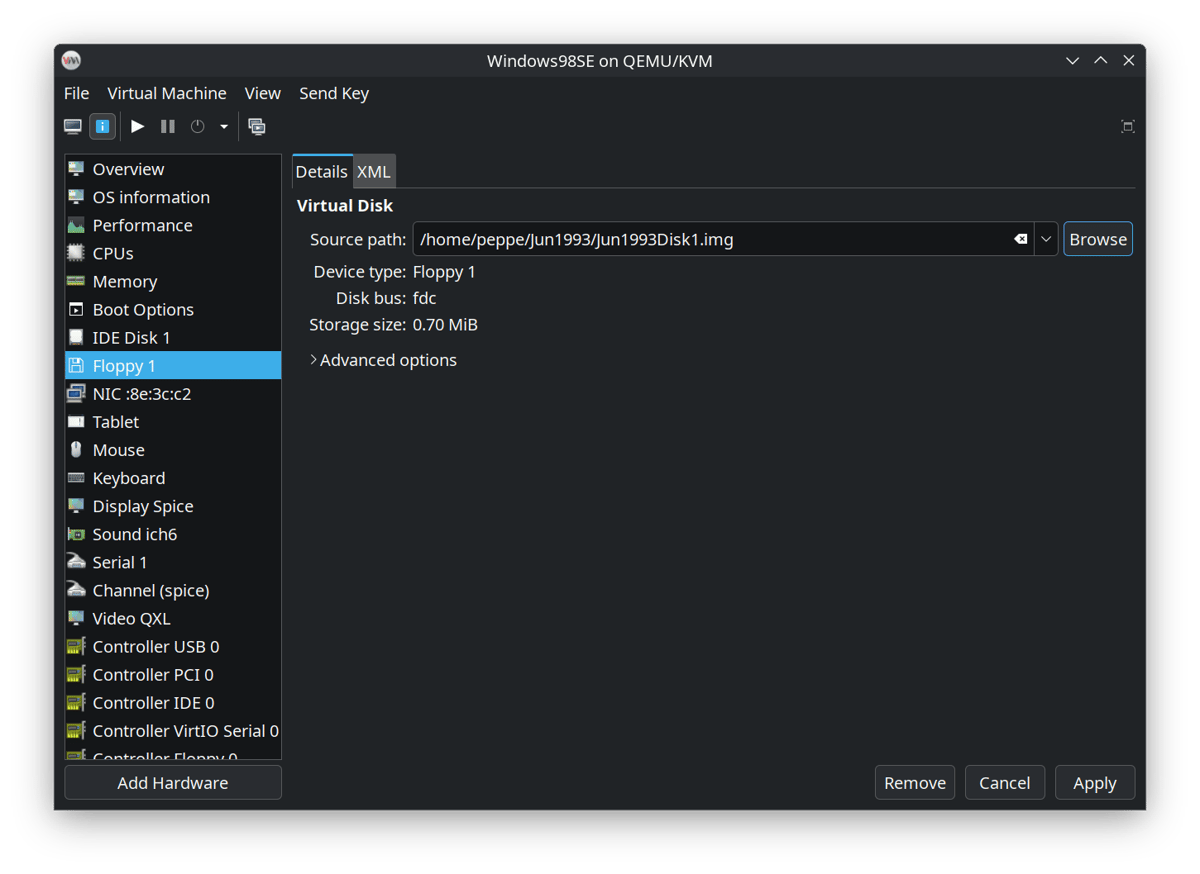
Create SCP Copy → SCP to IMG → Mount on Win10 VM → Open with PPFBU
This method has the same pros and cons as the above method, but is the approach I use here on a Linux system. Many of the DKVUTILS tools and other software were designed for earlier versions of Windows, so I like the idea of staying a version or two behind when using them, and being able to “insert” the virtual floppy disk to more completely trick the software into thinking a disk is actually there.
Create SCP Copy → SCP to IMG → Mount on Win98 VM → Open with Giebler
This approach allows you to convert E-SEQ to MIDI, and allows you to open many Yamaha Clavinova and synthesizer disks that PPFBU cannot. However, the software is extremely cumbersome, somewhat expensive, and works only on Windows ME or earlier (DOS-based Windows). It also doesn’t always get usable data. I do not recommend this approach unless you have extremely important files.
I’ll now describe each of those potential options.
Using 7-Zip
If there’s no copy protection on the disk, then you can sometimes extract the files from the IMG with 7-Zip. 7-Zip can natively open IMG files and extract the contents.
7-Zip does not convert Yamaha’s E-SEQ files to MIDI format natively, so if you need that, you’ll probably want to use one of the approaches with PPFBU. You can use DKVUTILS to convert the files manually.
This does not work with Yamaha PianoSoft disks, which have copy protection, but it will work with many other floppy disks. It will generally not work with floppy disks which were formatted by Mark I and Mark II Disklaviers.

.FIL) files.Renaming to a BIN file and using PPFBU
You can rename the IMG files from a .img extension to a .bin extension and open them directly in PPFBU. This trick works on Windows computers, and is much easier than setting up a virtual machine. You can simply change the extension from .img to .bin—no other conversion or modification is necessary.
You can see my entire article on using PPFBU to backup your floppy disks using an external USB drive. This process is very similar, but relies on reading the disk with a USB external floppy disk drive. It’s harder on the disk and doesn’t create archival-quality copies. If you need a floppy disk drive, I have an article on external floppy disk drives as well.
If you’re using PPFBU on Windows, make sure you can see file extensions. You can enable this setting under File Explorer by clicking the View tab and checking “File name extensions.” The exact process differs between versions of Windows, but the screenshot below shows the setting on Windows 10.
Once you have the file renamed, click Read Disk Image in PPFBU and open your renamed BIN file. PPFBU will read it quickly. You can now extract the files as either MIDI or E-SEQ.

.IMG extension to .BIN.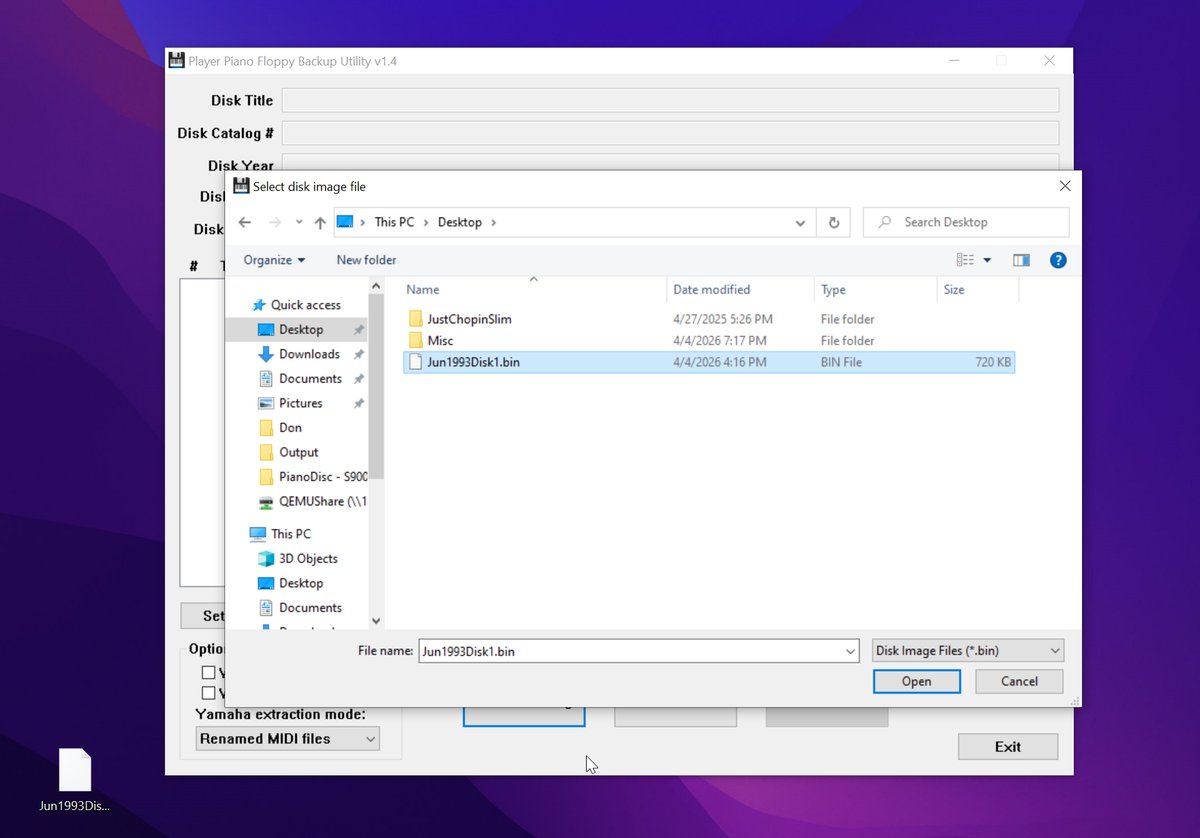
.IMG to .BIN, I can now open the file with PPFBU. Just click the Read Disk Image button.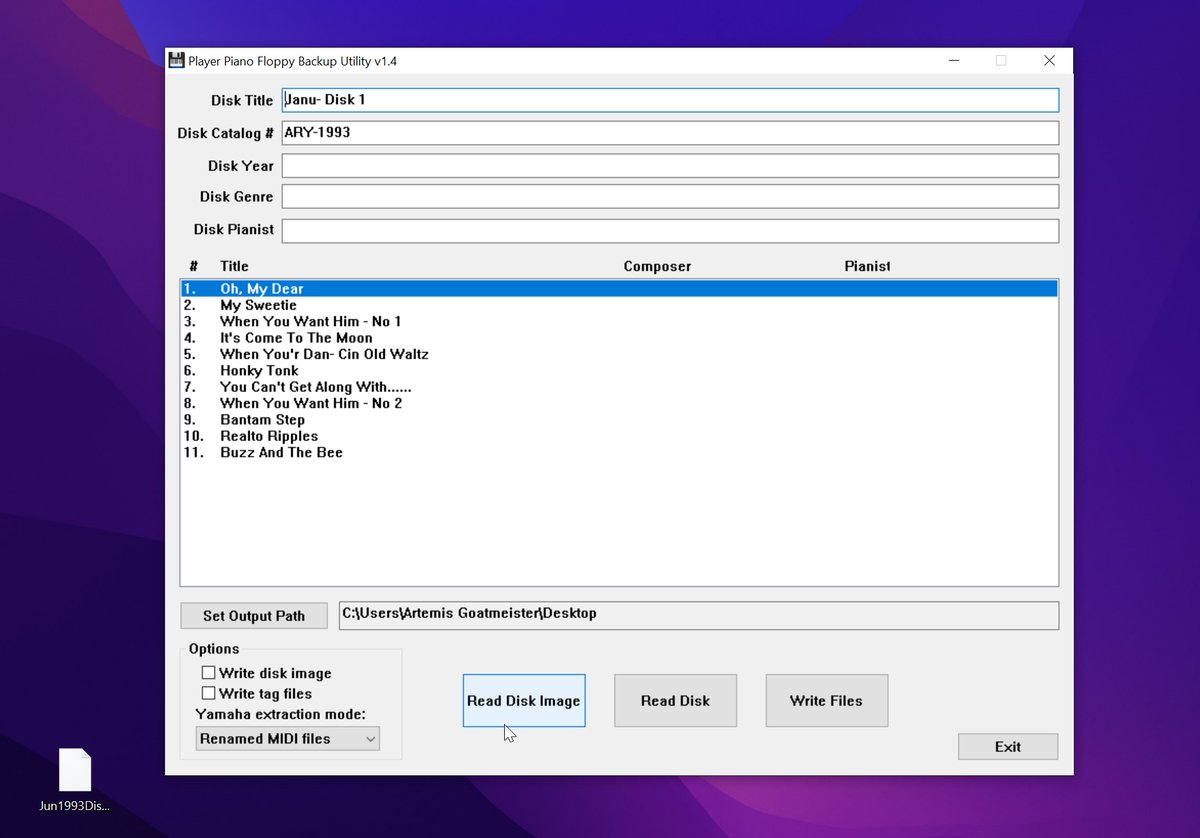
Using a Virtual Machine and PPFBU
When it comes to Yamaha Disklavier floppy disks—particularly PianoSoft disks—Player Piano Floppy Backup Utility (PPFBU) is the most well-established, user-friendly tool. Developed by Mark Fontana, this software works on nearly all PianoSoft disks.
You can see my entire article on using PPFBU to backup your floppy disks using an external USB drive. This process is very similar, but relies on reading the disk with a USB external floppy disk drive. It’s harder on the disk and doesn’t create archival-quality copies. If you need a floppy disk drive, I have an article on external floppy disk drives as well.
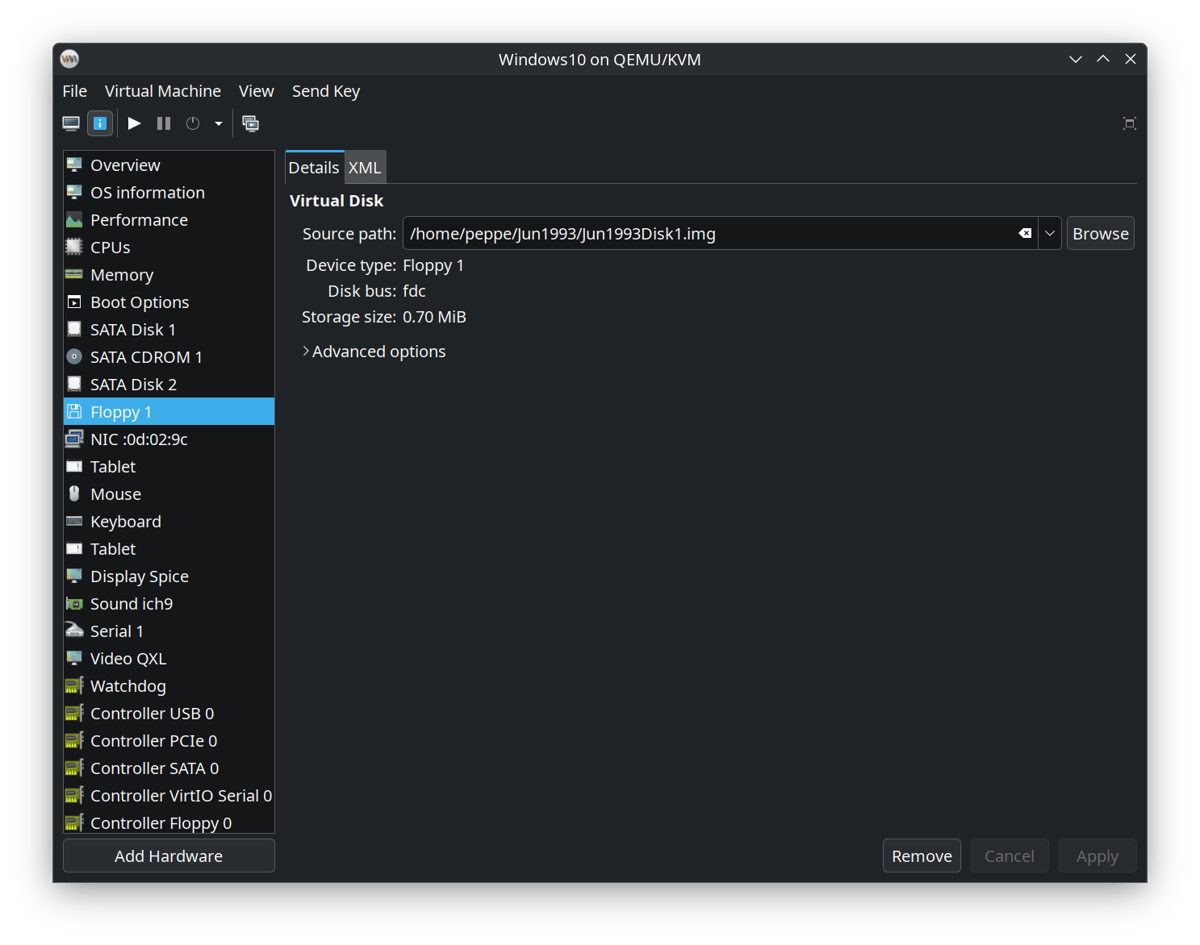
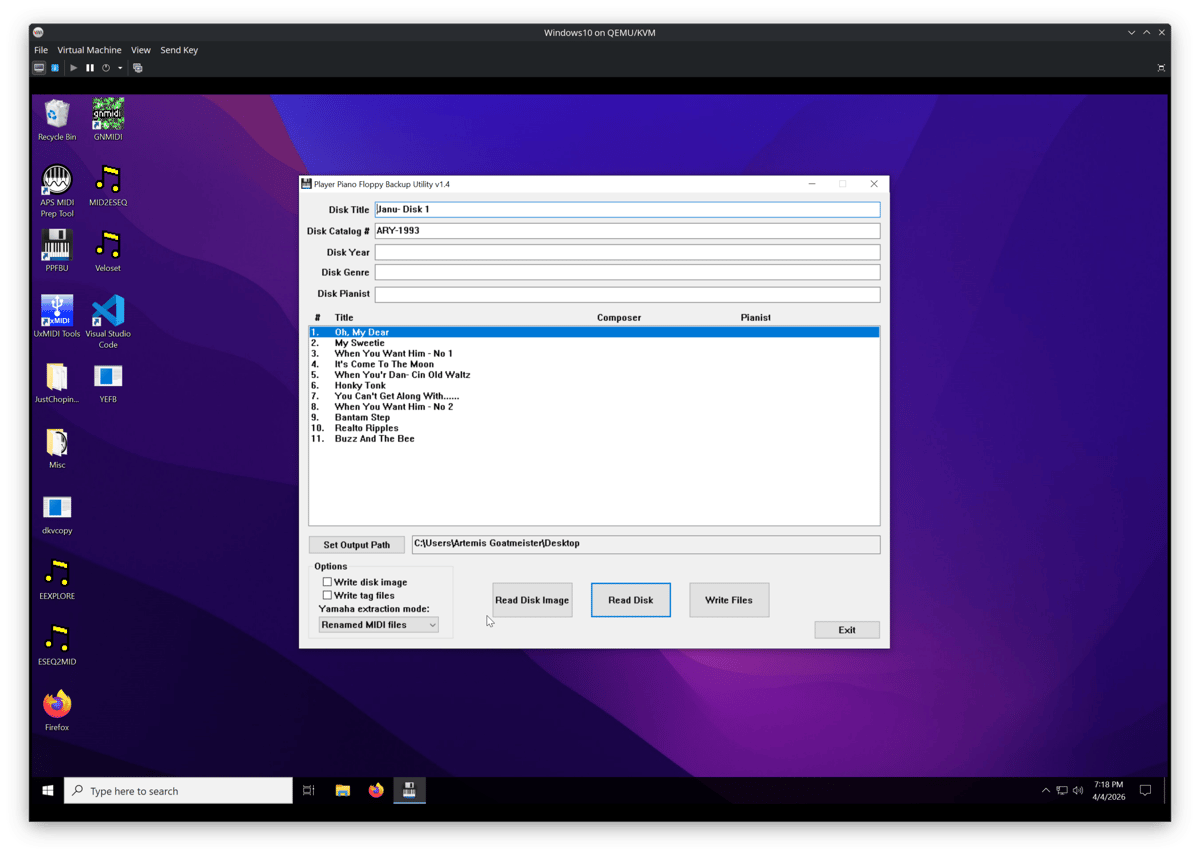
When I use PPFBU I run it on a virtual machine, and mount the disks. I can then click Read Disk in PPFBU, and it will read from the virtual machine’s “floppy drive,” which contains the image.
Using a Virtual Machine and Giebler
You can read my entire article on using Giebler with a virtual machine here. Giebler’s Yamaha Disk Manager will allow you to open a wide variety of proprietary, copy-protected floppy disks. However, the software will only run on DOS-based versions of Windows (Windows 95, 98, 98 SE, or ME). Unless you have a dedicated computer for this, you’ll need a virtual machine.
Additionally, I could not find a way to make it work with an external USB drive. You’ll need to mount an image (like I do in the Giebler article and the screenshots below).

Storing the Archives Safely
Consider long-term storage carefully. I use my own cloud storage at cloud.alexanderpeppe.com to keep offsite backups, and to allow customers access to their files.


